• Hardened Ink Remover

Hardened Ink Remover

Model : ACHM04-H1

Xiwei TM Hardening Ink Remover ACHM04-H1 Applied to Electronic Paper Ink Removal Test Report

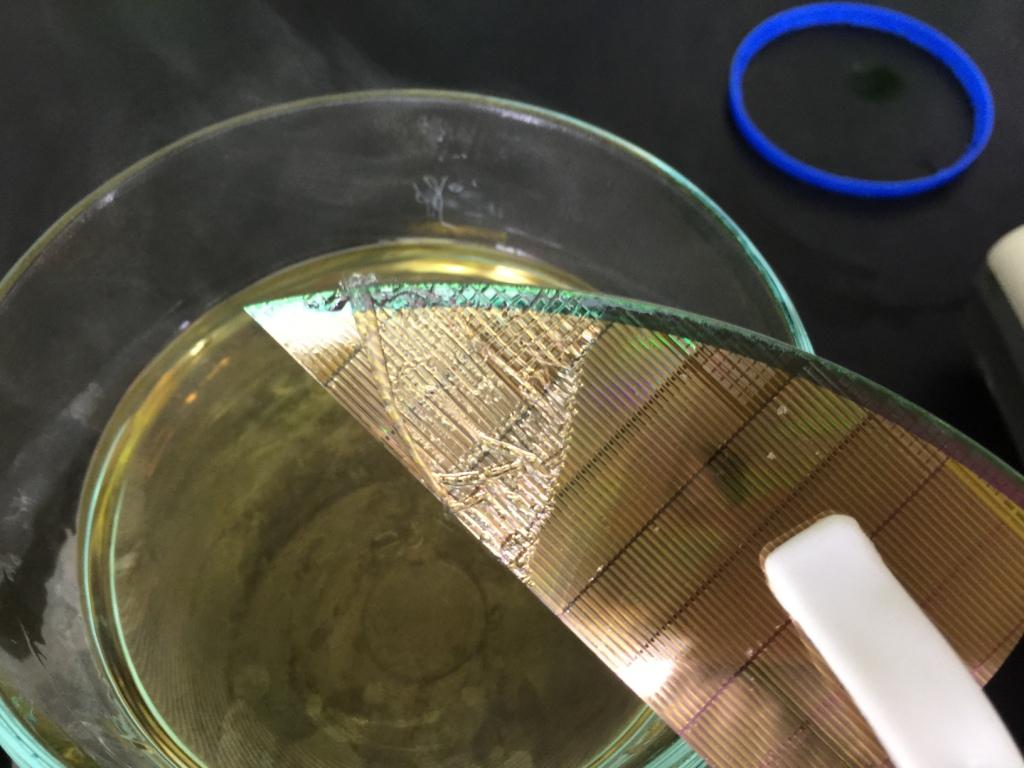
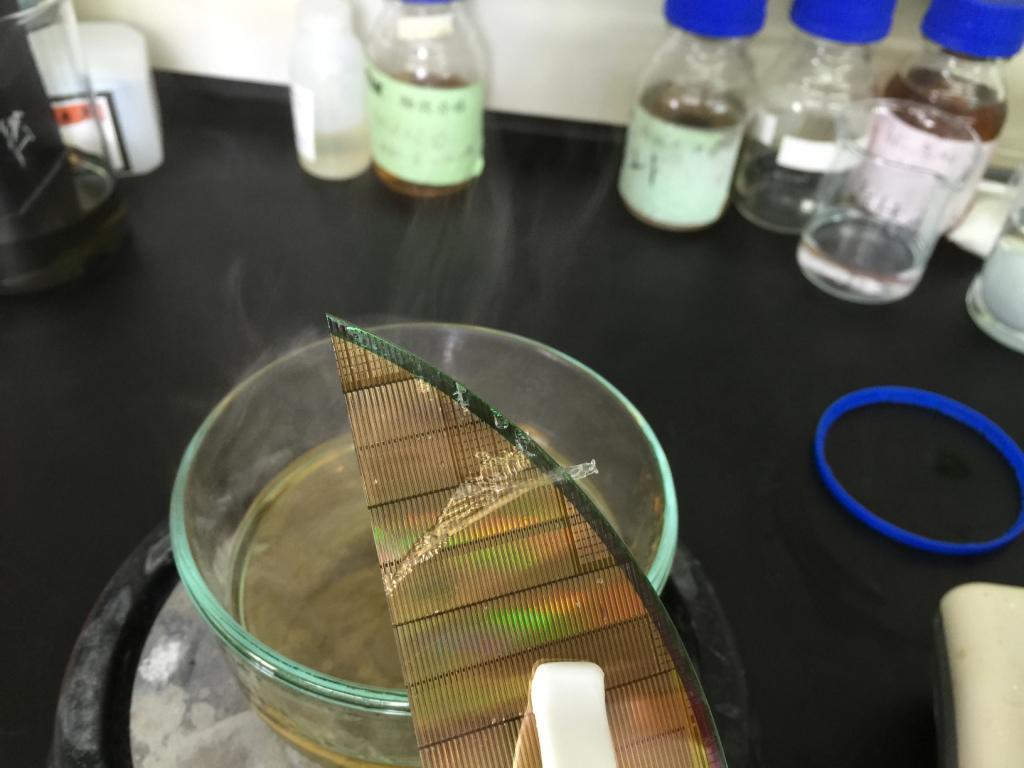
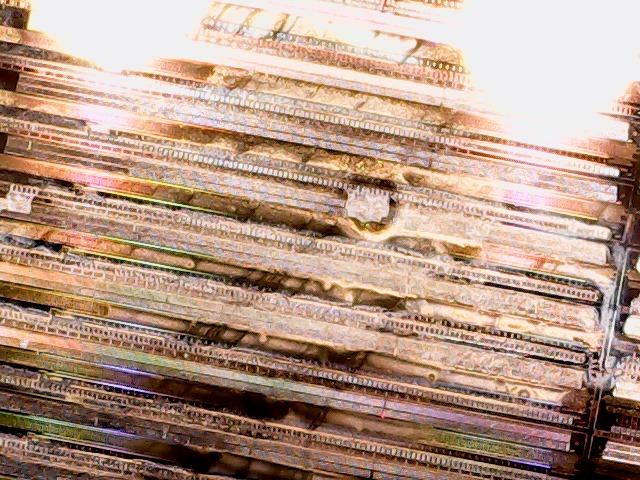
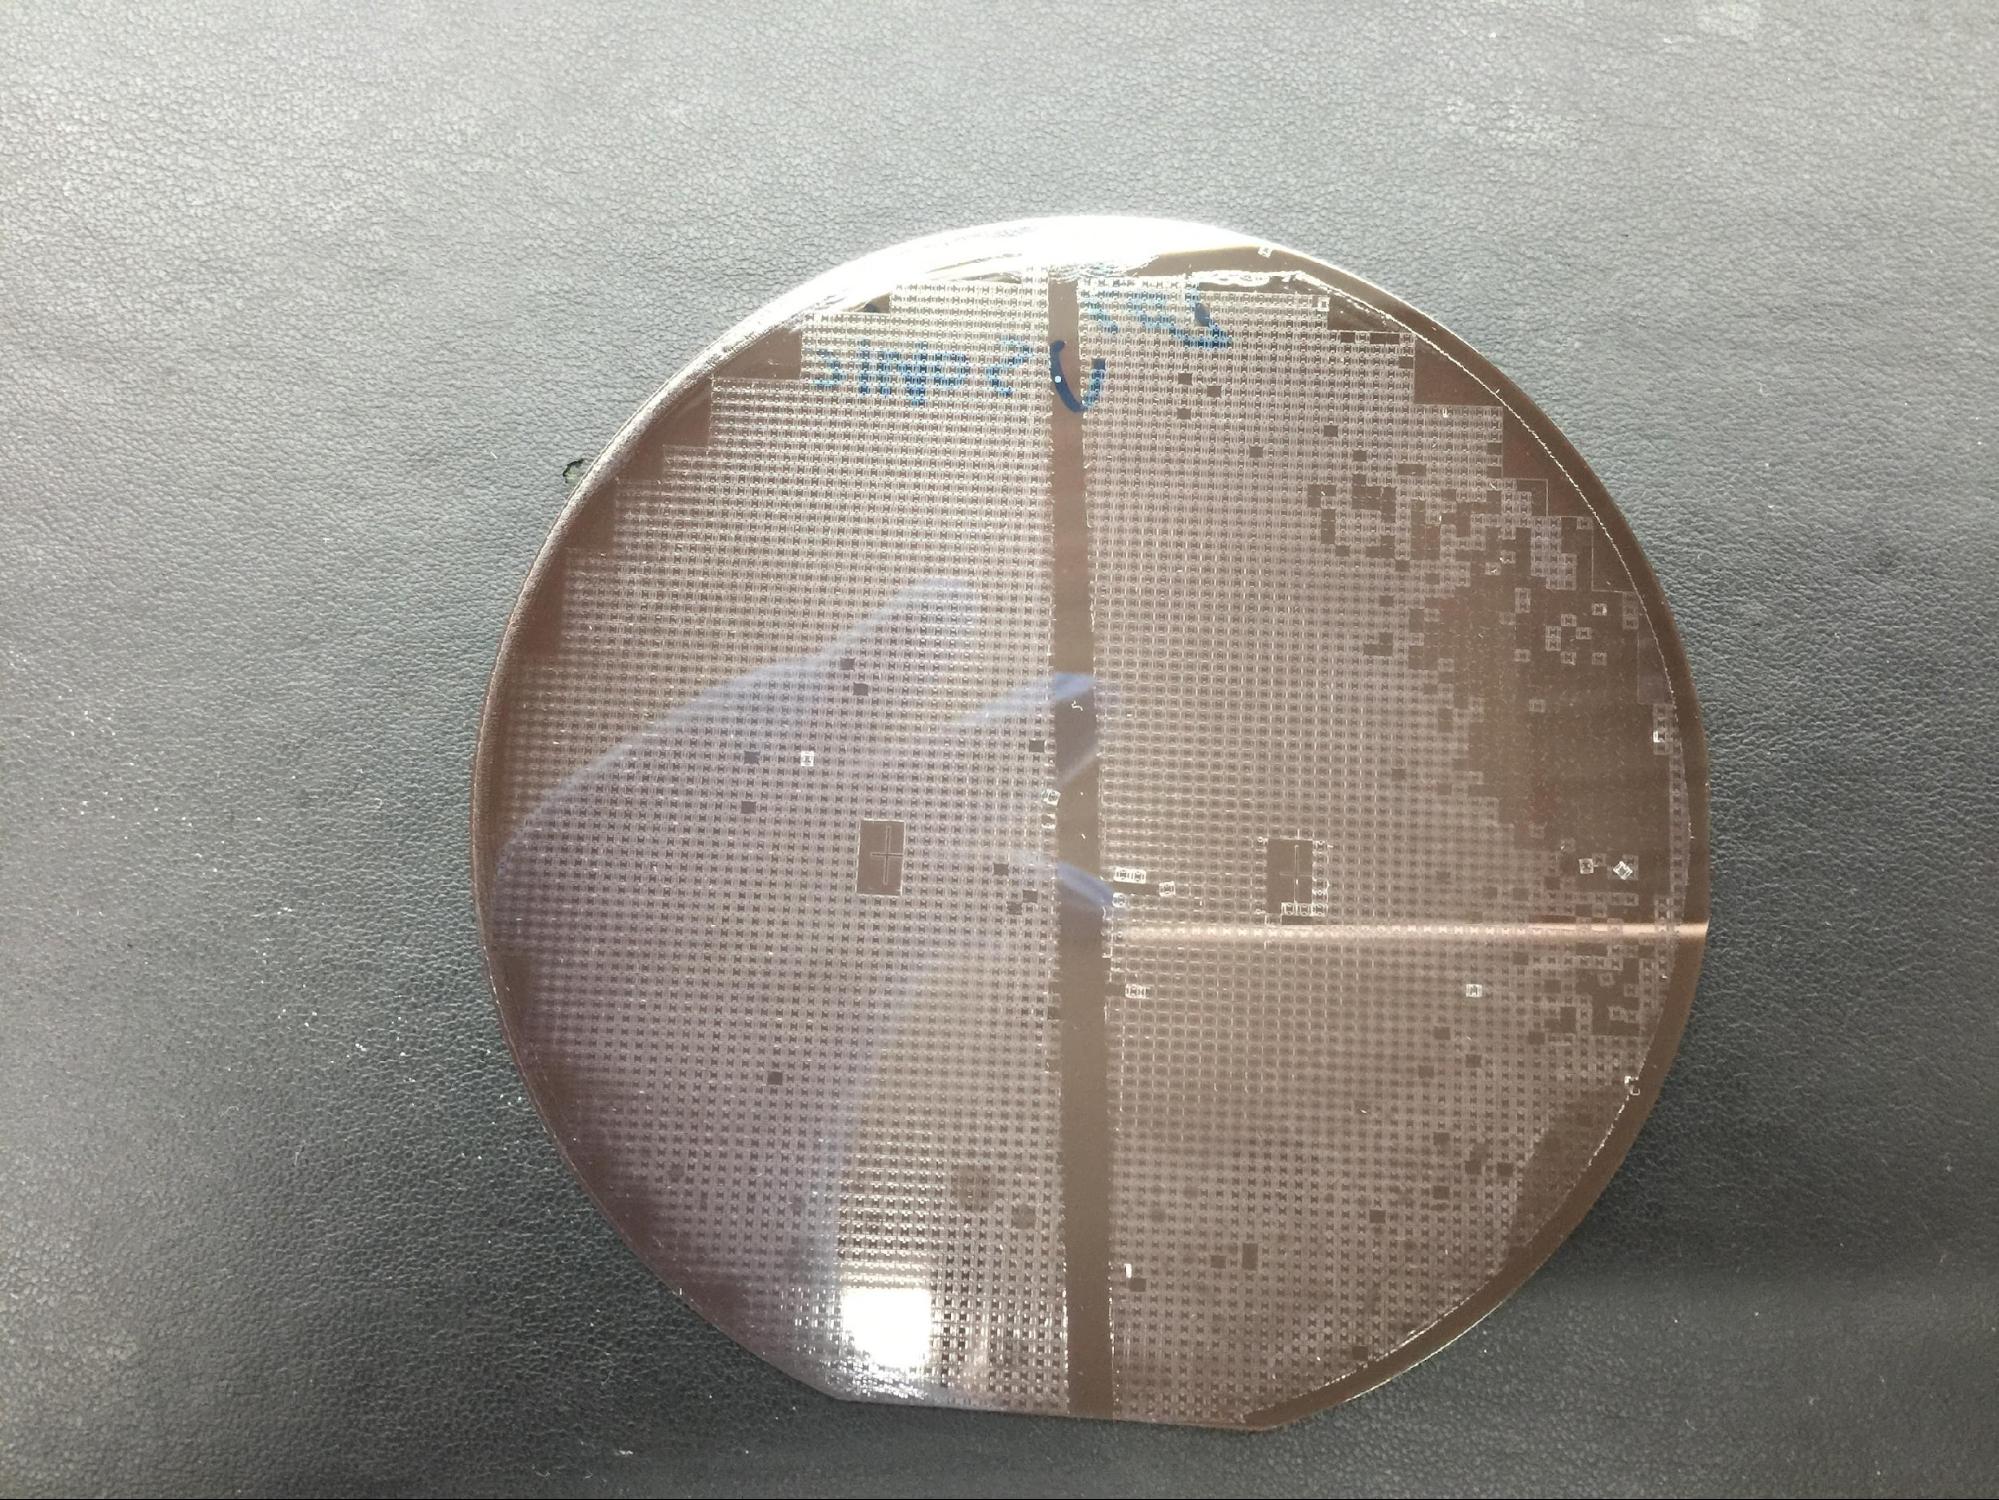
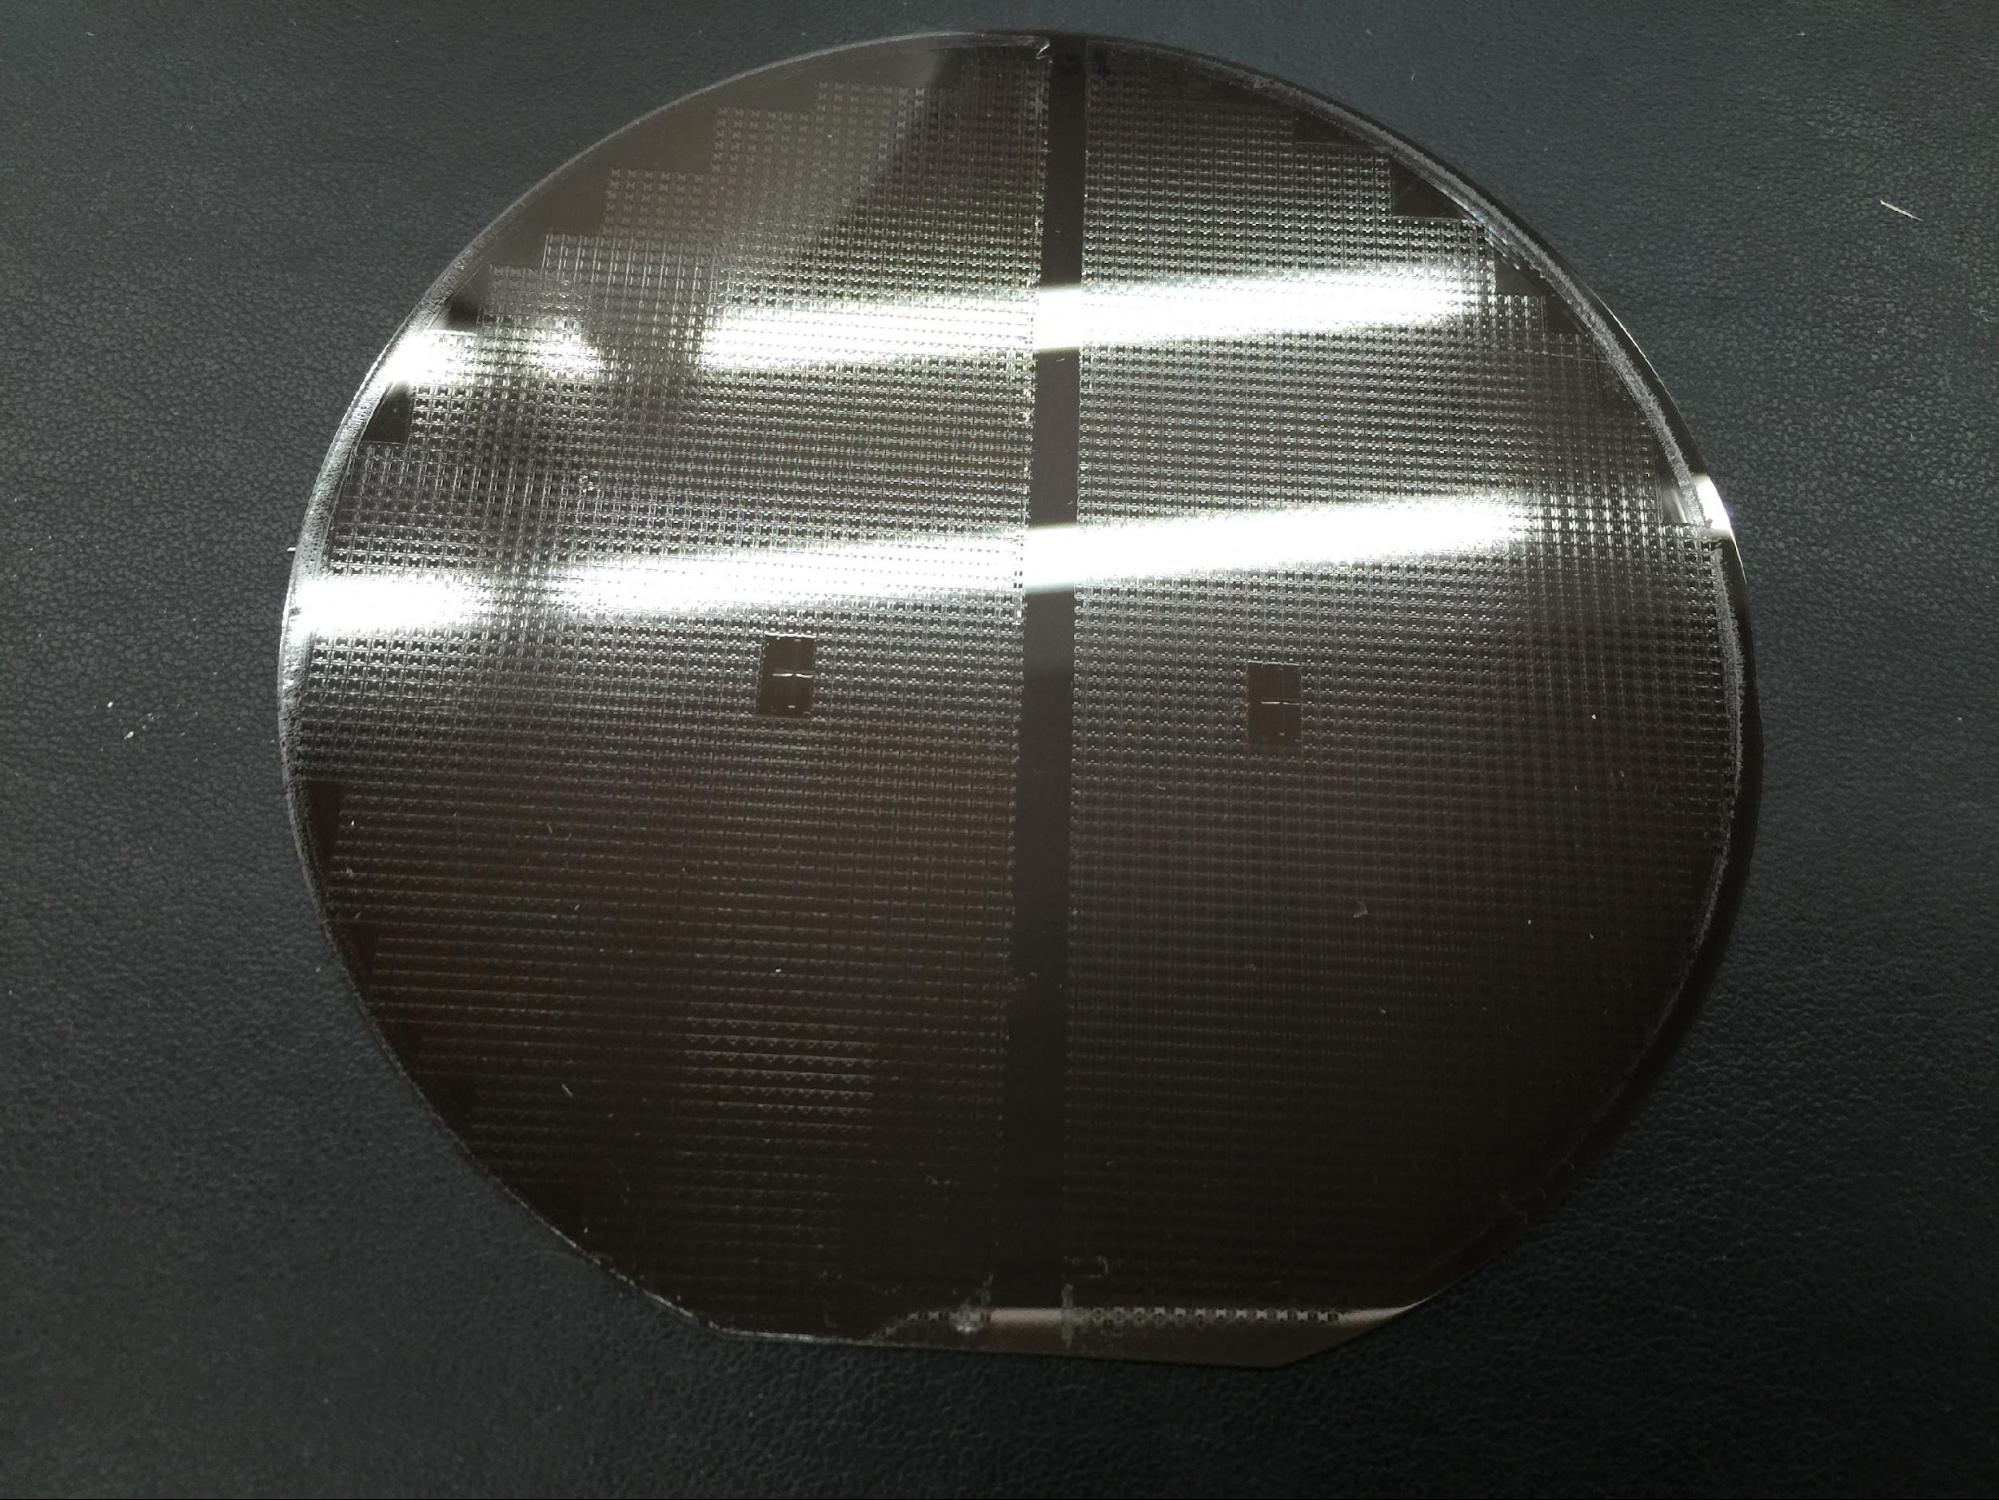
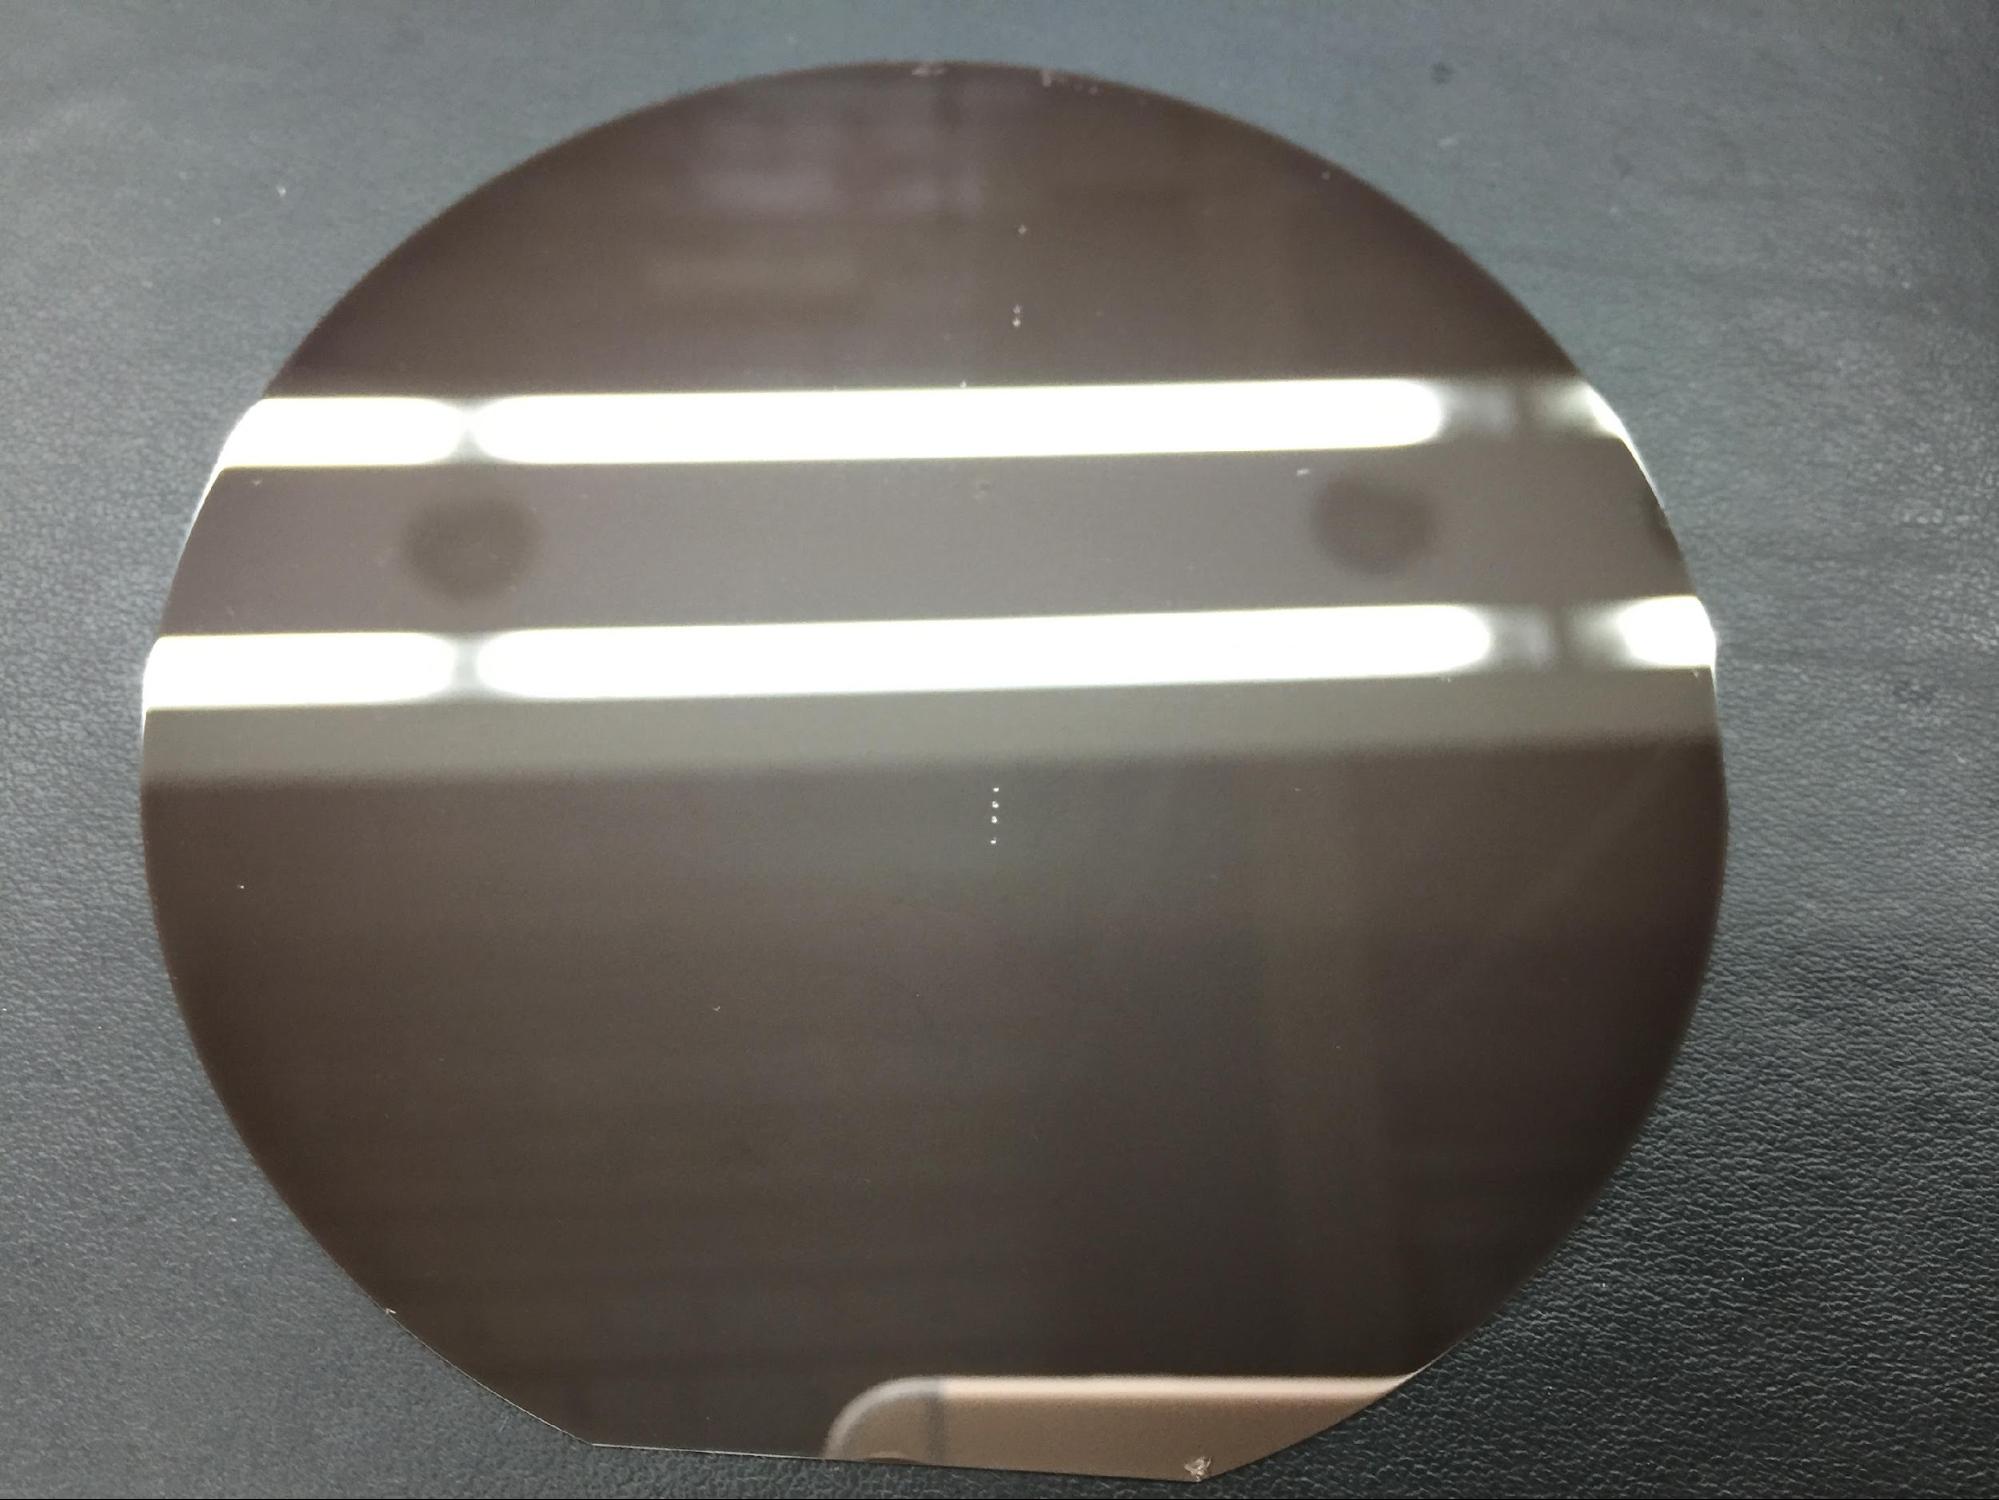
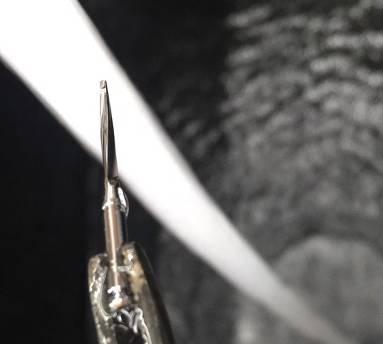
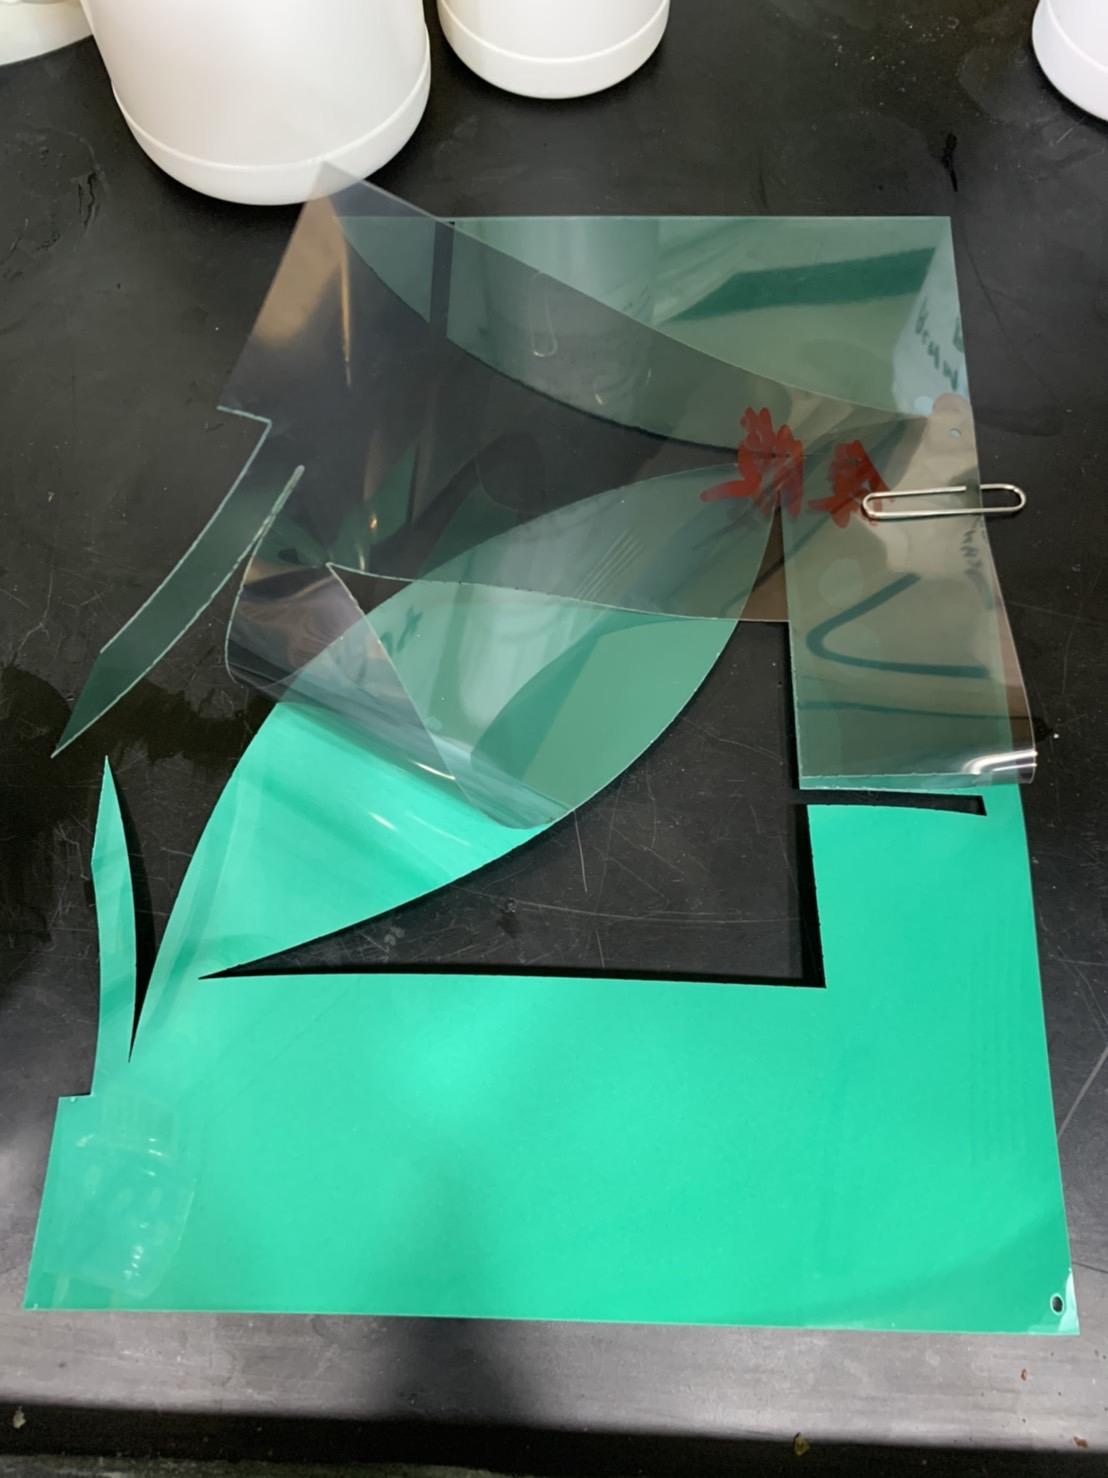
  1. Workpiece description: The customer is currently using alcohol solvents such as isopropyl alcohol (IPA) to wipe the electronic paper, remove the ink to expose the ITO on the PET film, and facilitate the subsequent connection of electrodes. However, the efficiency of IPA to remove electronic ink is not good, so customers need to wipe repeatedly, which often causes scratches on the ITO on the PET film, resulting in a decline in yield. The picture below shows that the protective film of the electronic paper is torn off, revealing the green ink.

    01.jpg

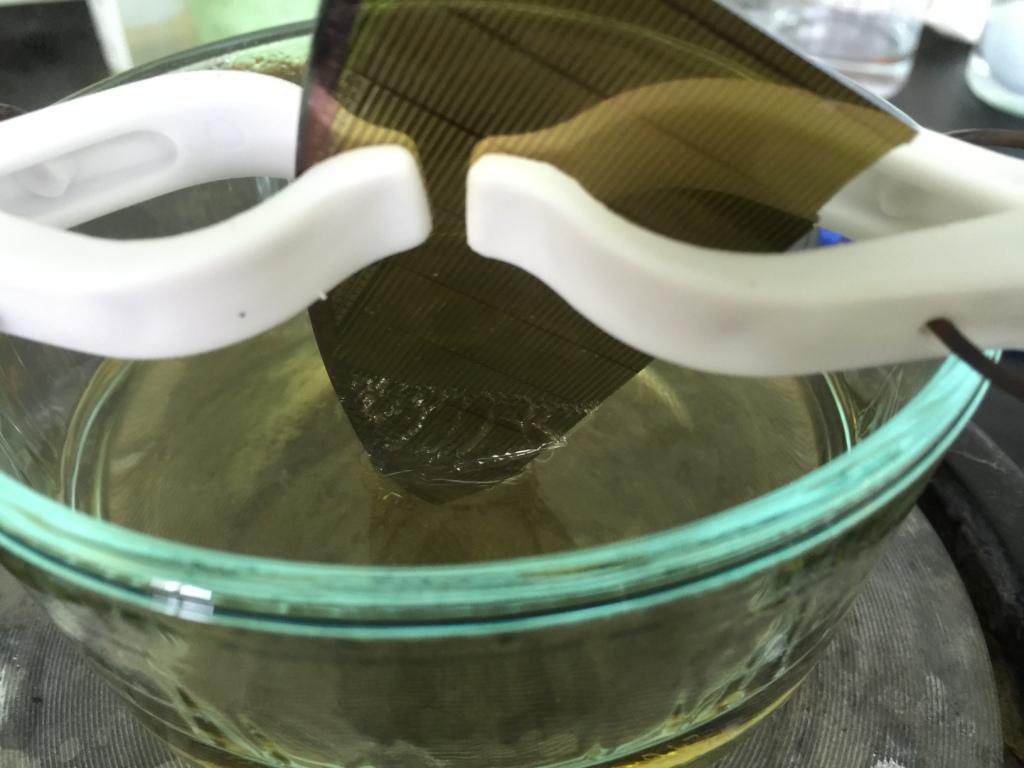
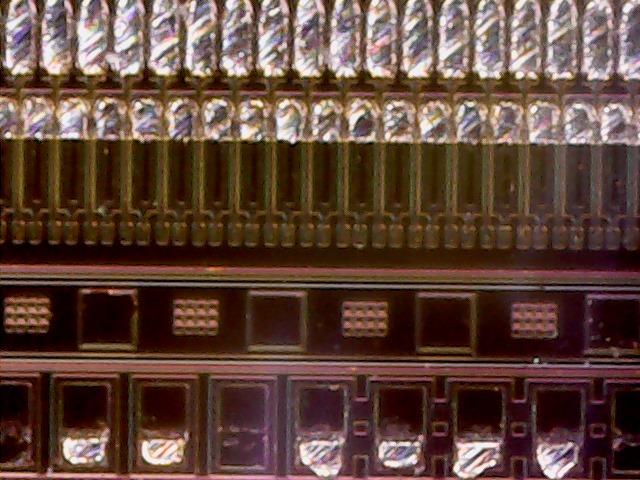
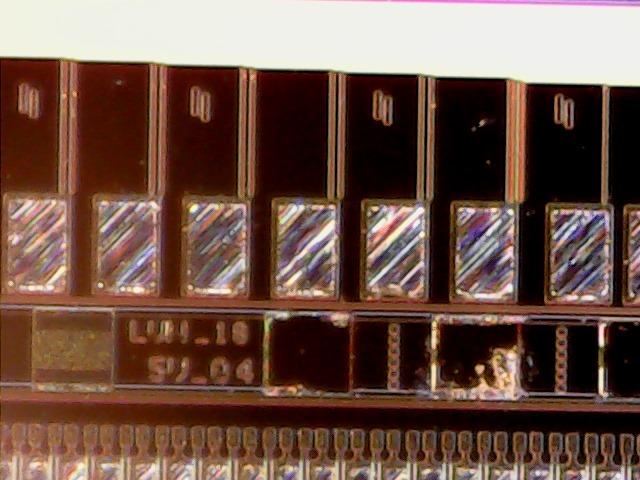
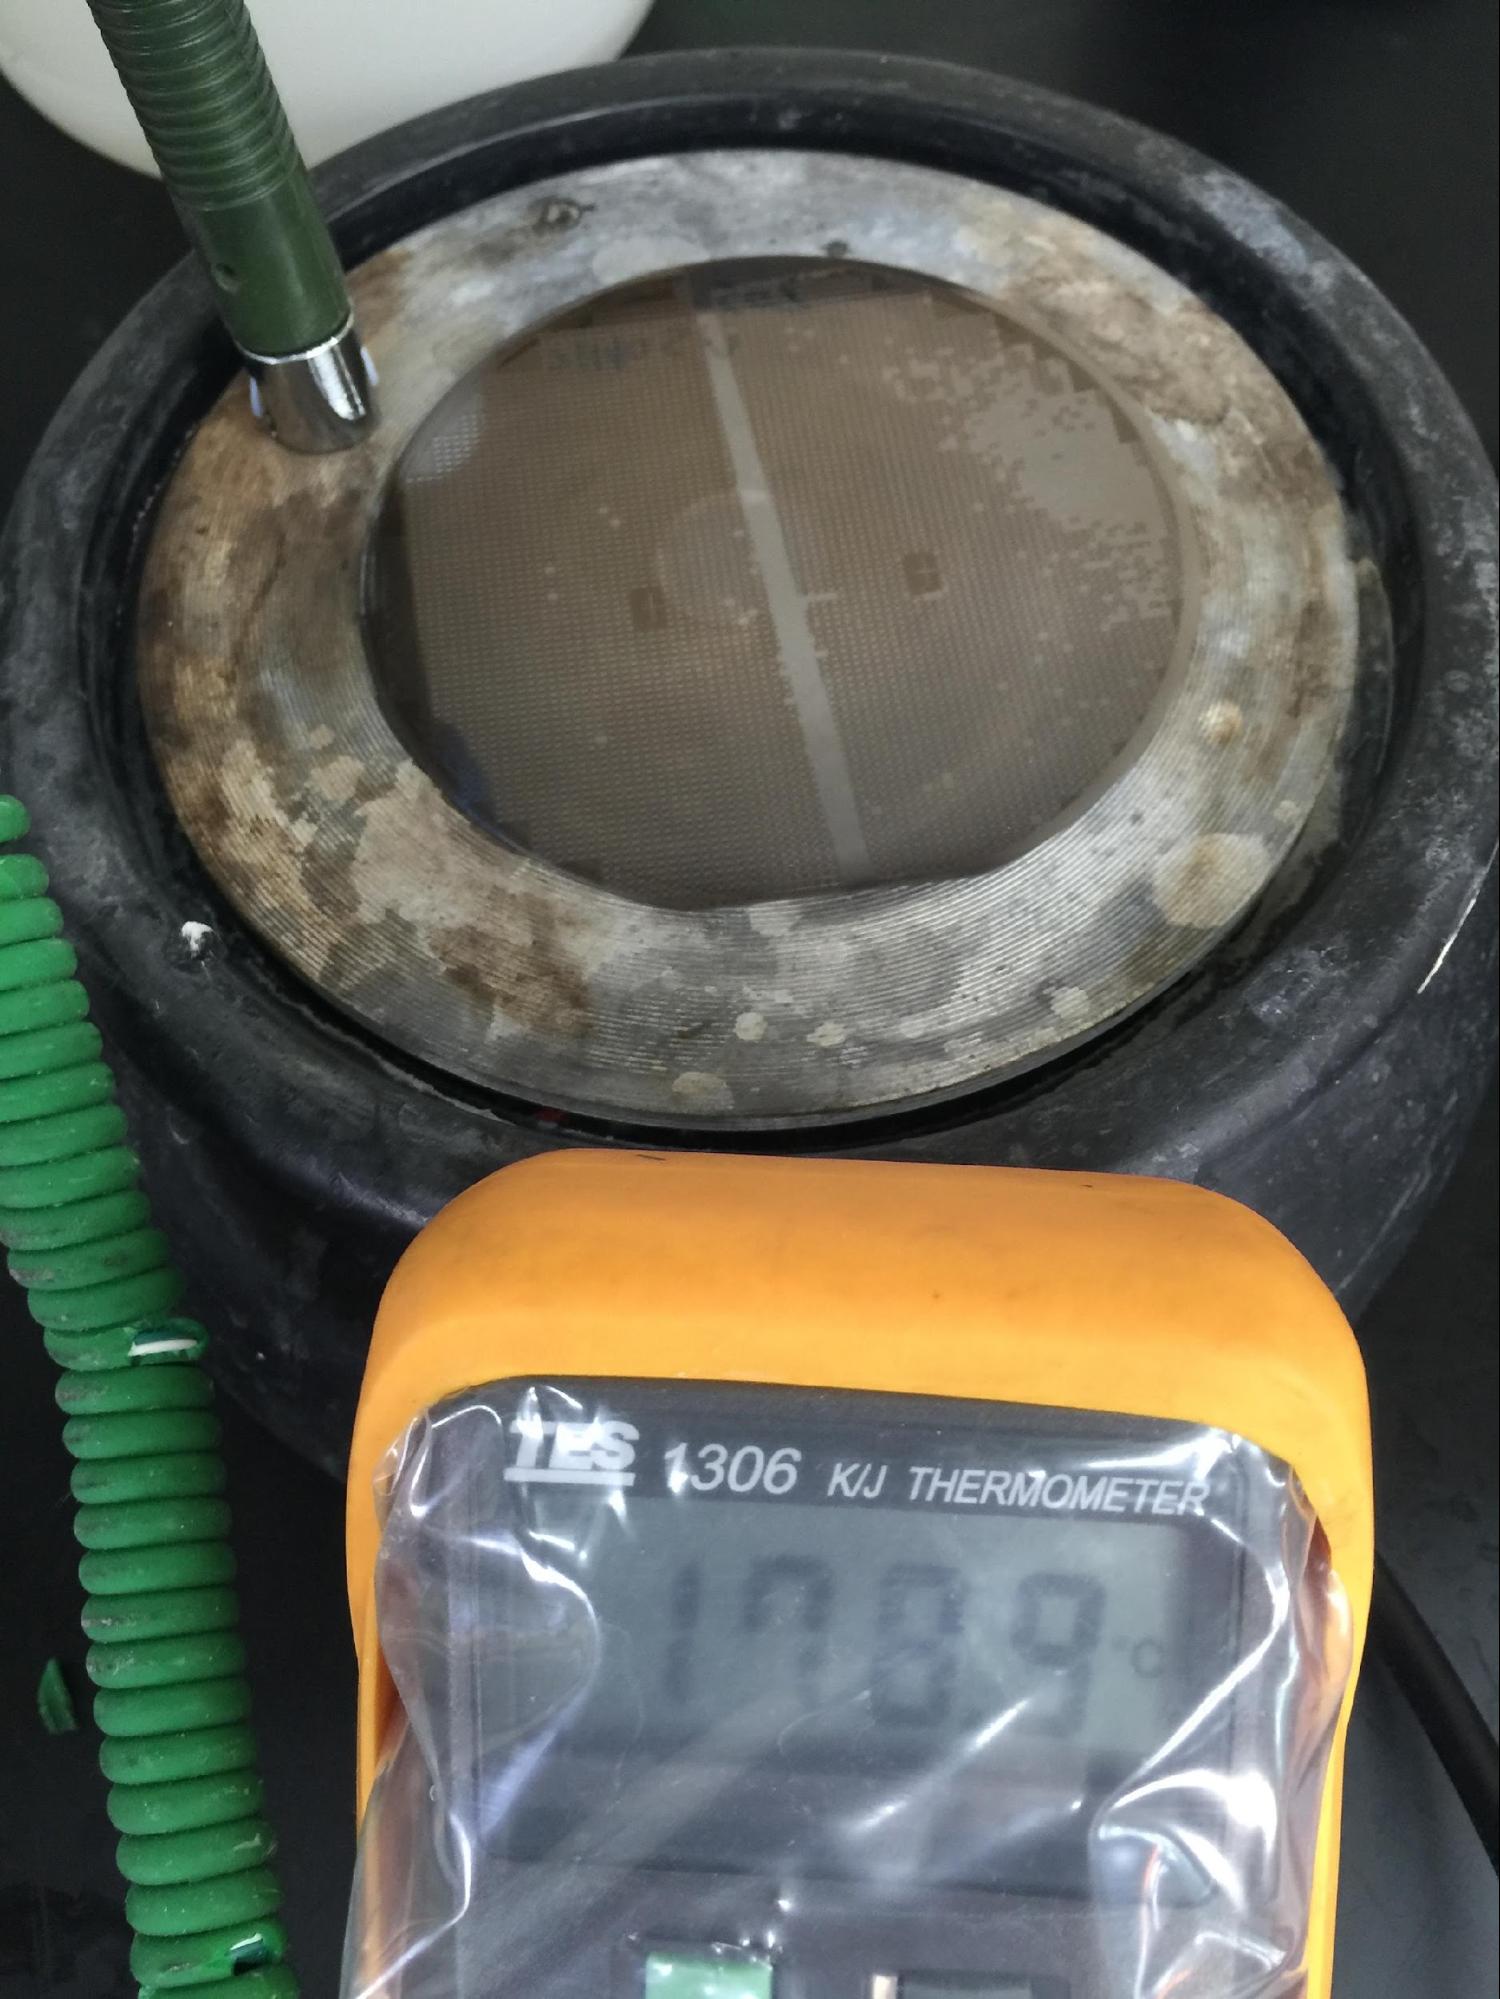
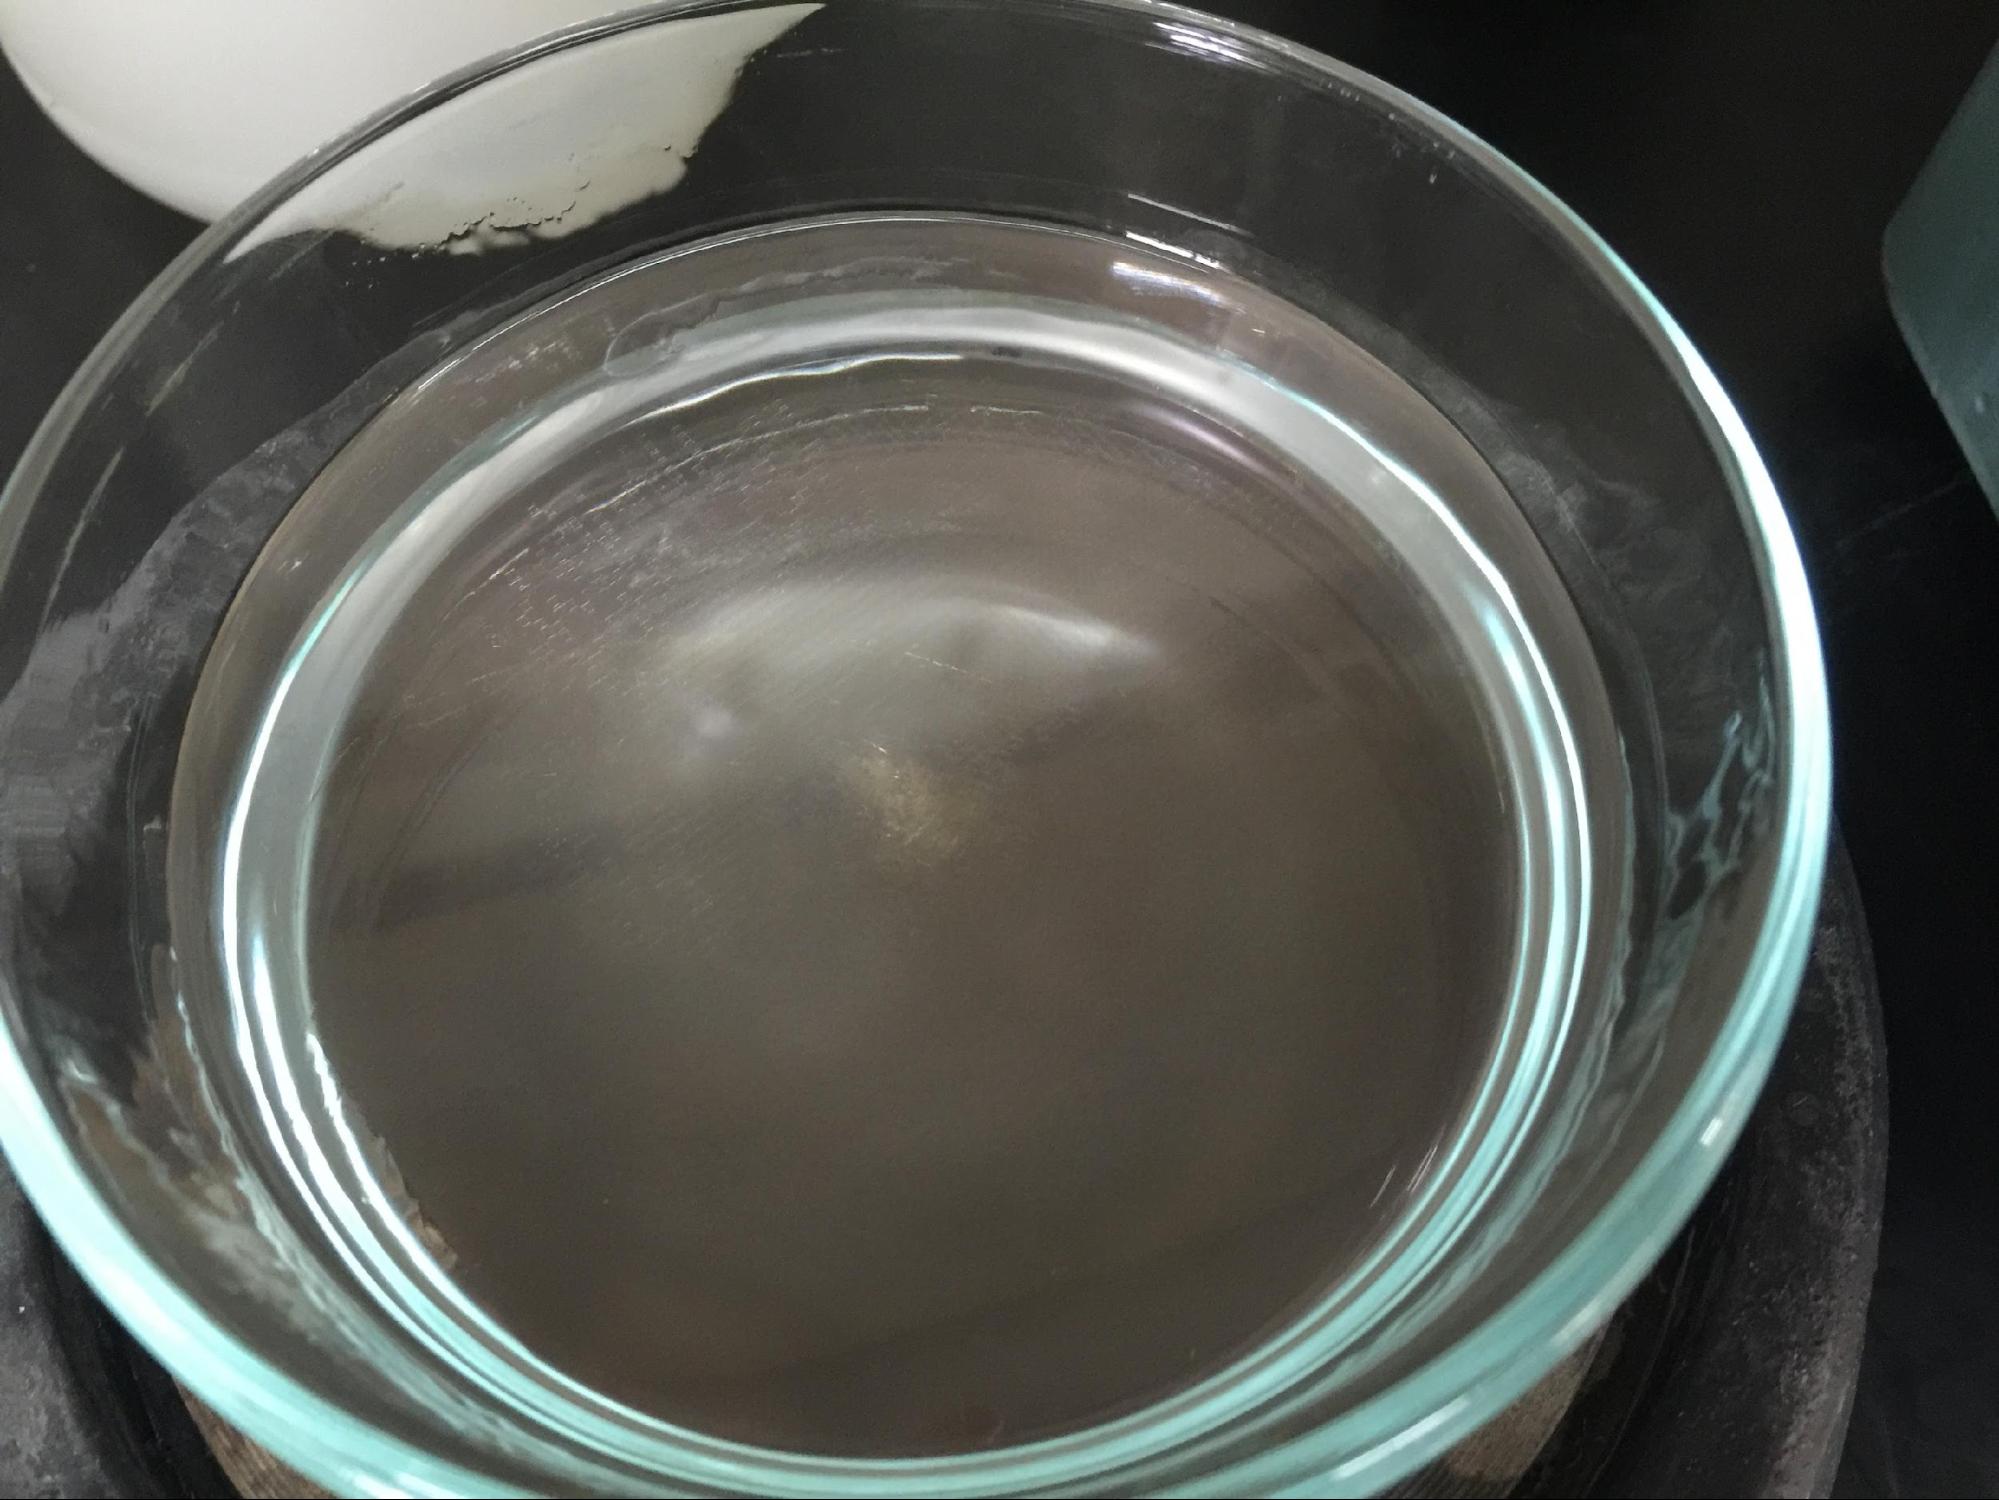
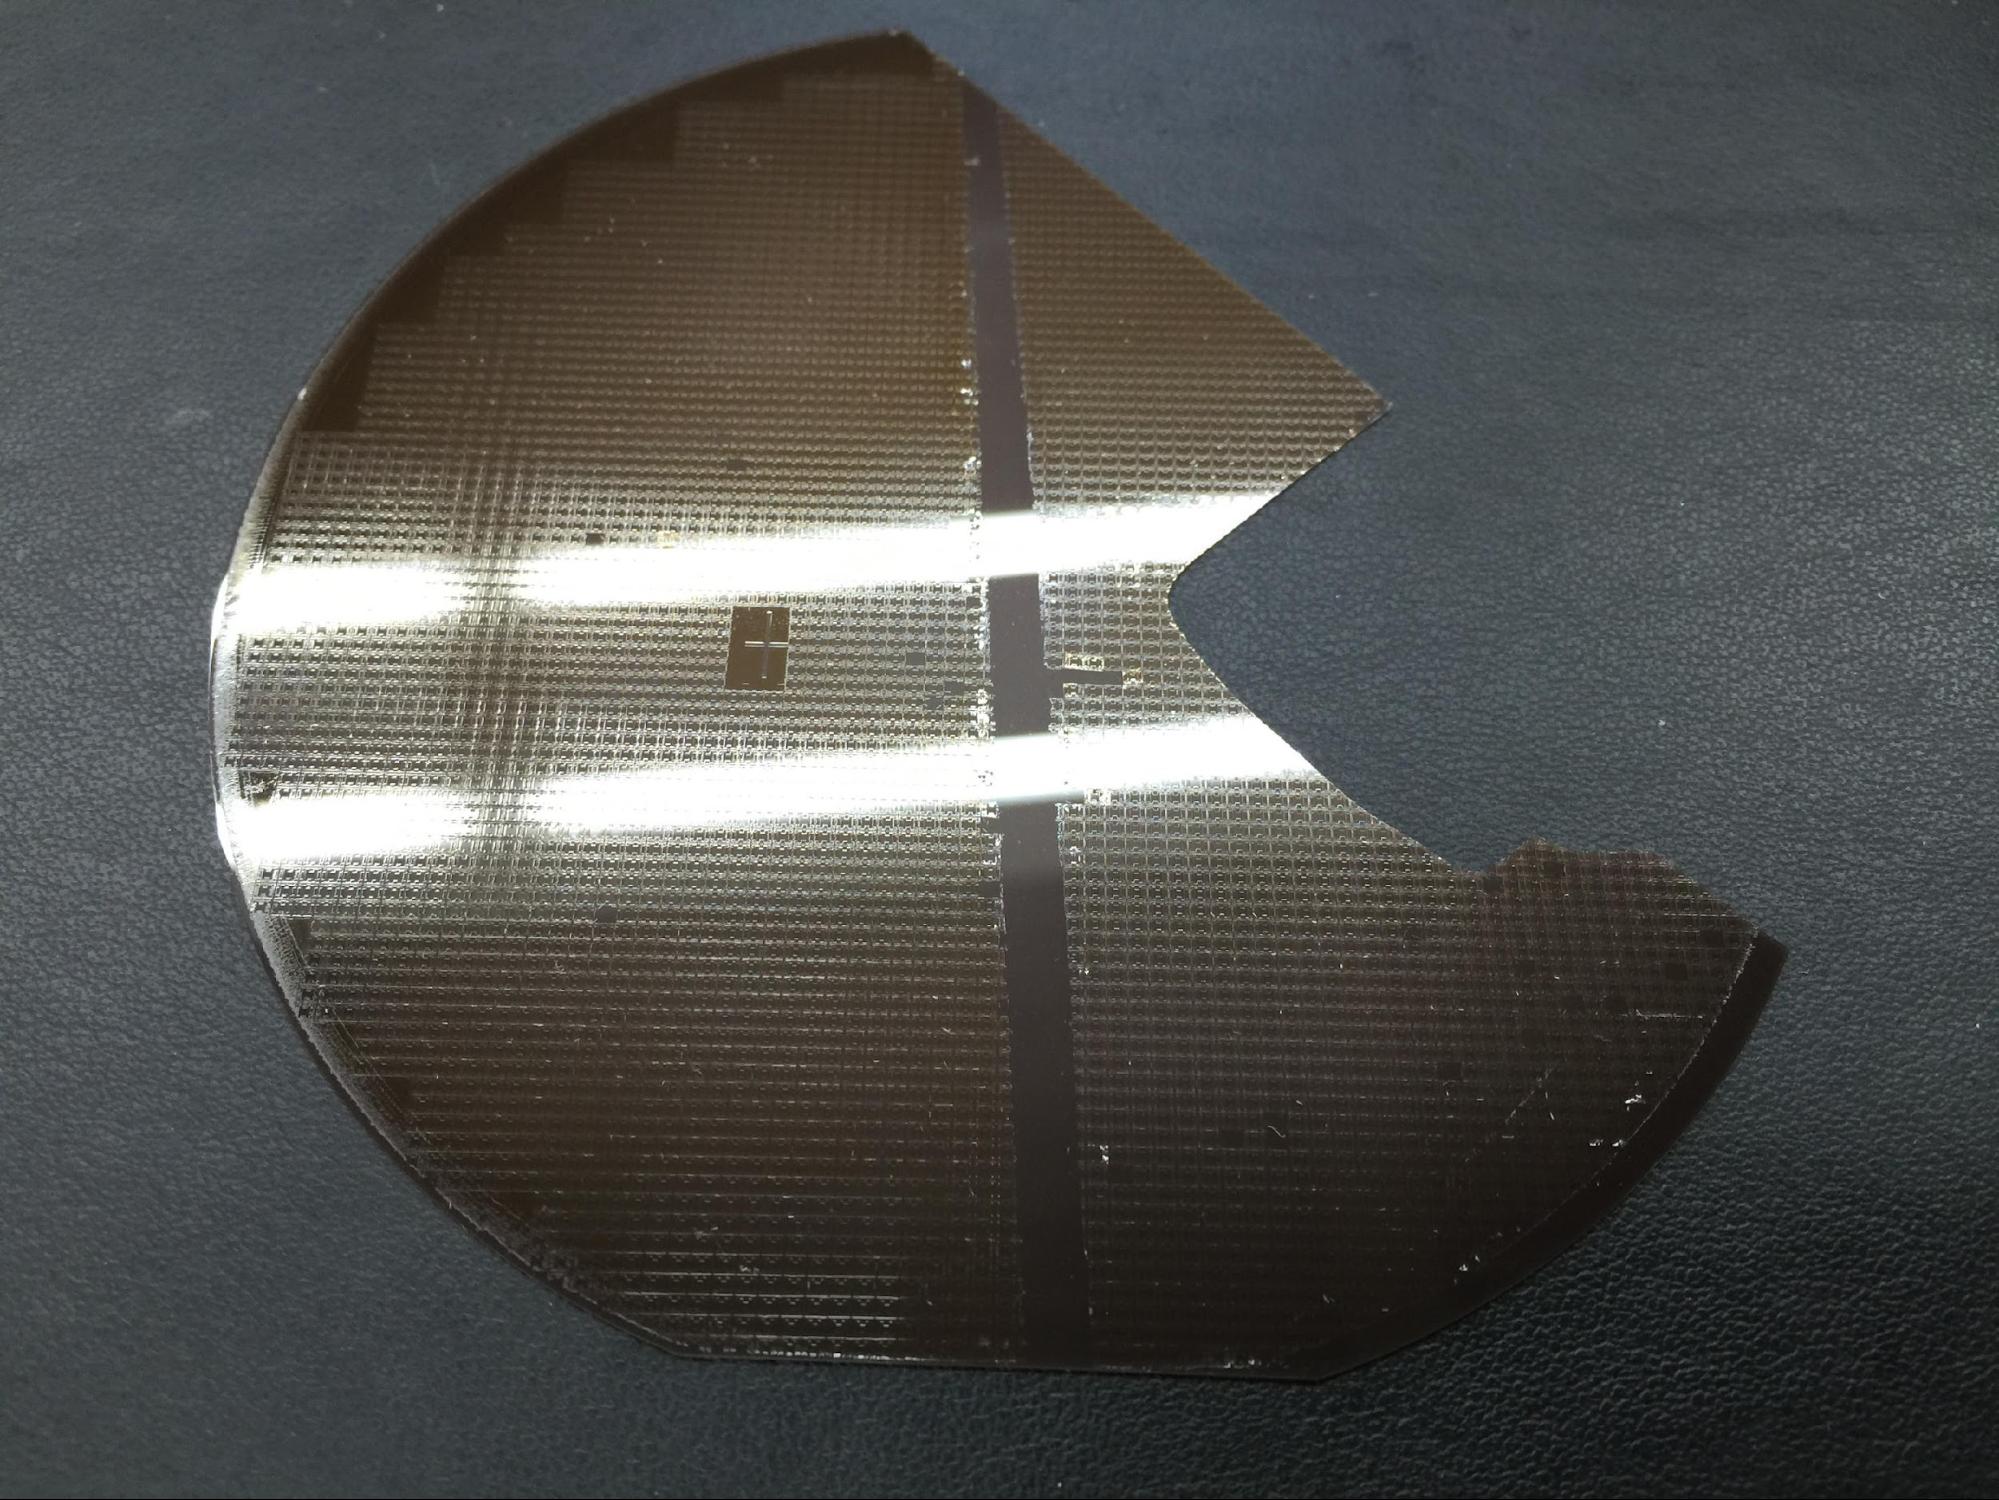
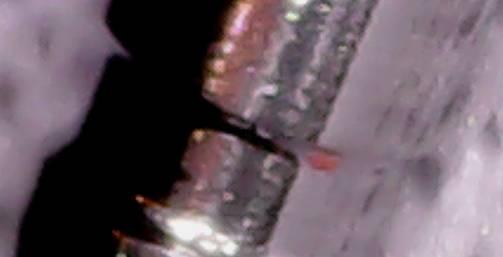
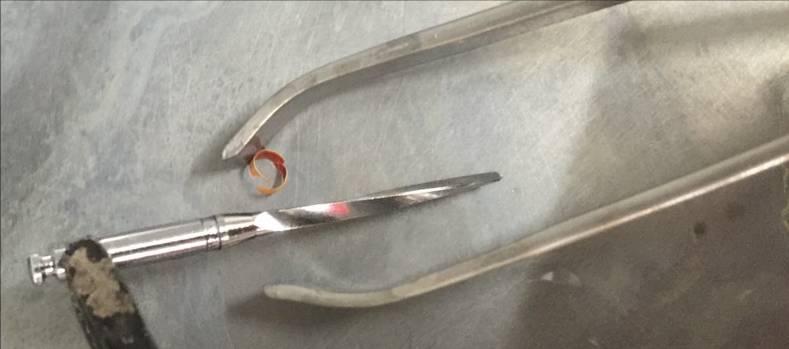
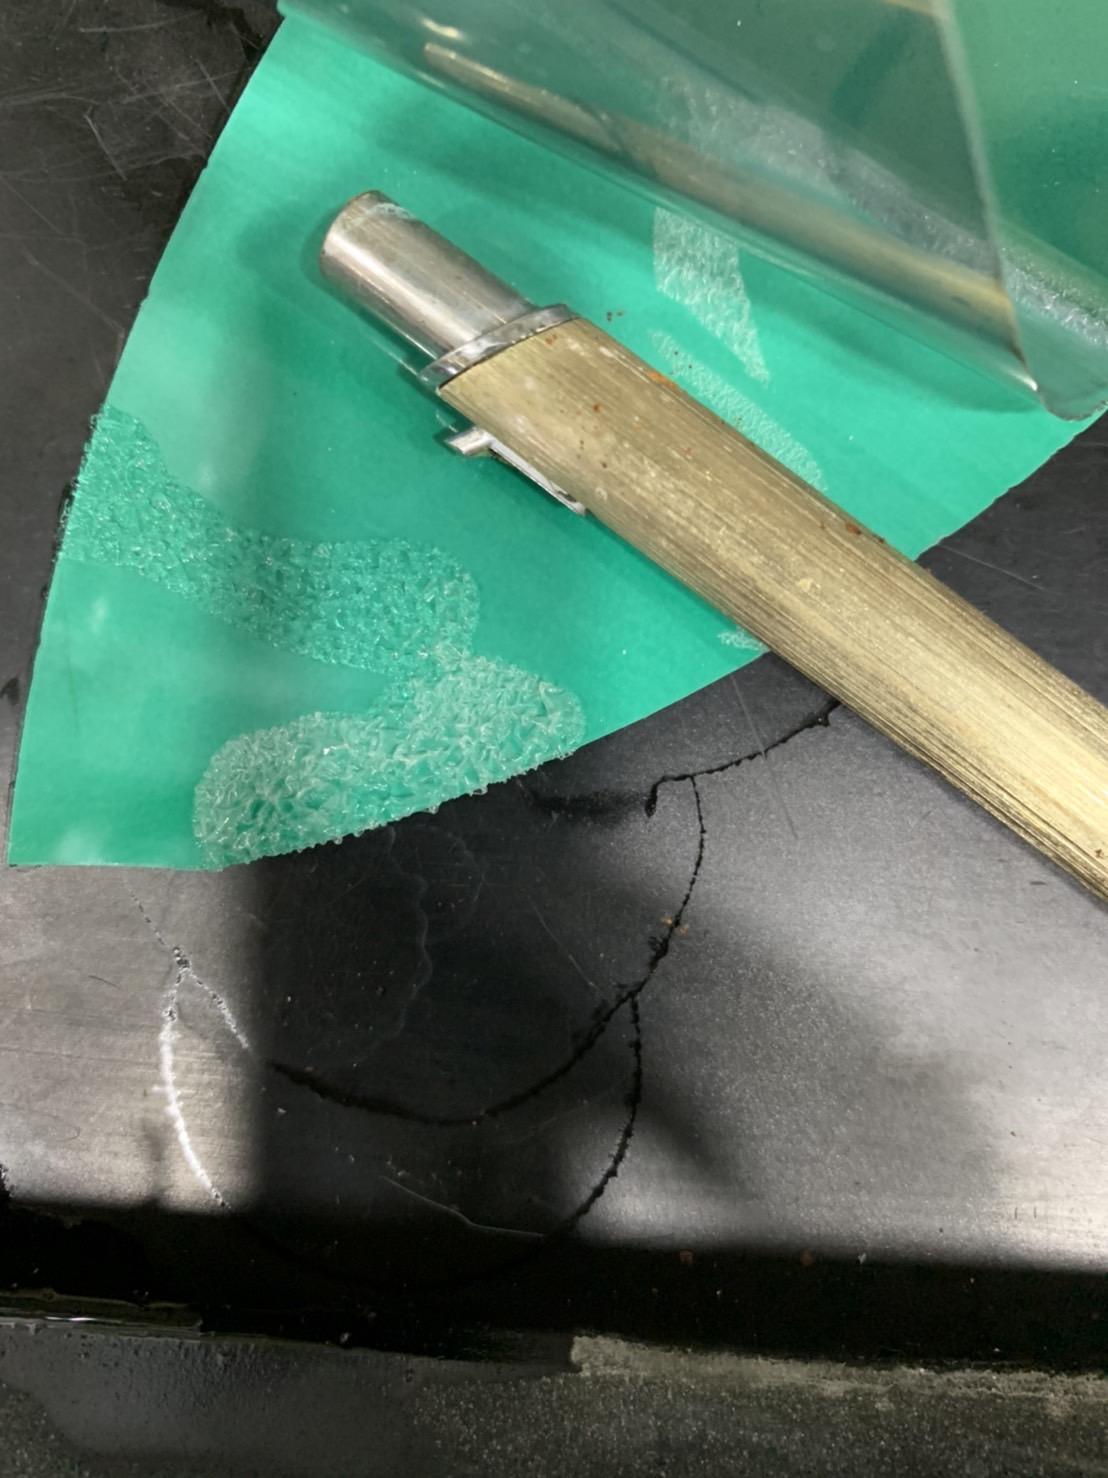
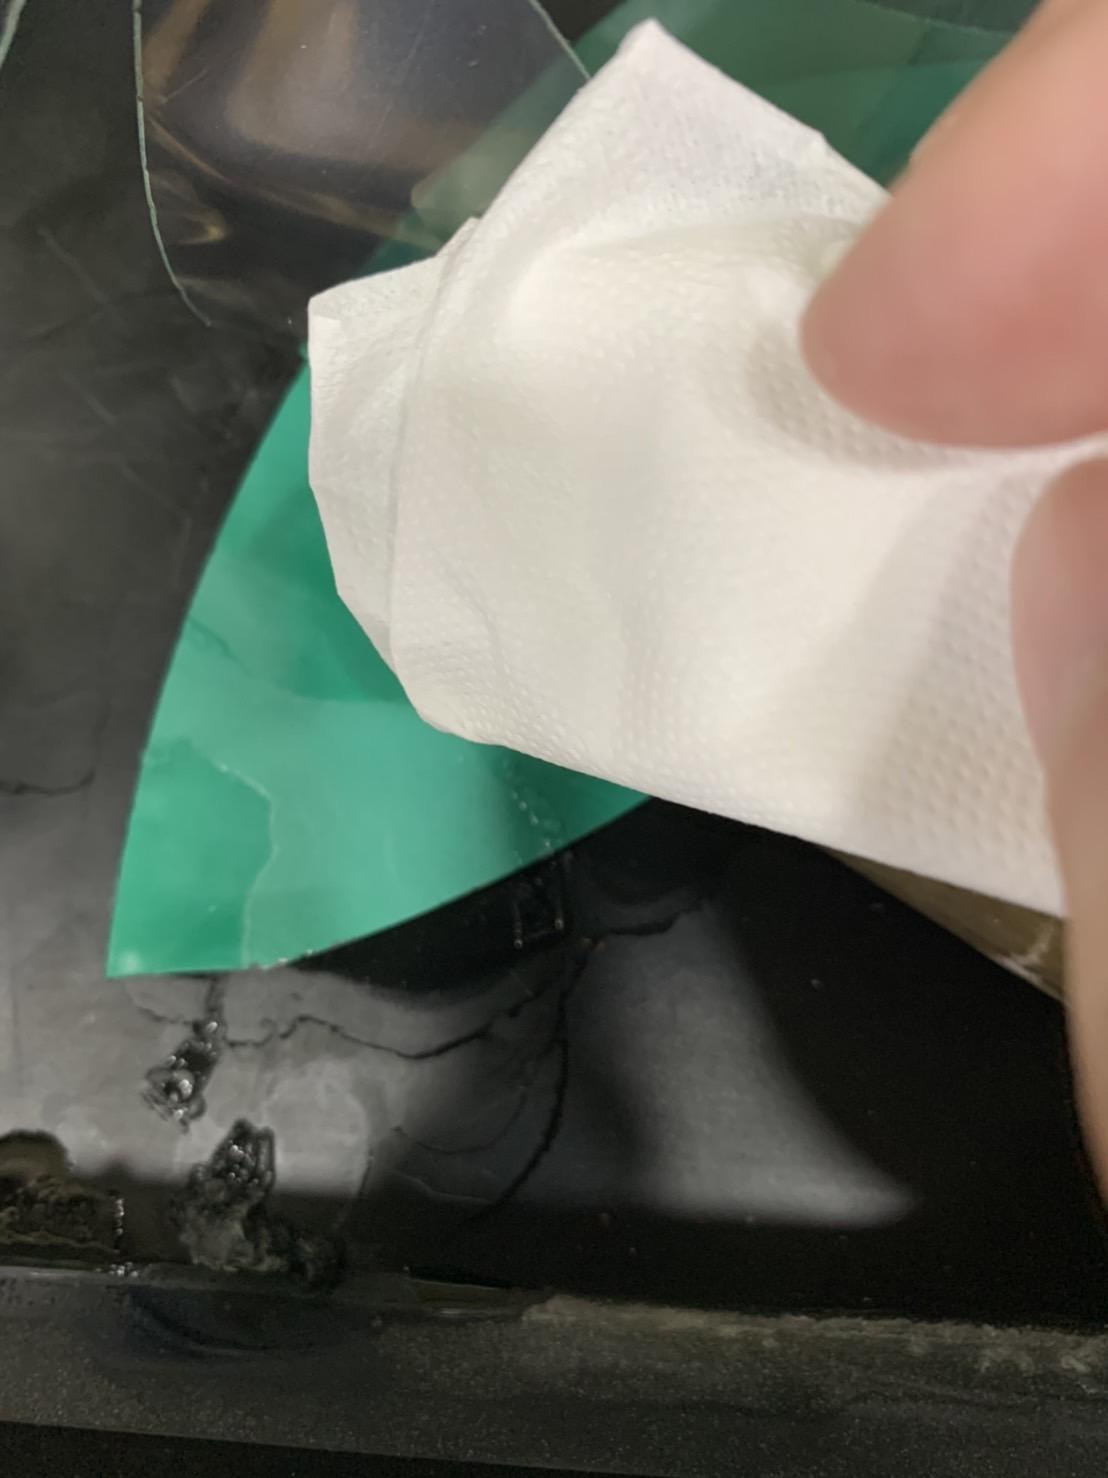
  2. The picture below shows the situation of using IPA to wipe the electronic paper. Drop IPA on the exposed green ink on the e-paper. On the left side of the picture below, it is found that there is a layer of OCA glue on the ink, and IPA can quickly (about 1~2 minutes) decompose this OCA glue. On the right side of the picture below, I put IPA on the green ink for 5 minutes and wiped it with tissue paper. I found that although the OCA glue on the surface is easy to remove, the green electronic ink is not easy to wipe off. It needs to be wiped repeatedly several times with a little force. remove. This action can easily cause scratches on the ITO on the PET film.

    02.jpg

    03.jpg

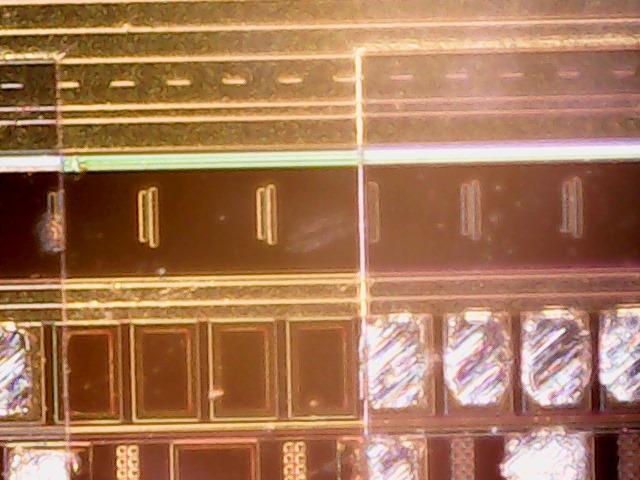
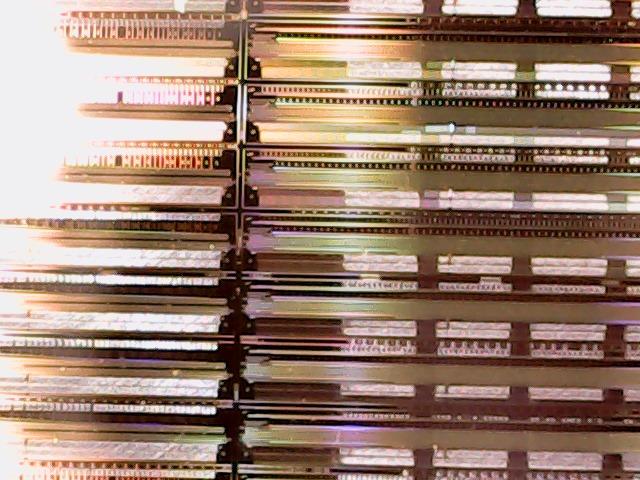
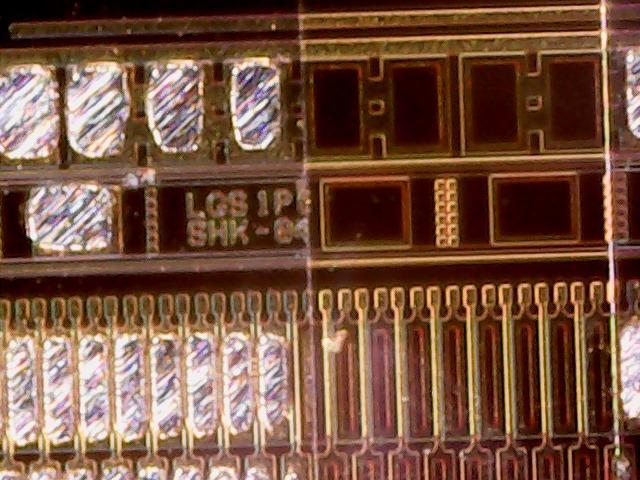
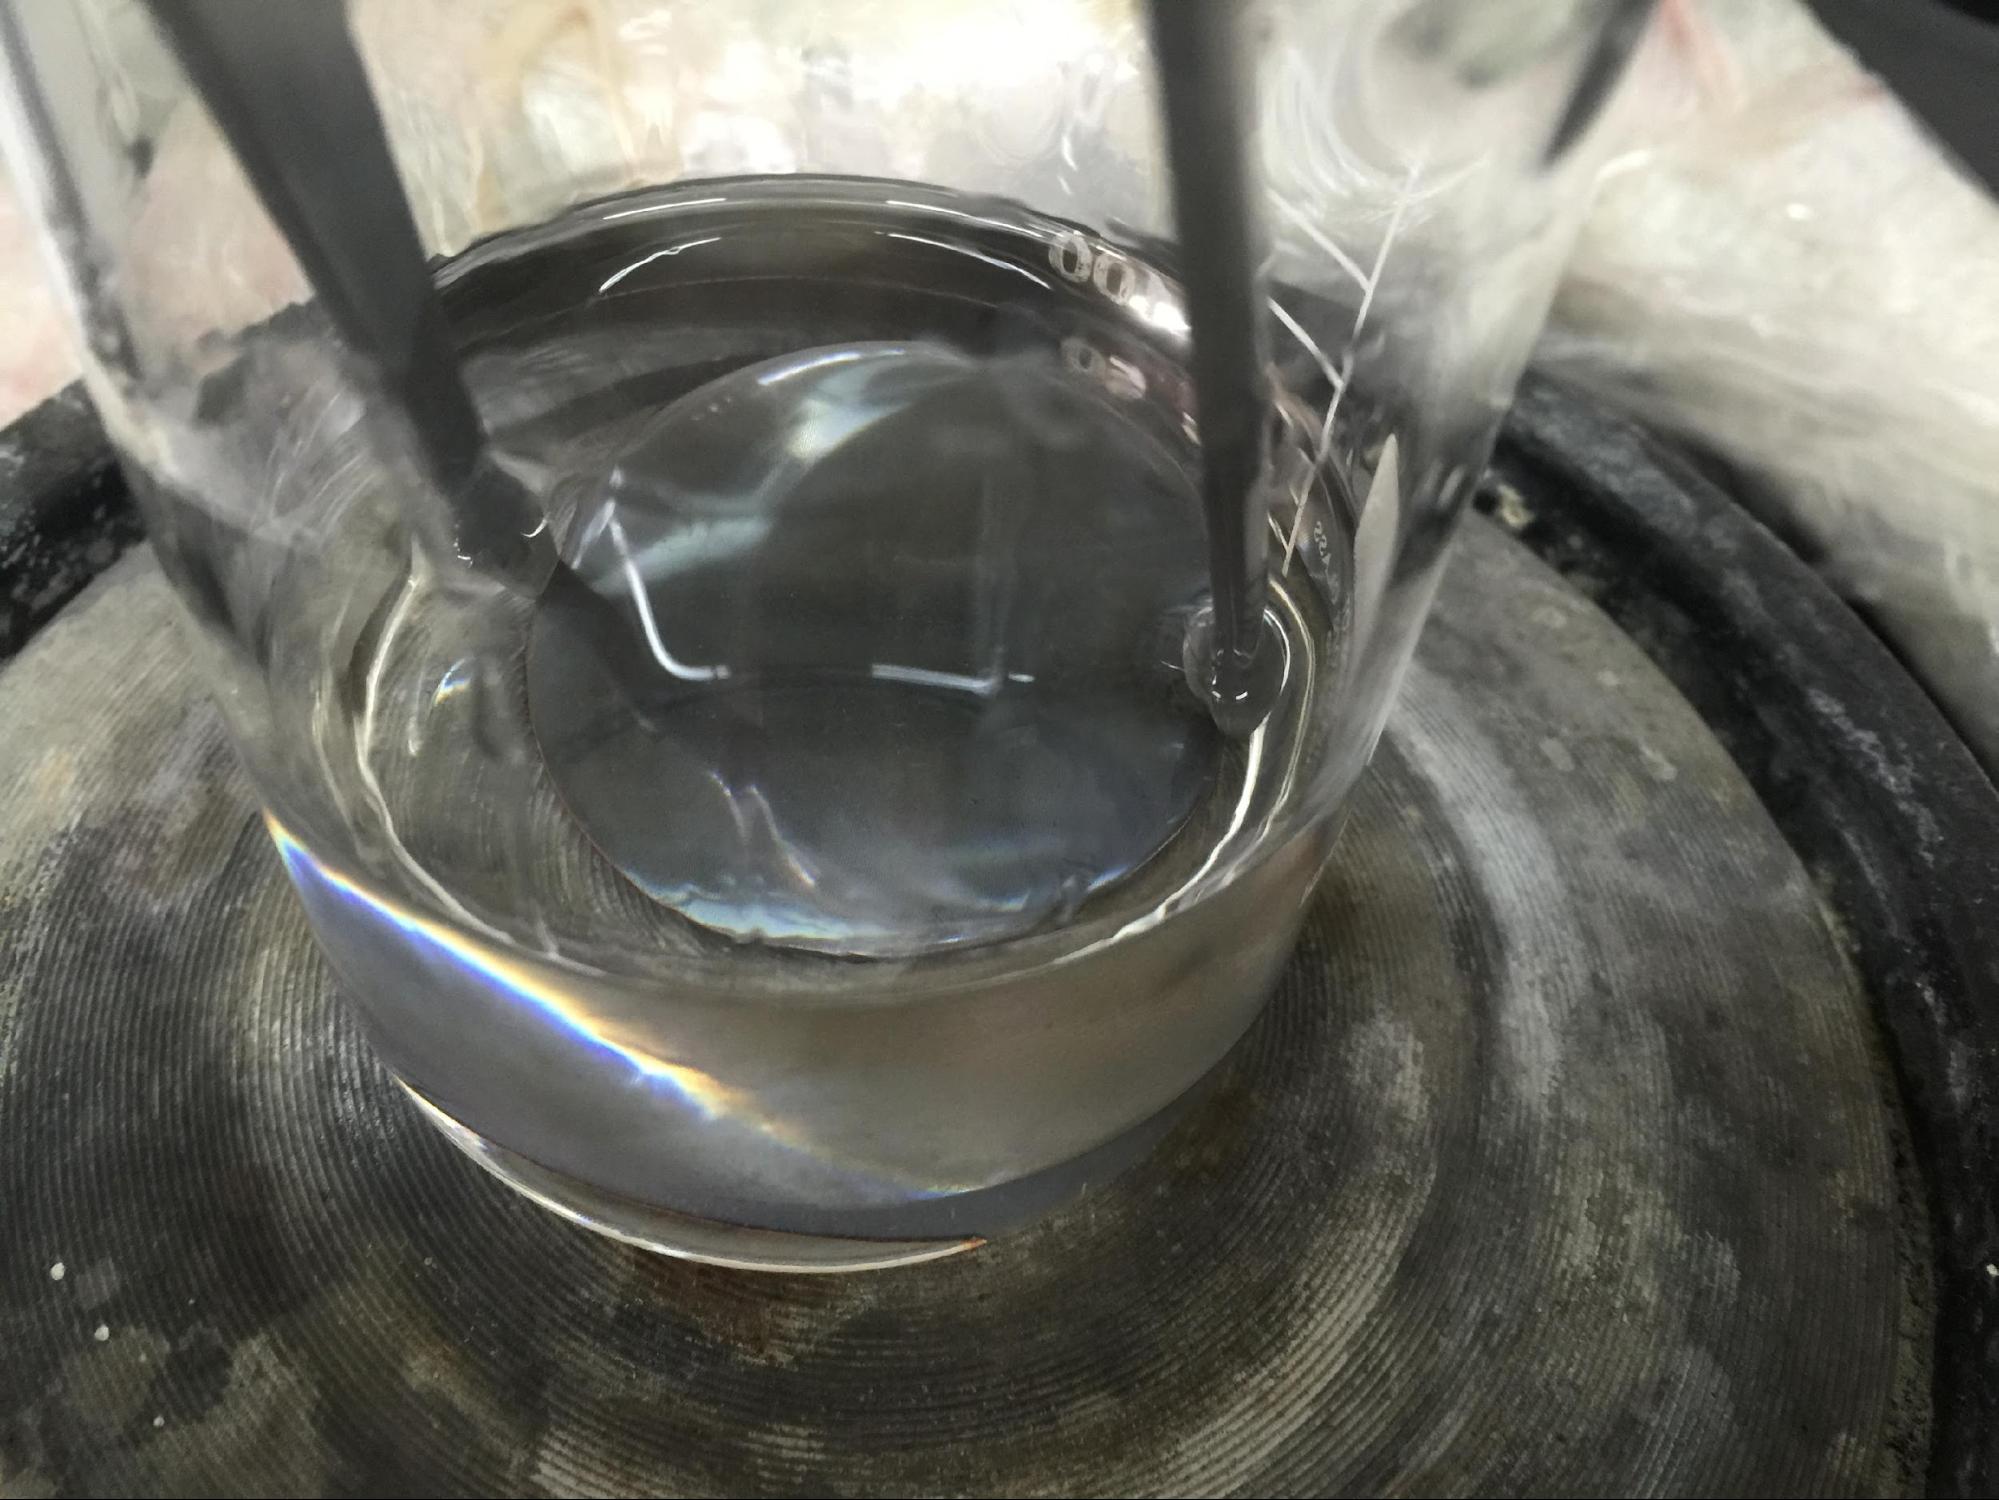
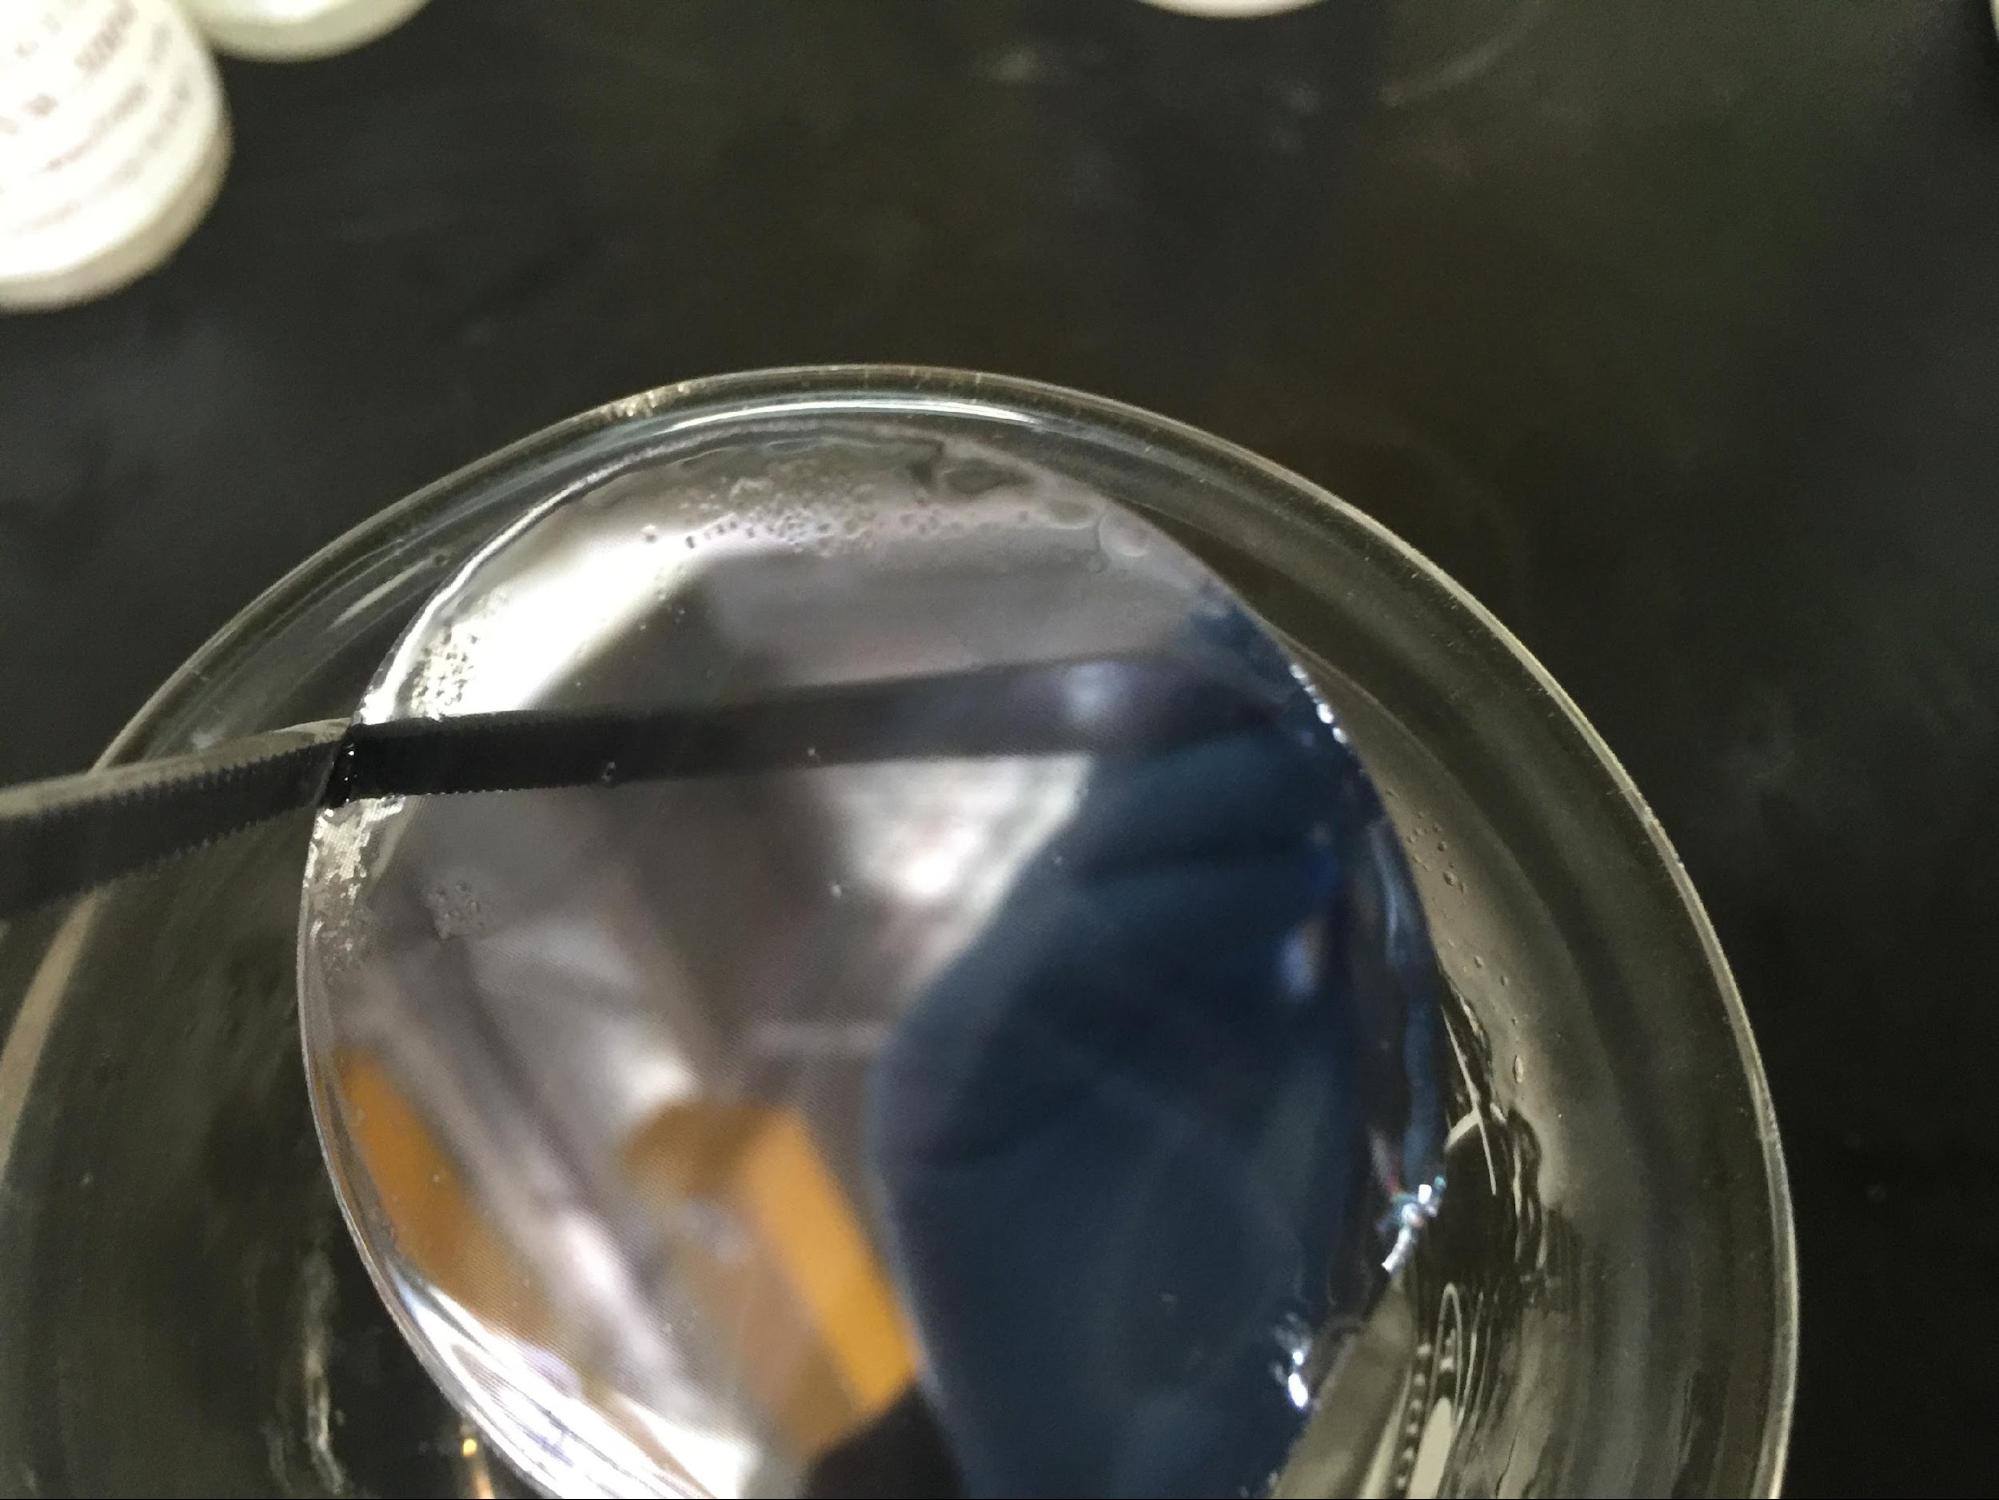
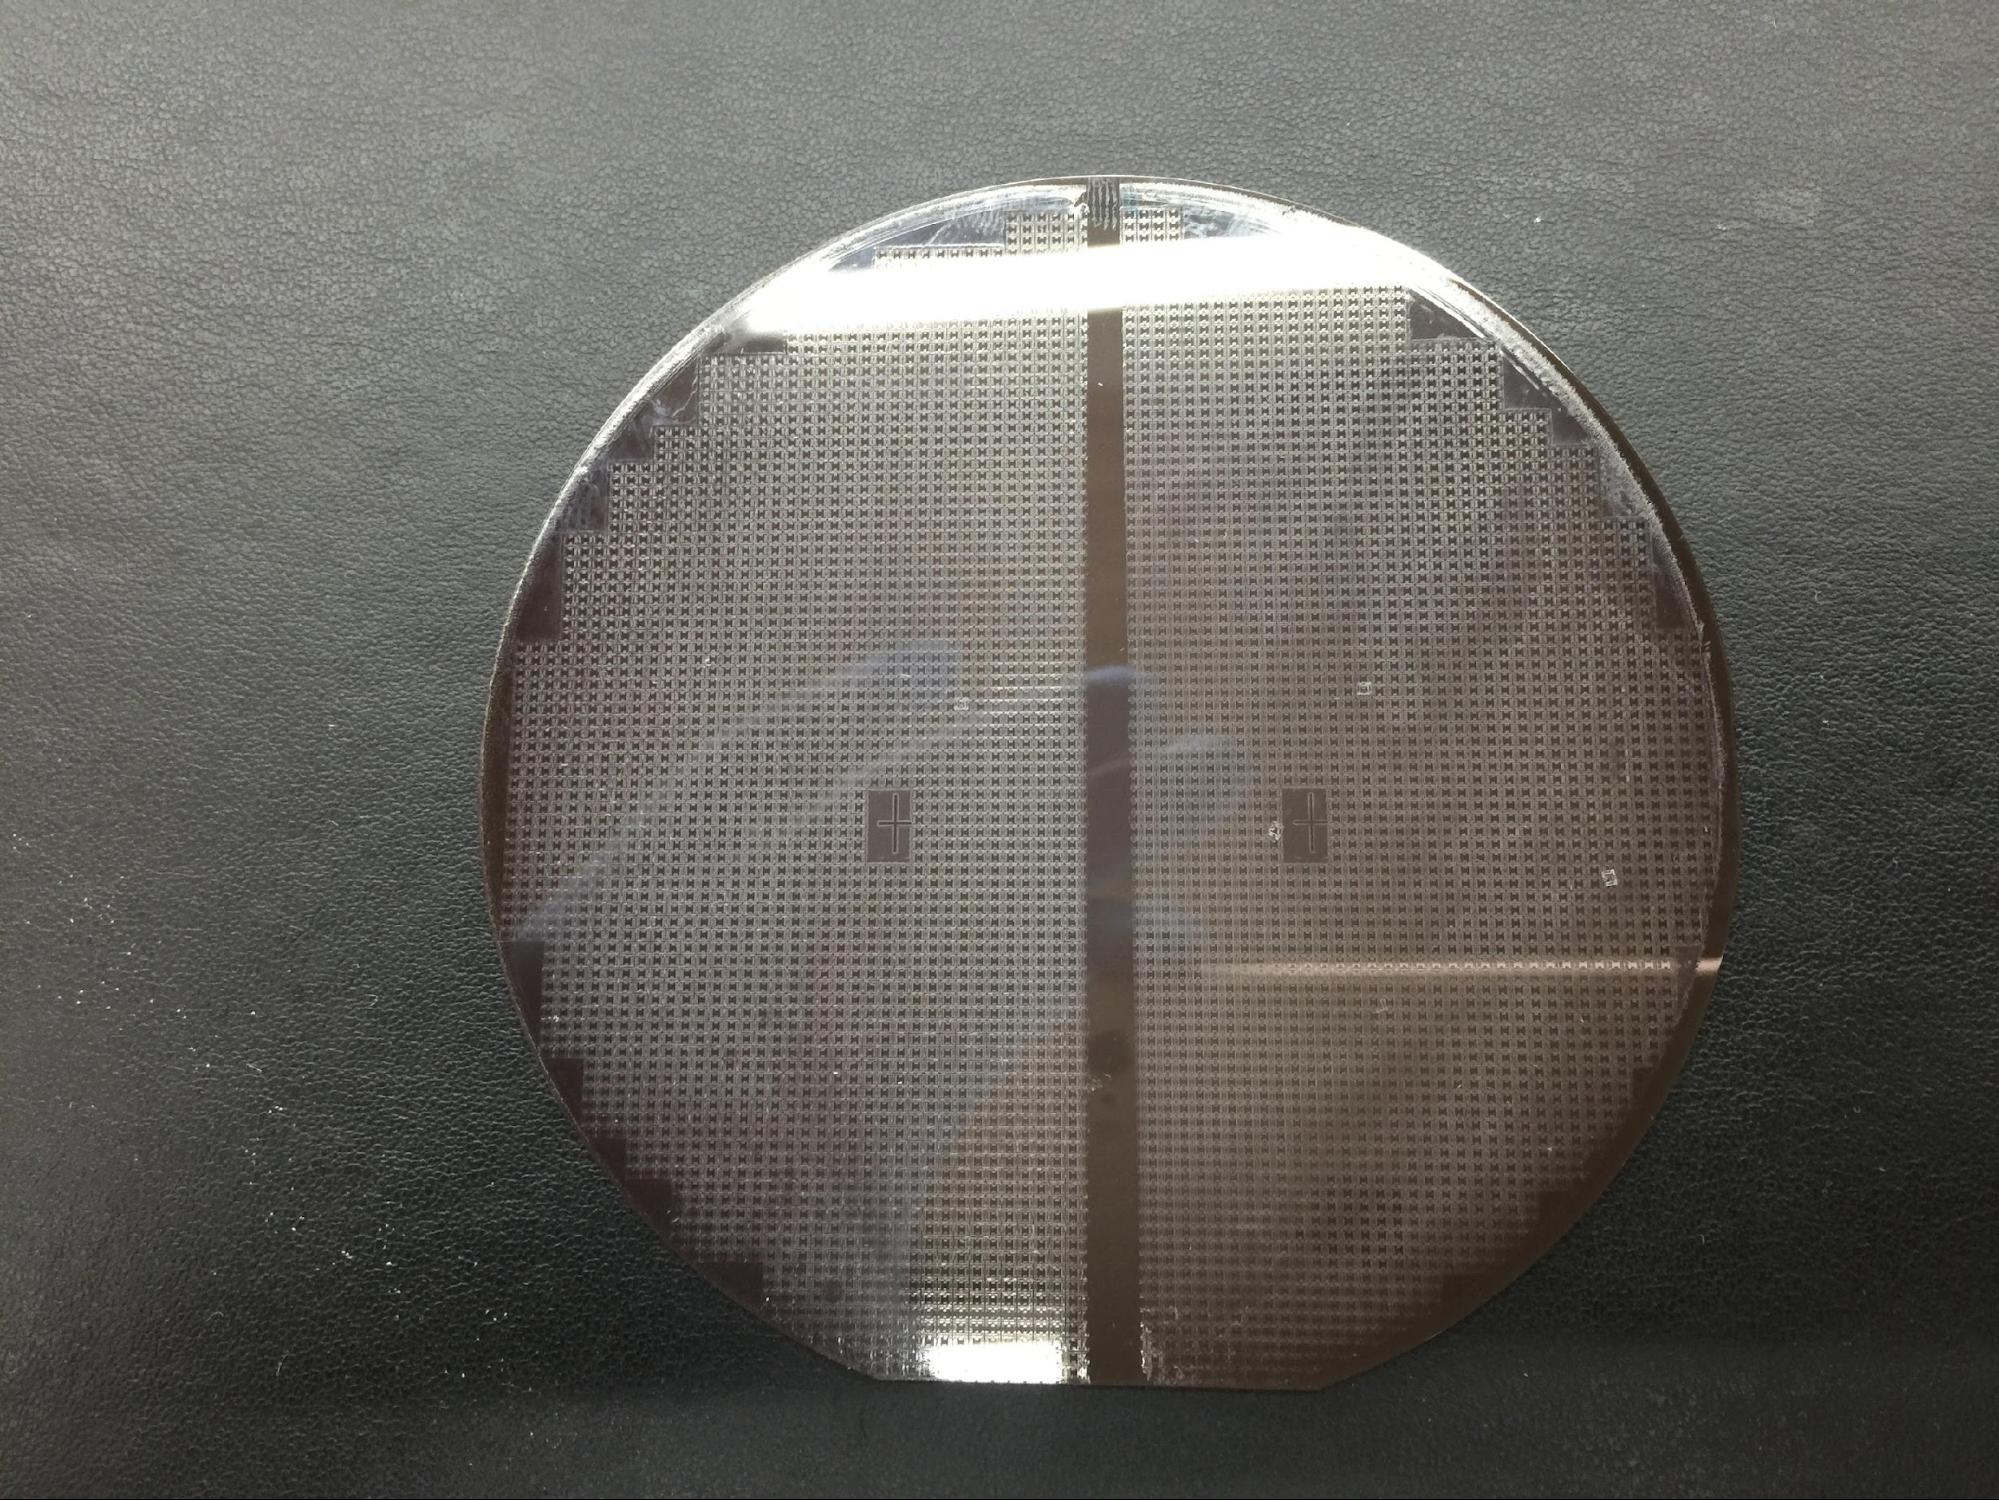
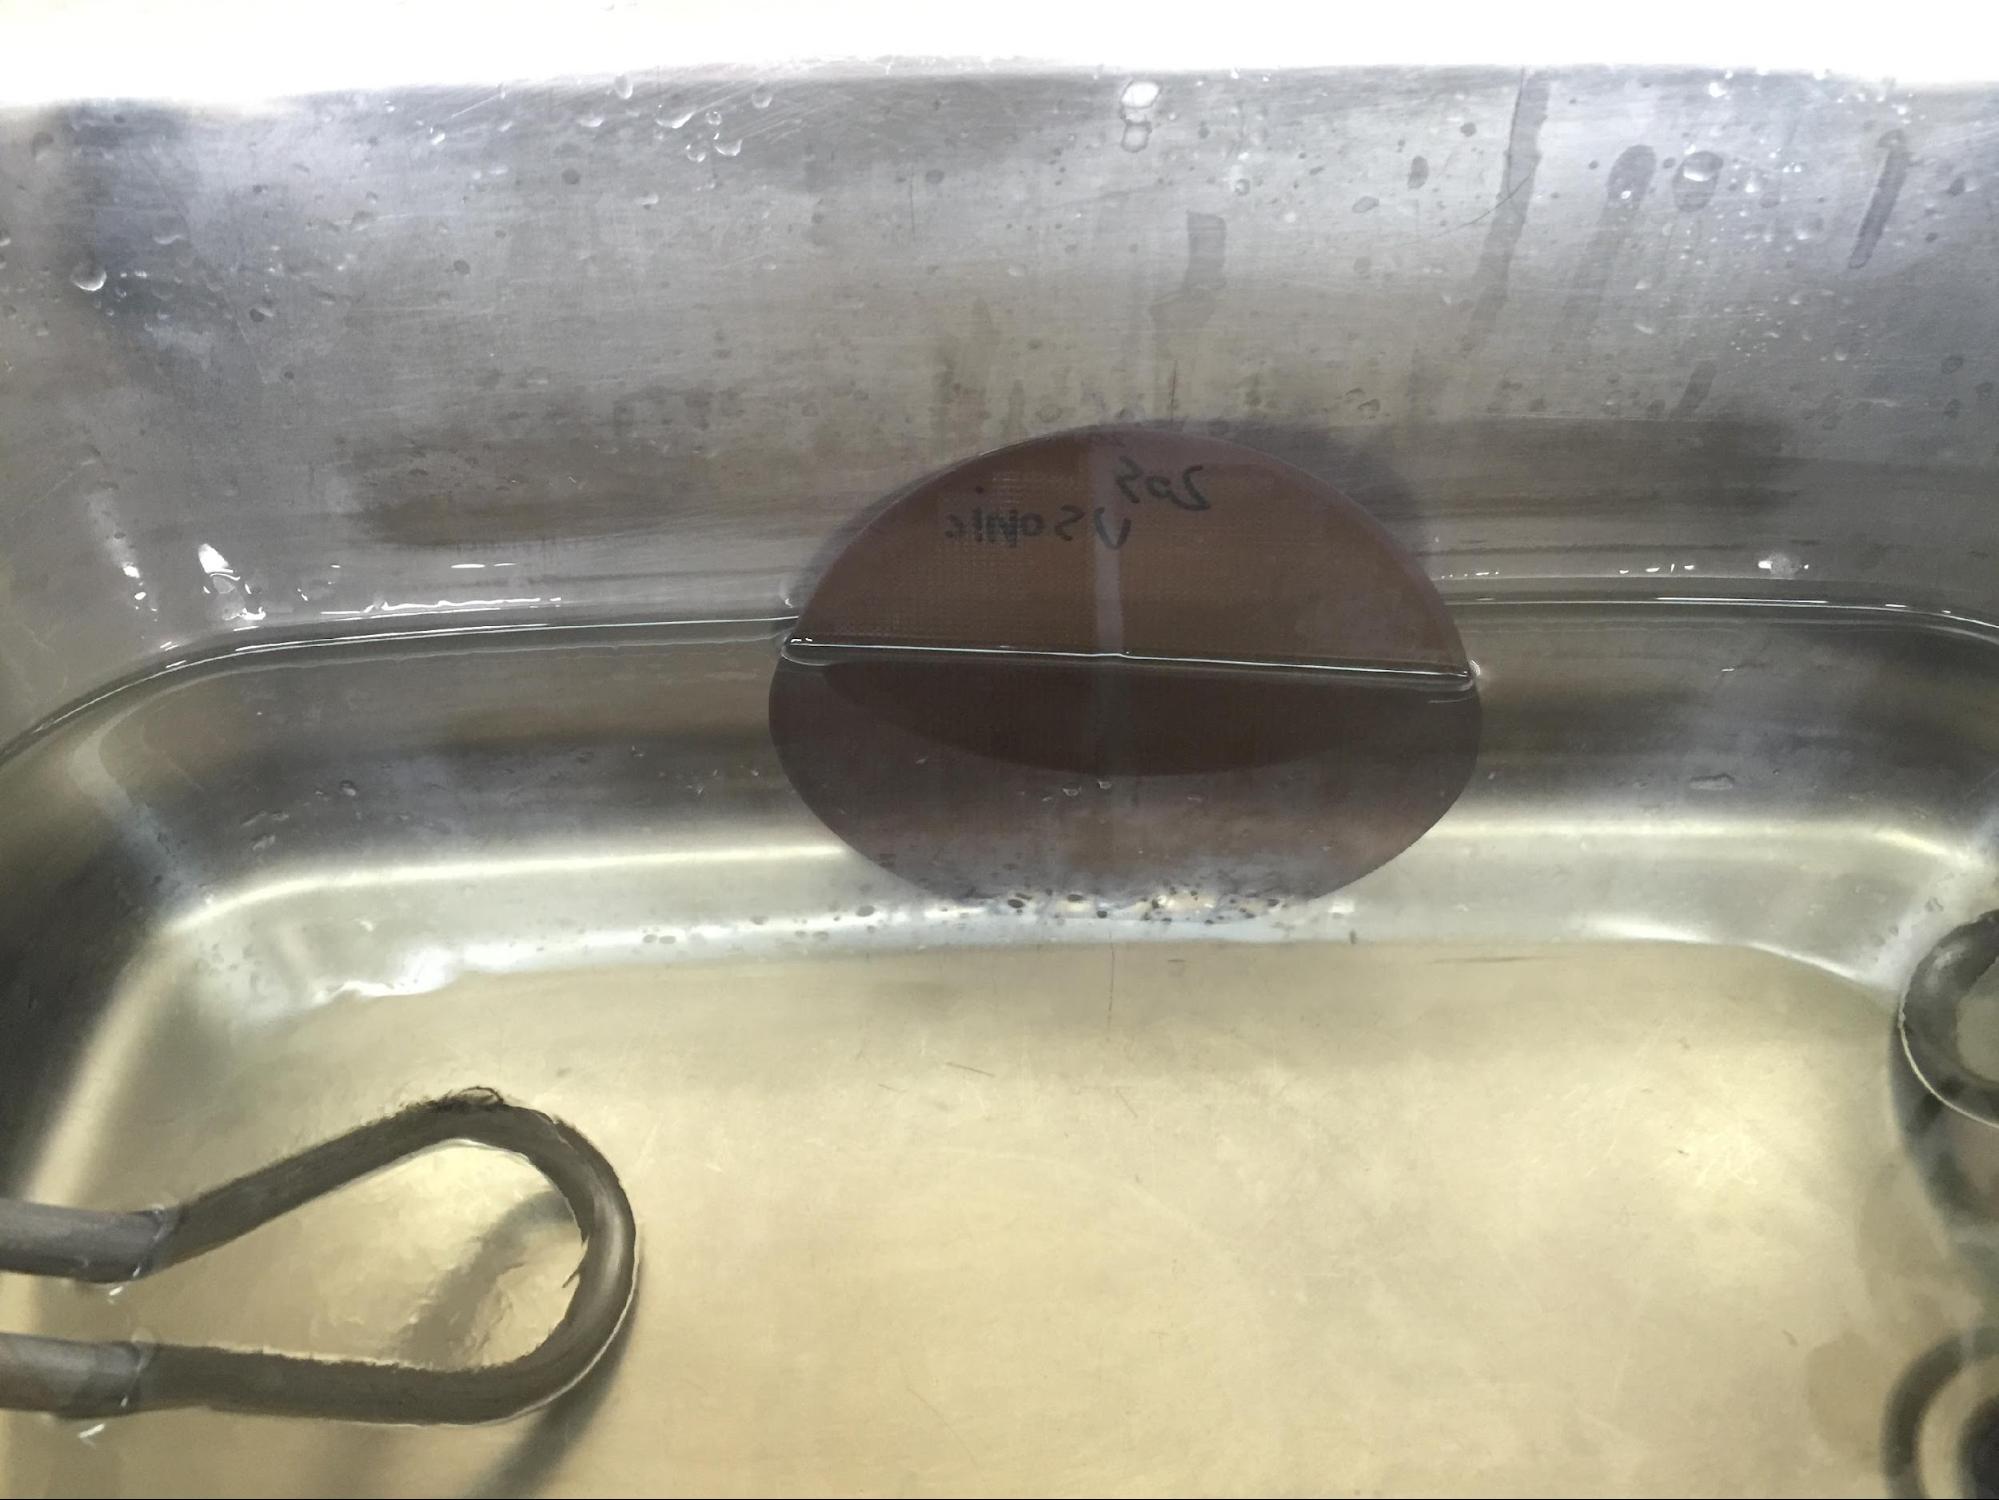
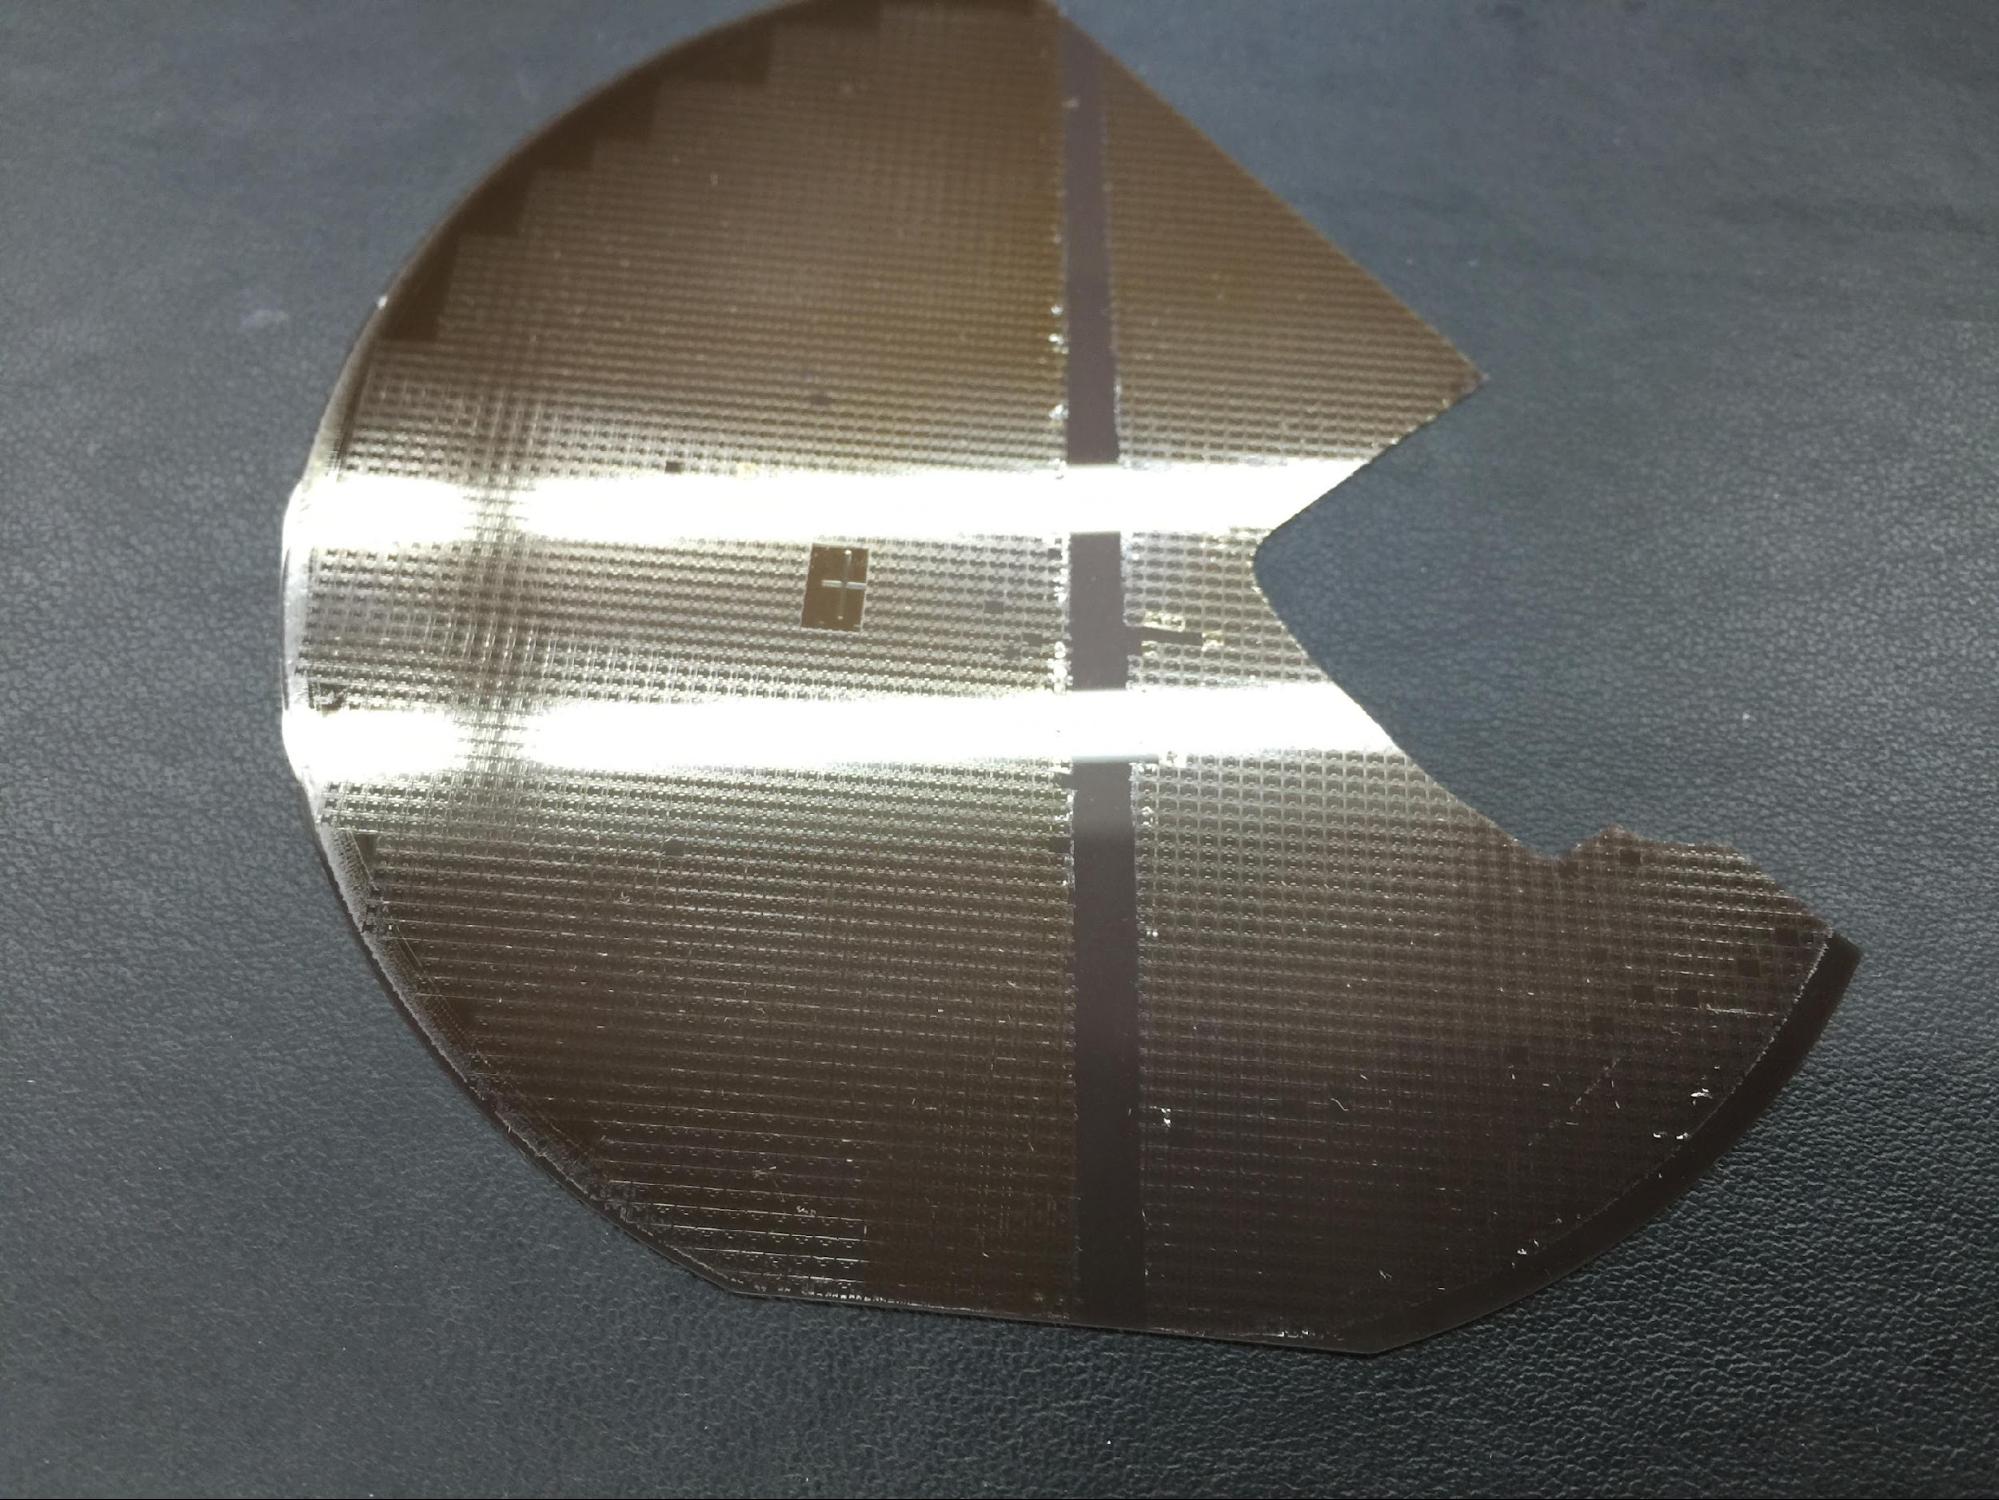
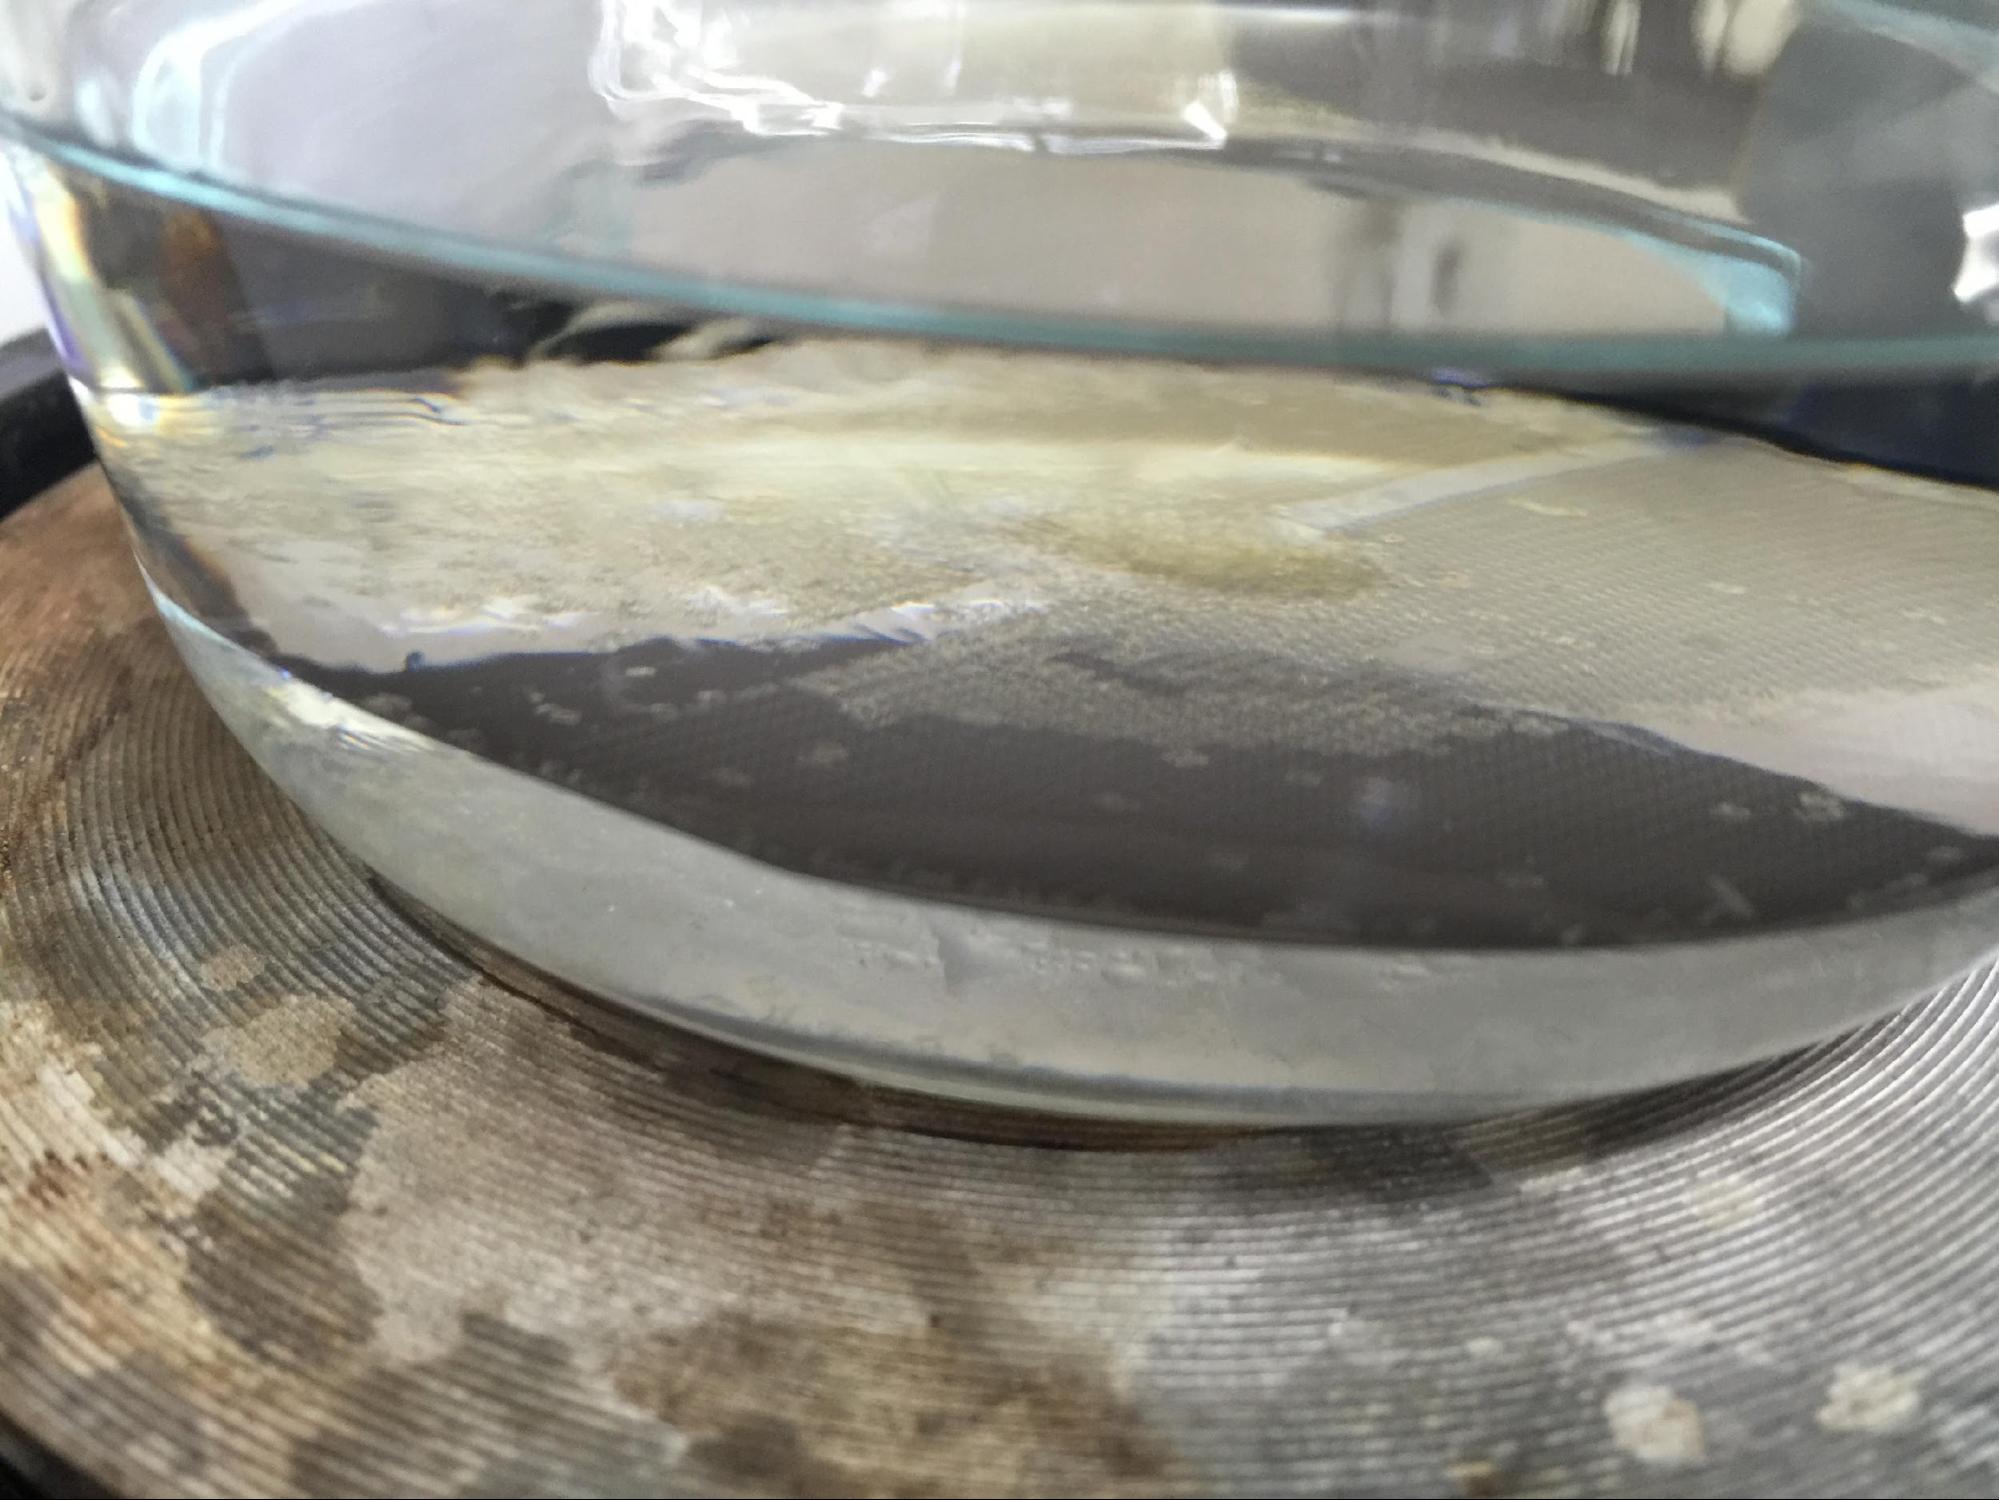
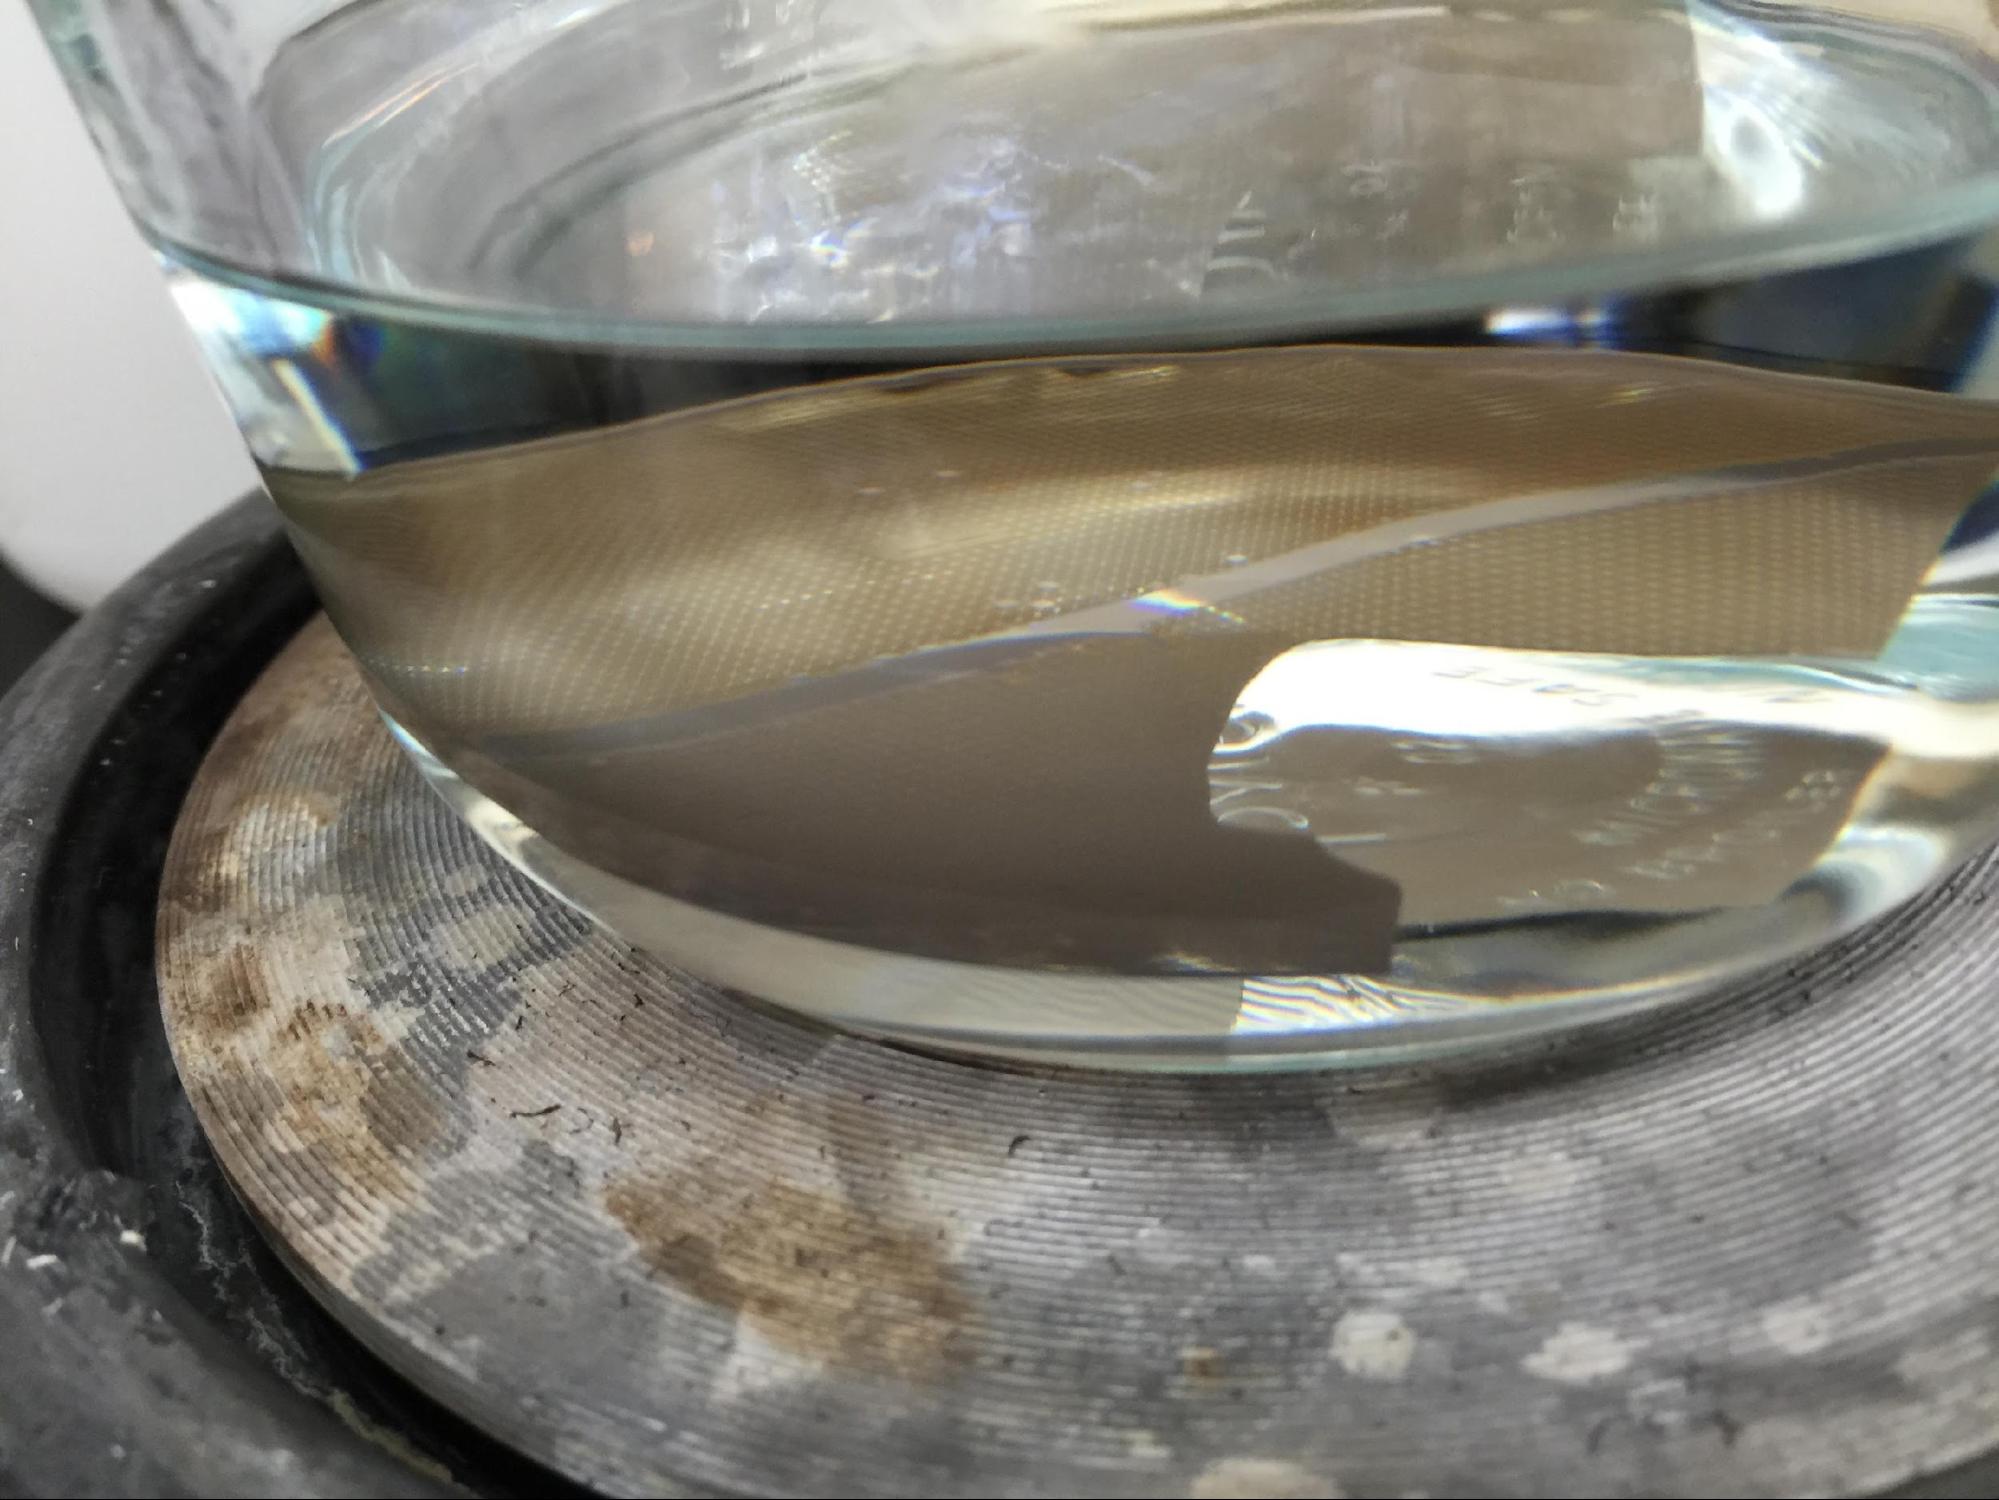
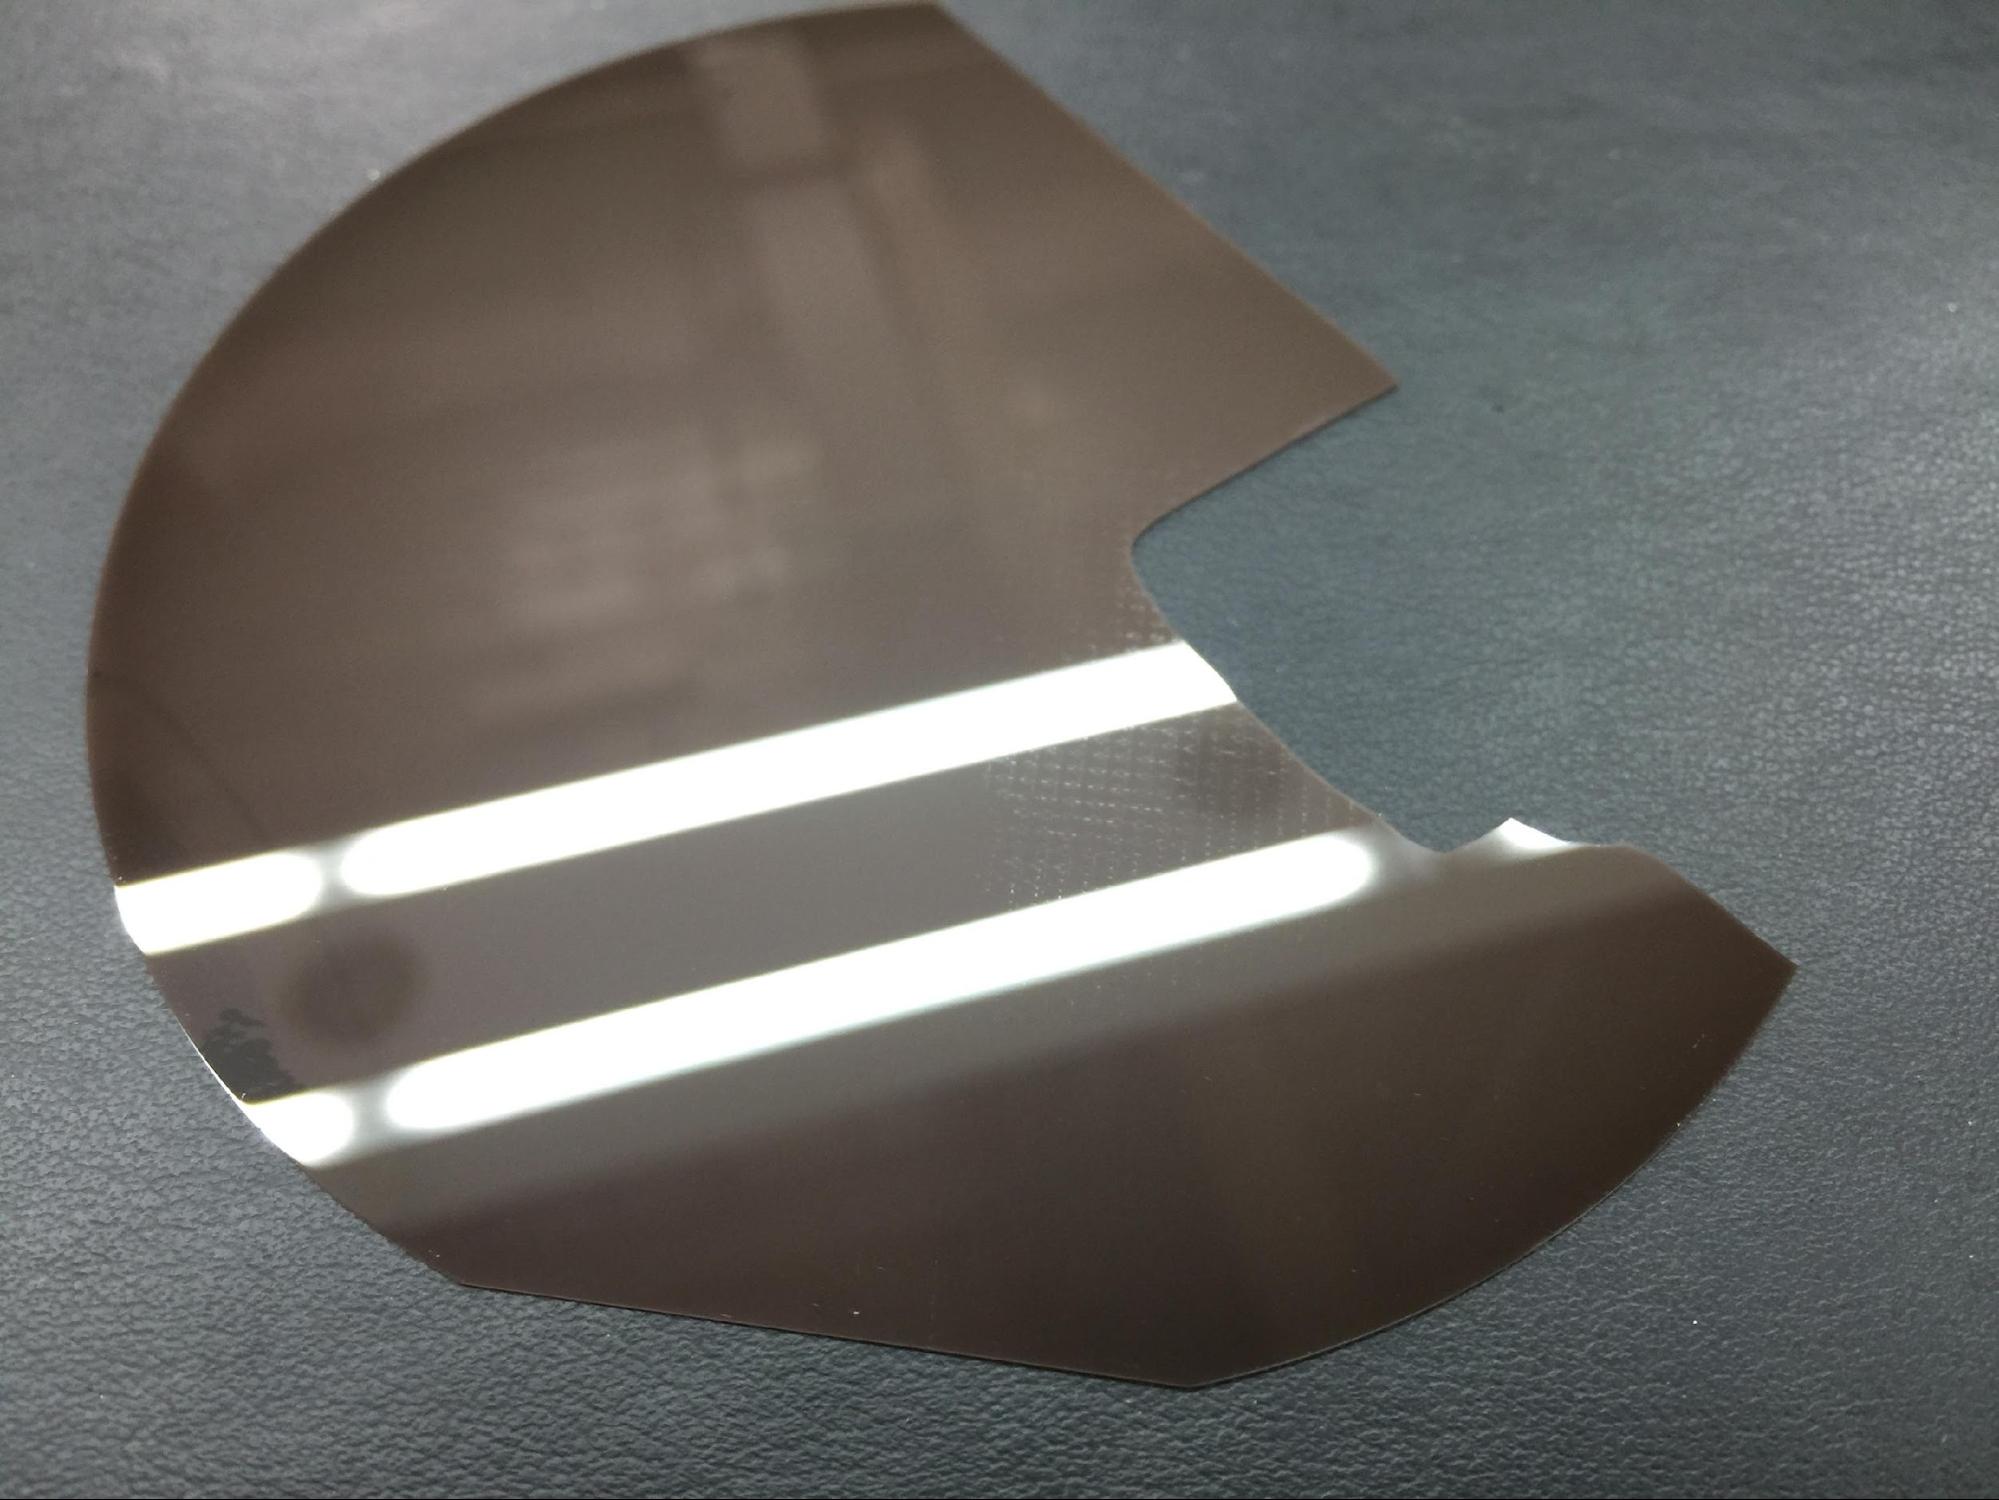
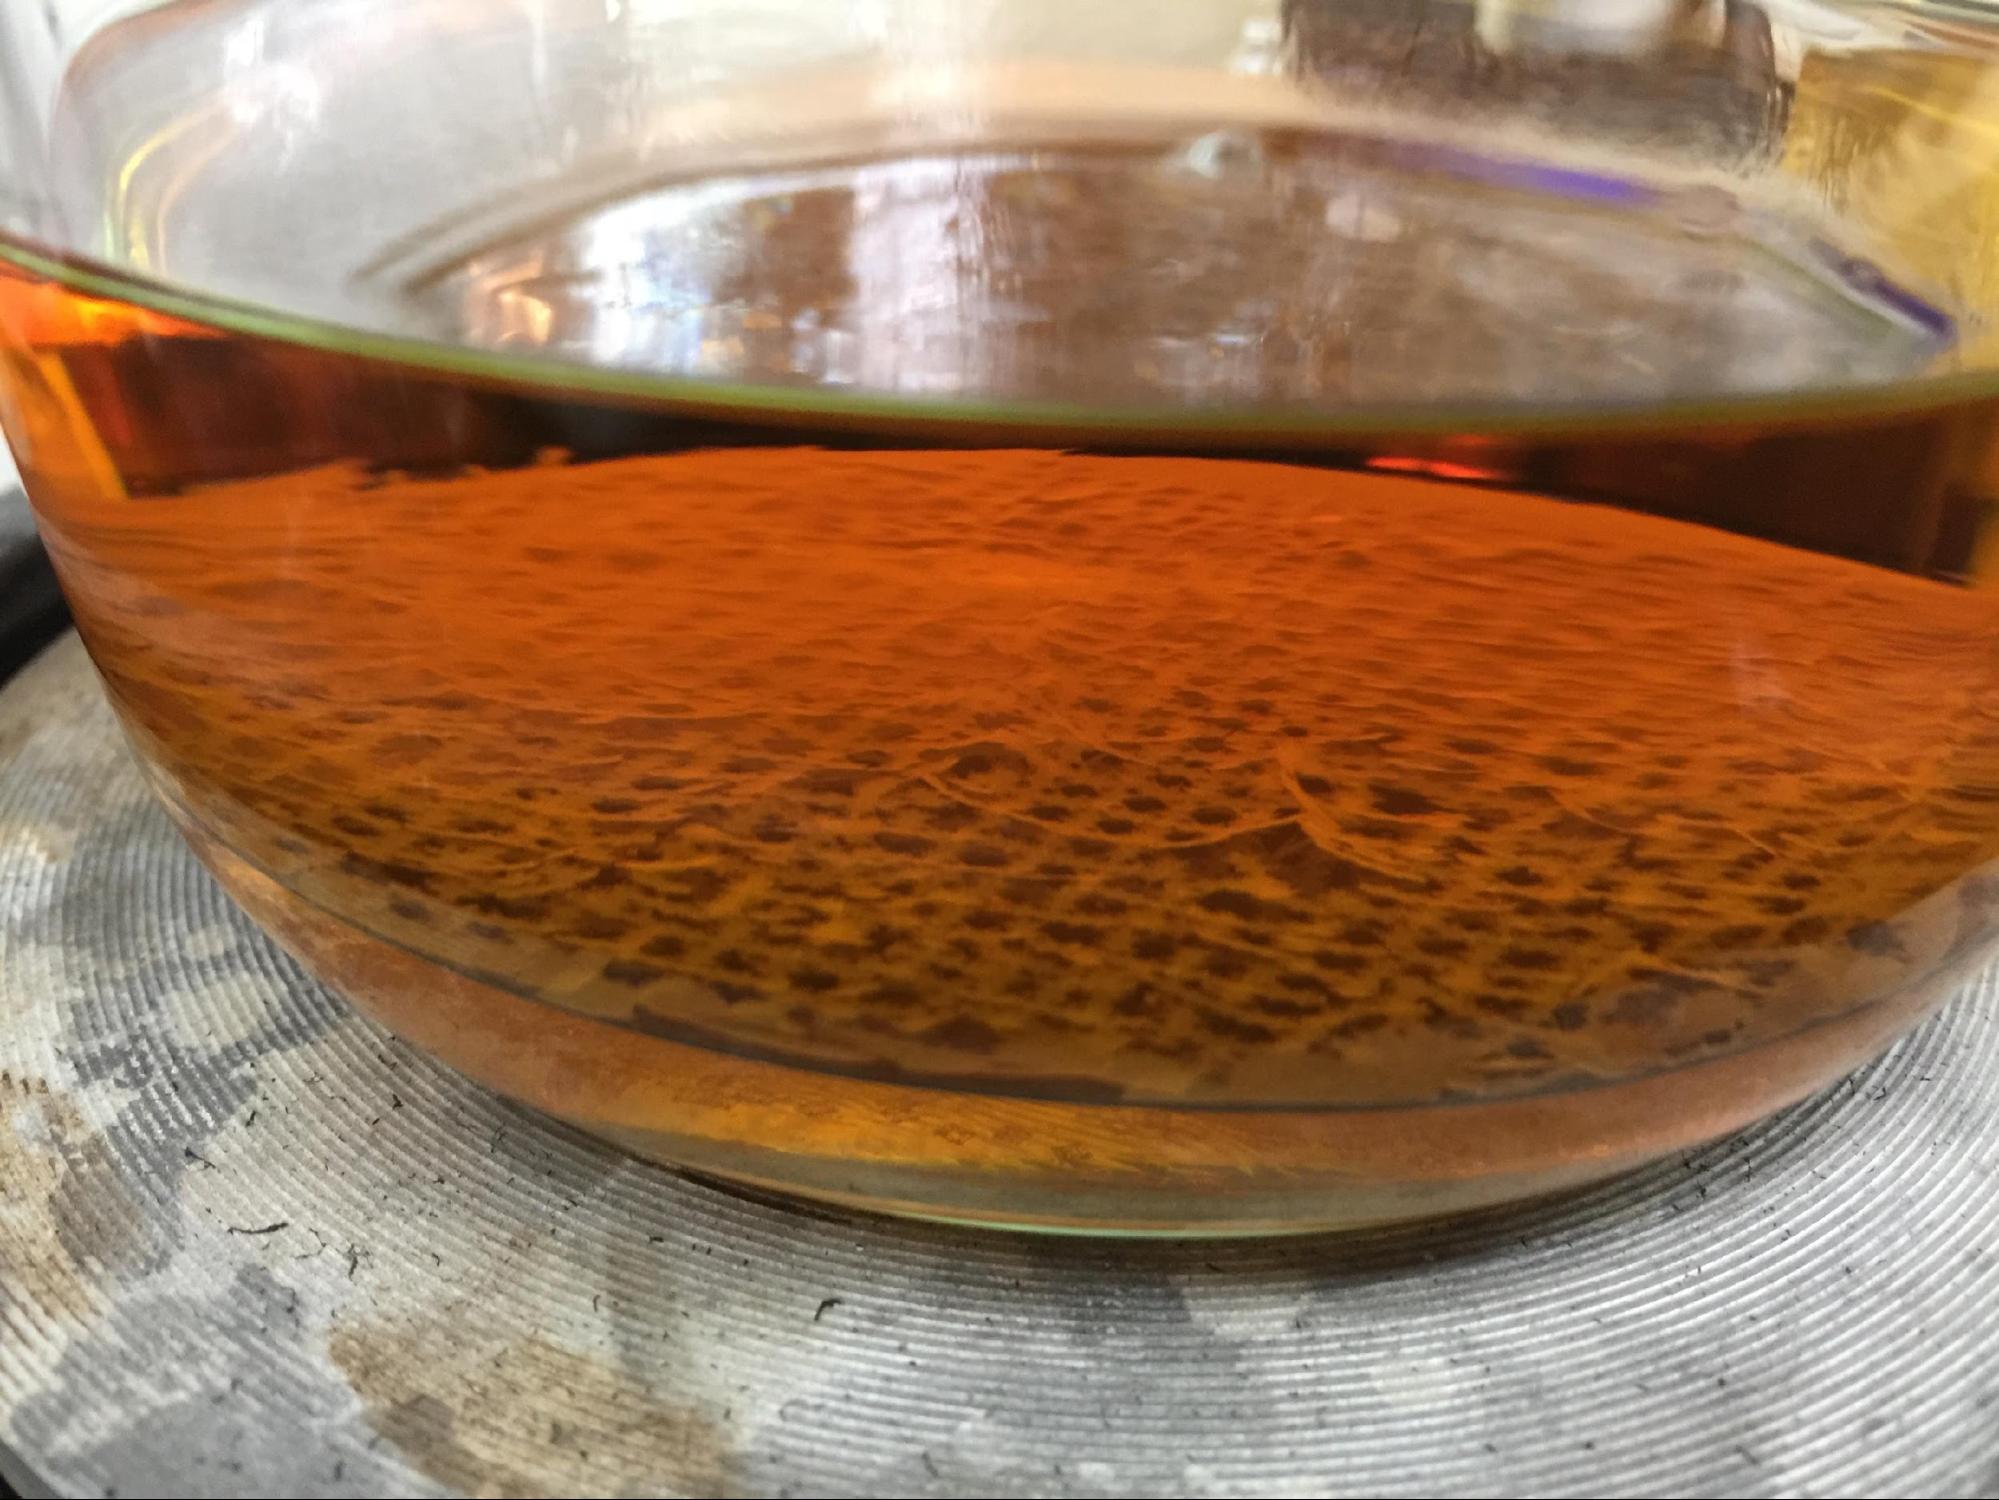
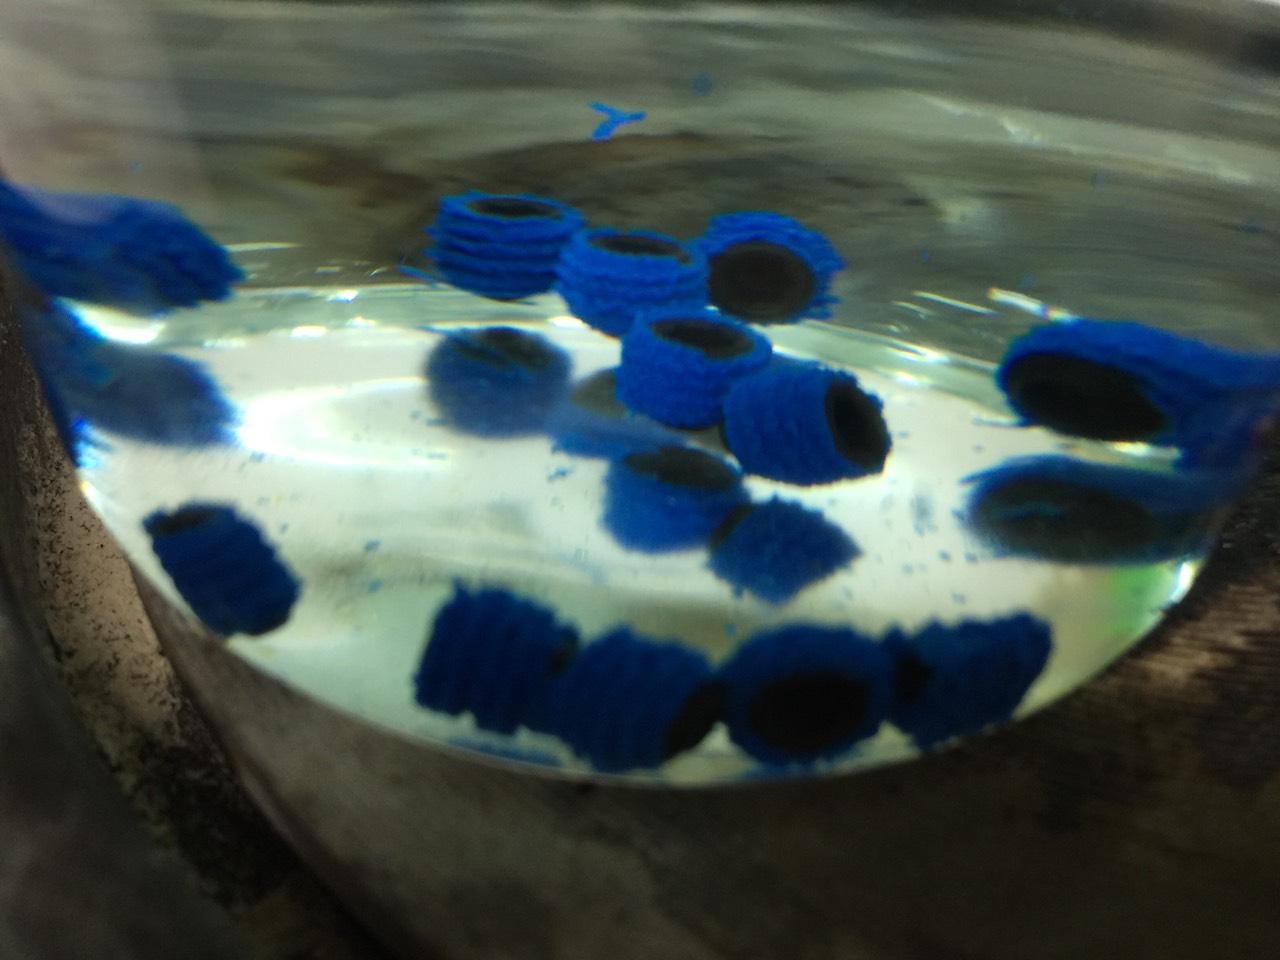
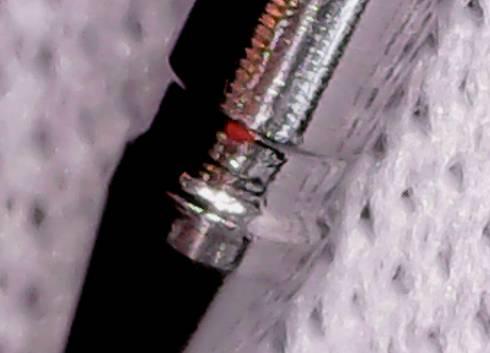
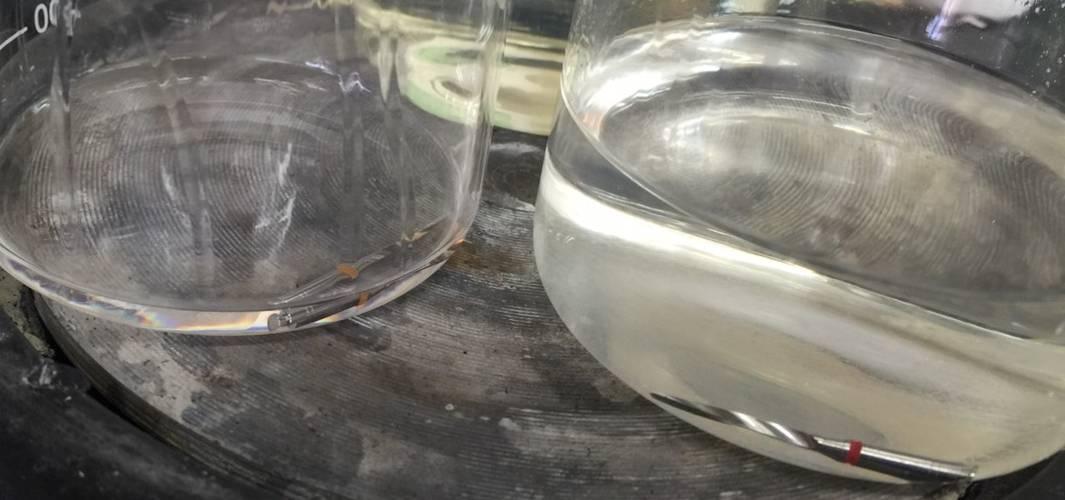
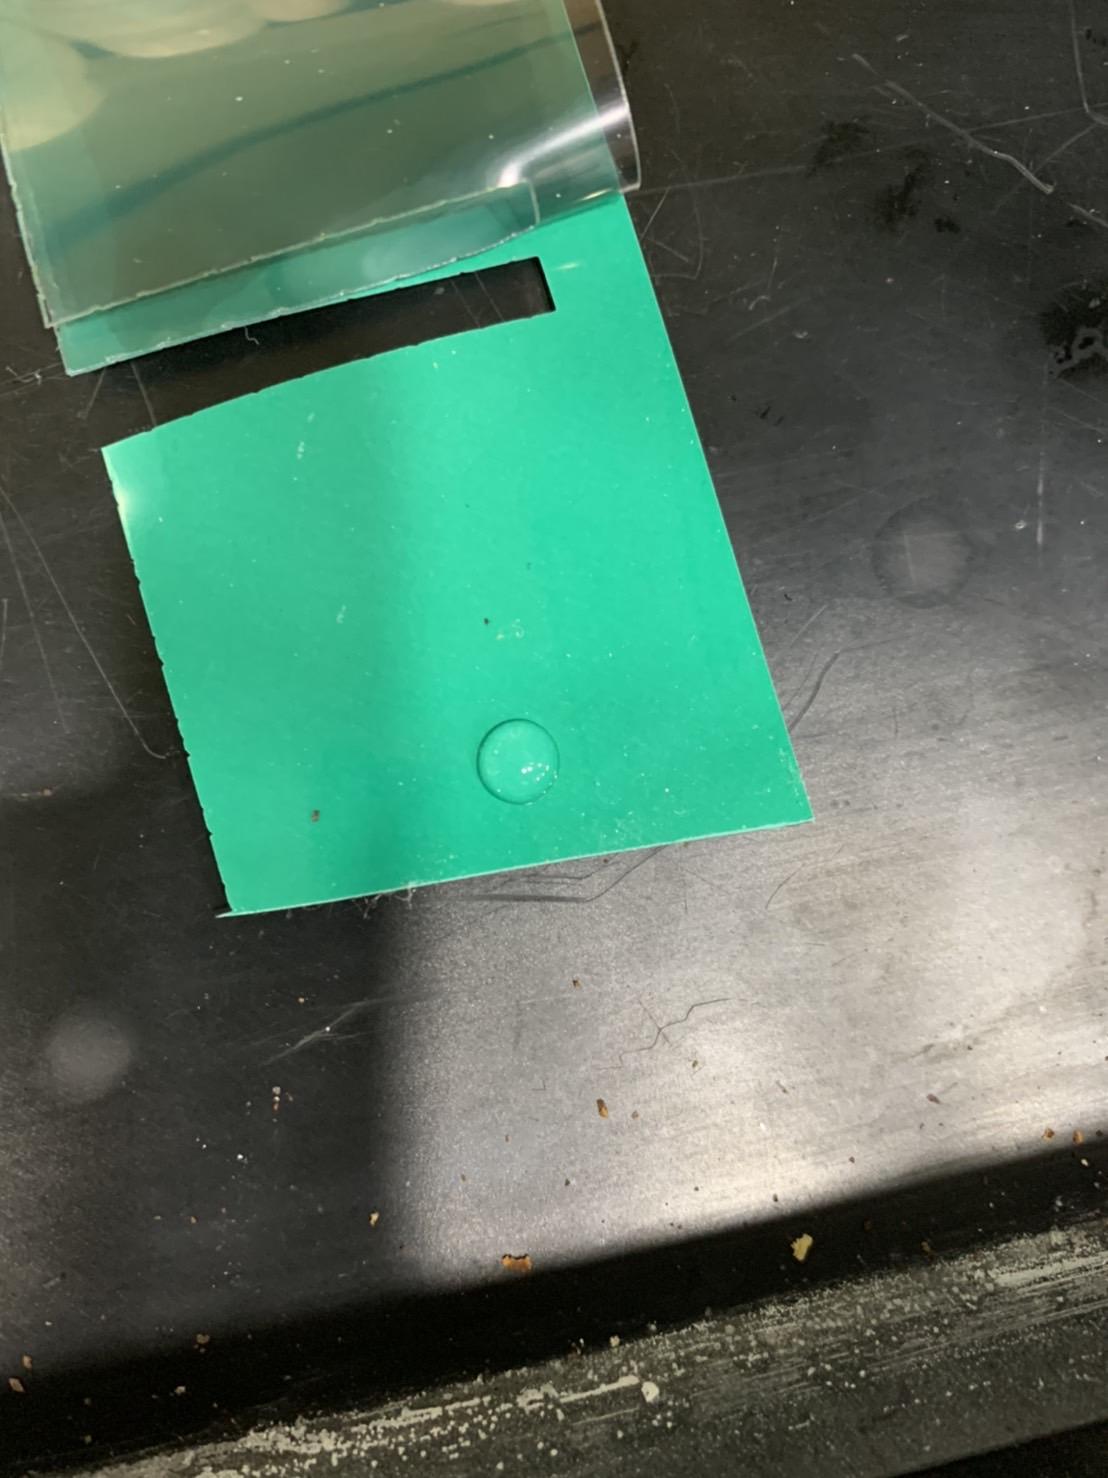
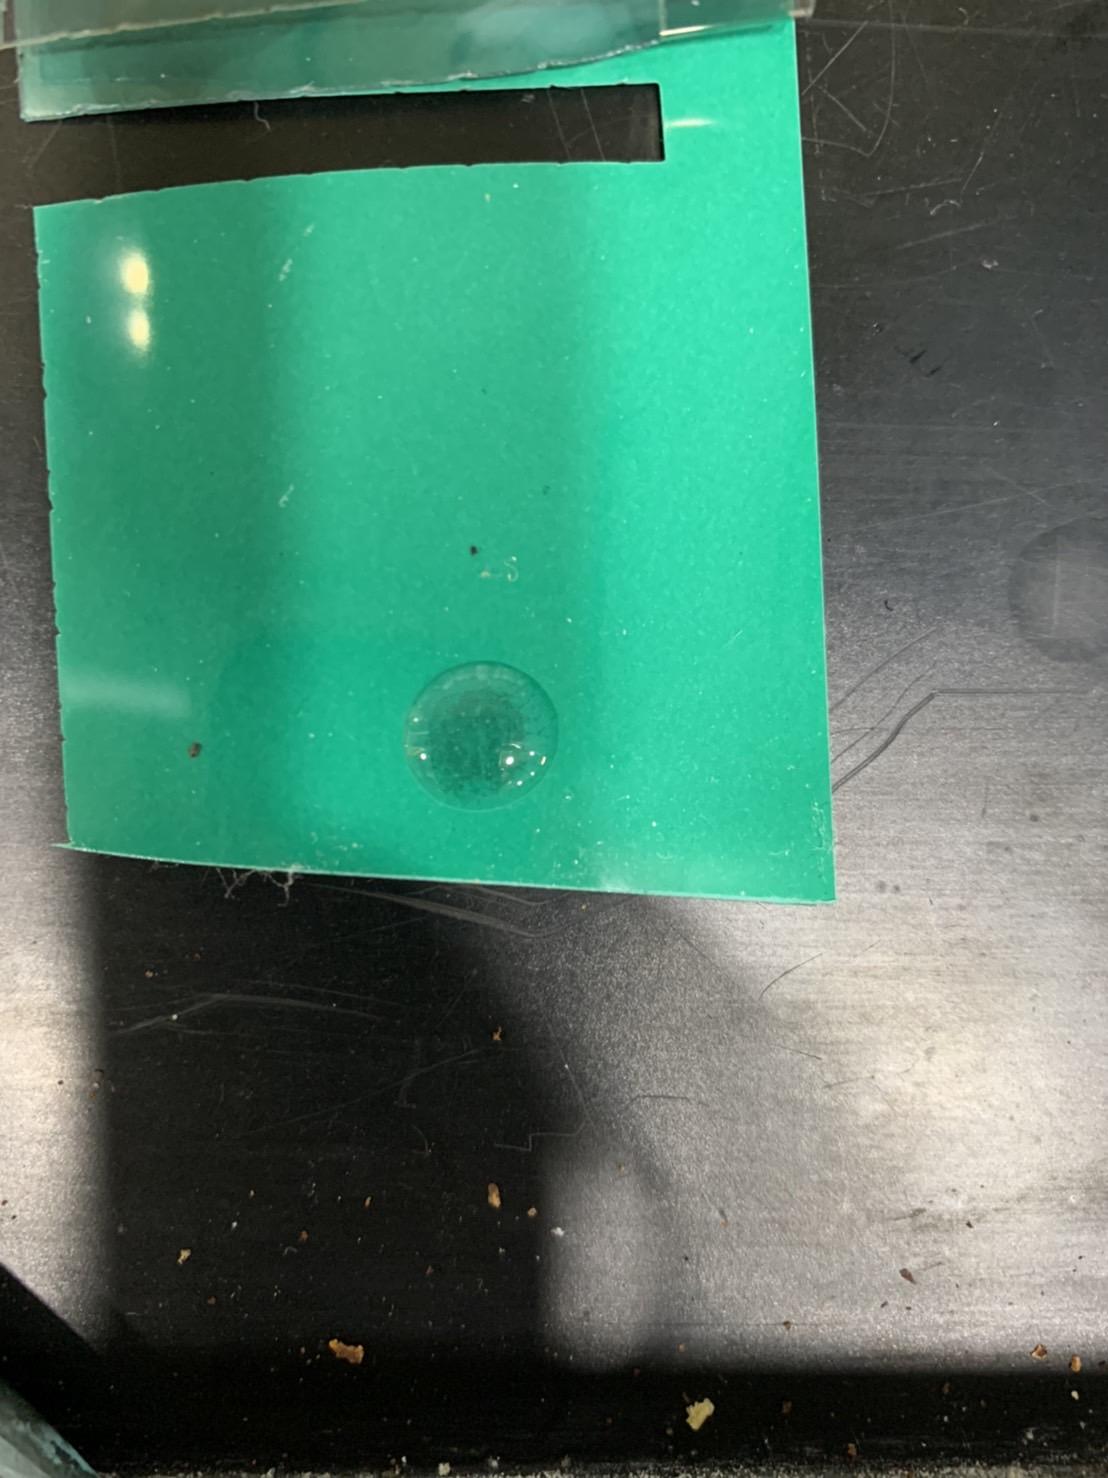
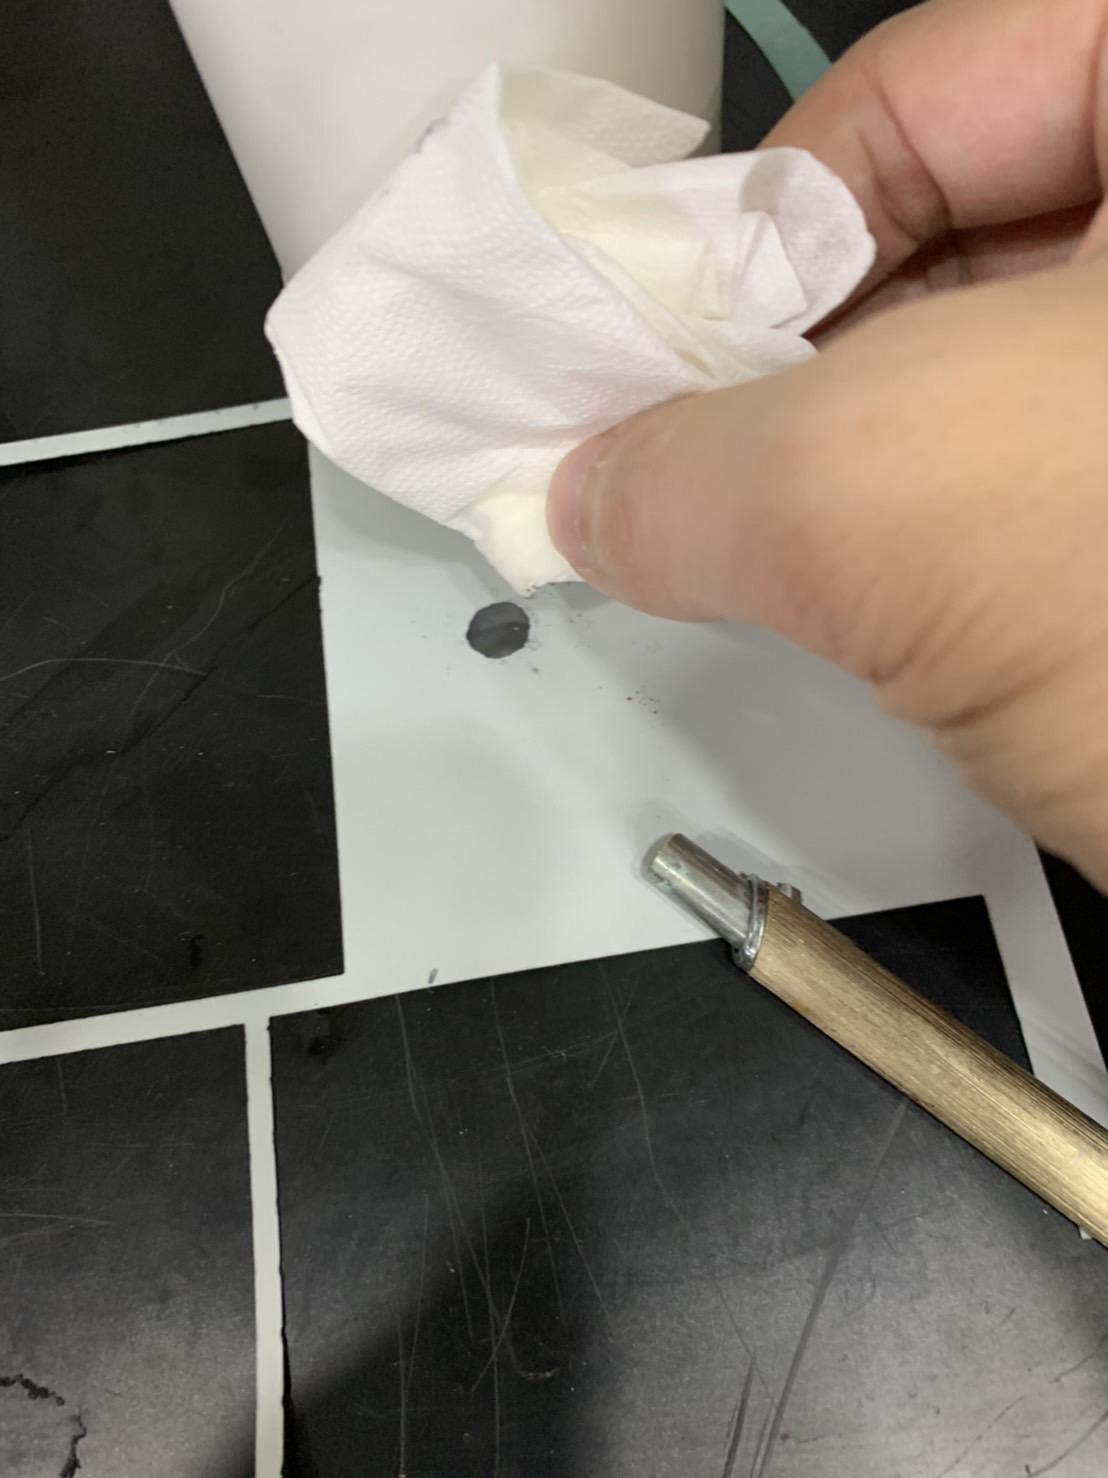
  3. Use the hardening ink remover ACHM04-H1, dot on the green ink for 5 minutes (left in the picture below). After about 3 to 5 minutes, the green ink has changed color and dissolved (pictured below). After soaking in the hardened ink remover ACHM04-H1 for 5 minutes, wipe it with tissue paper. It is found that the green electronic ink can be removed by gently wiping. (below right)

    04.jpg

    05.jpg

    06.jpg

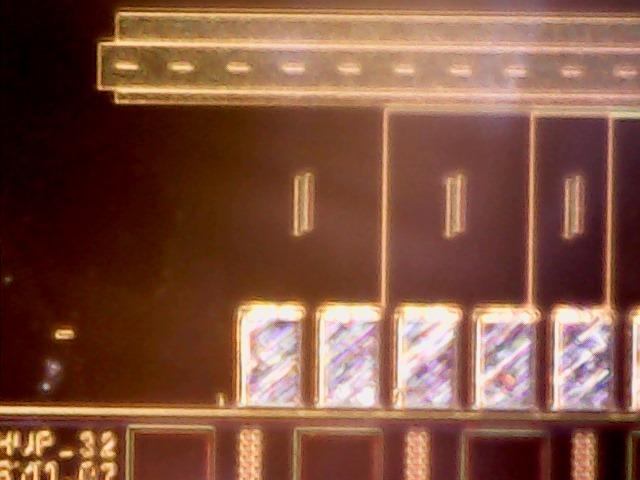
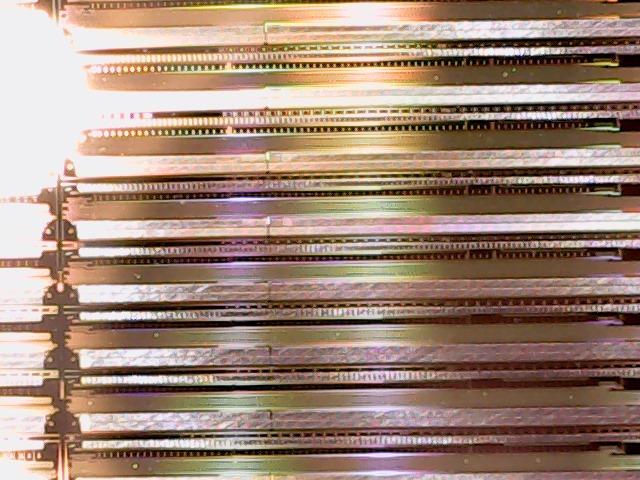
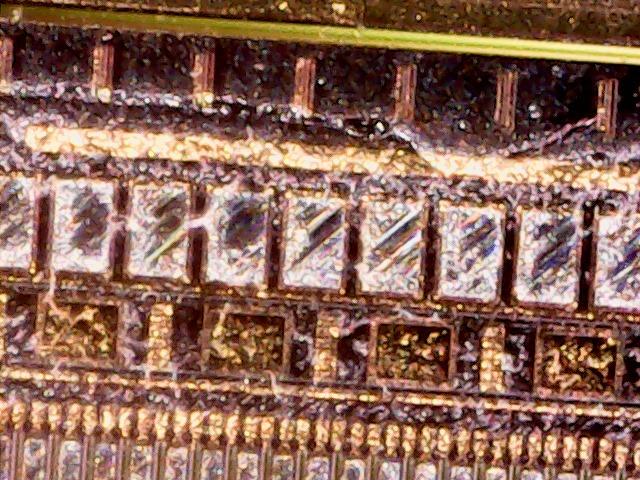
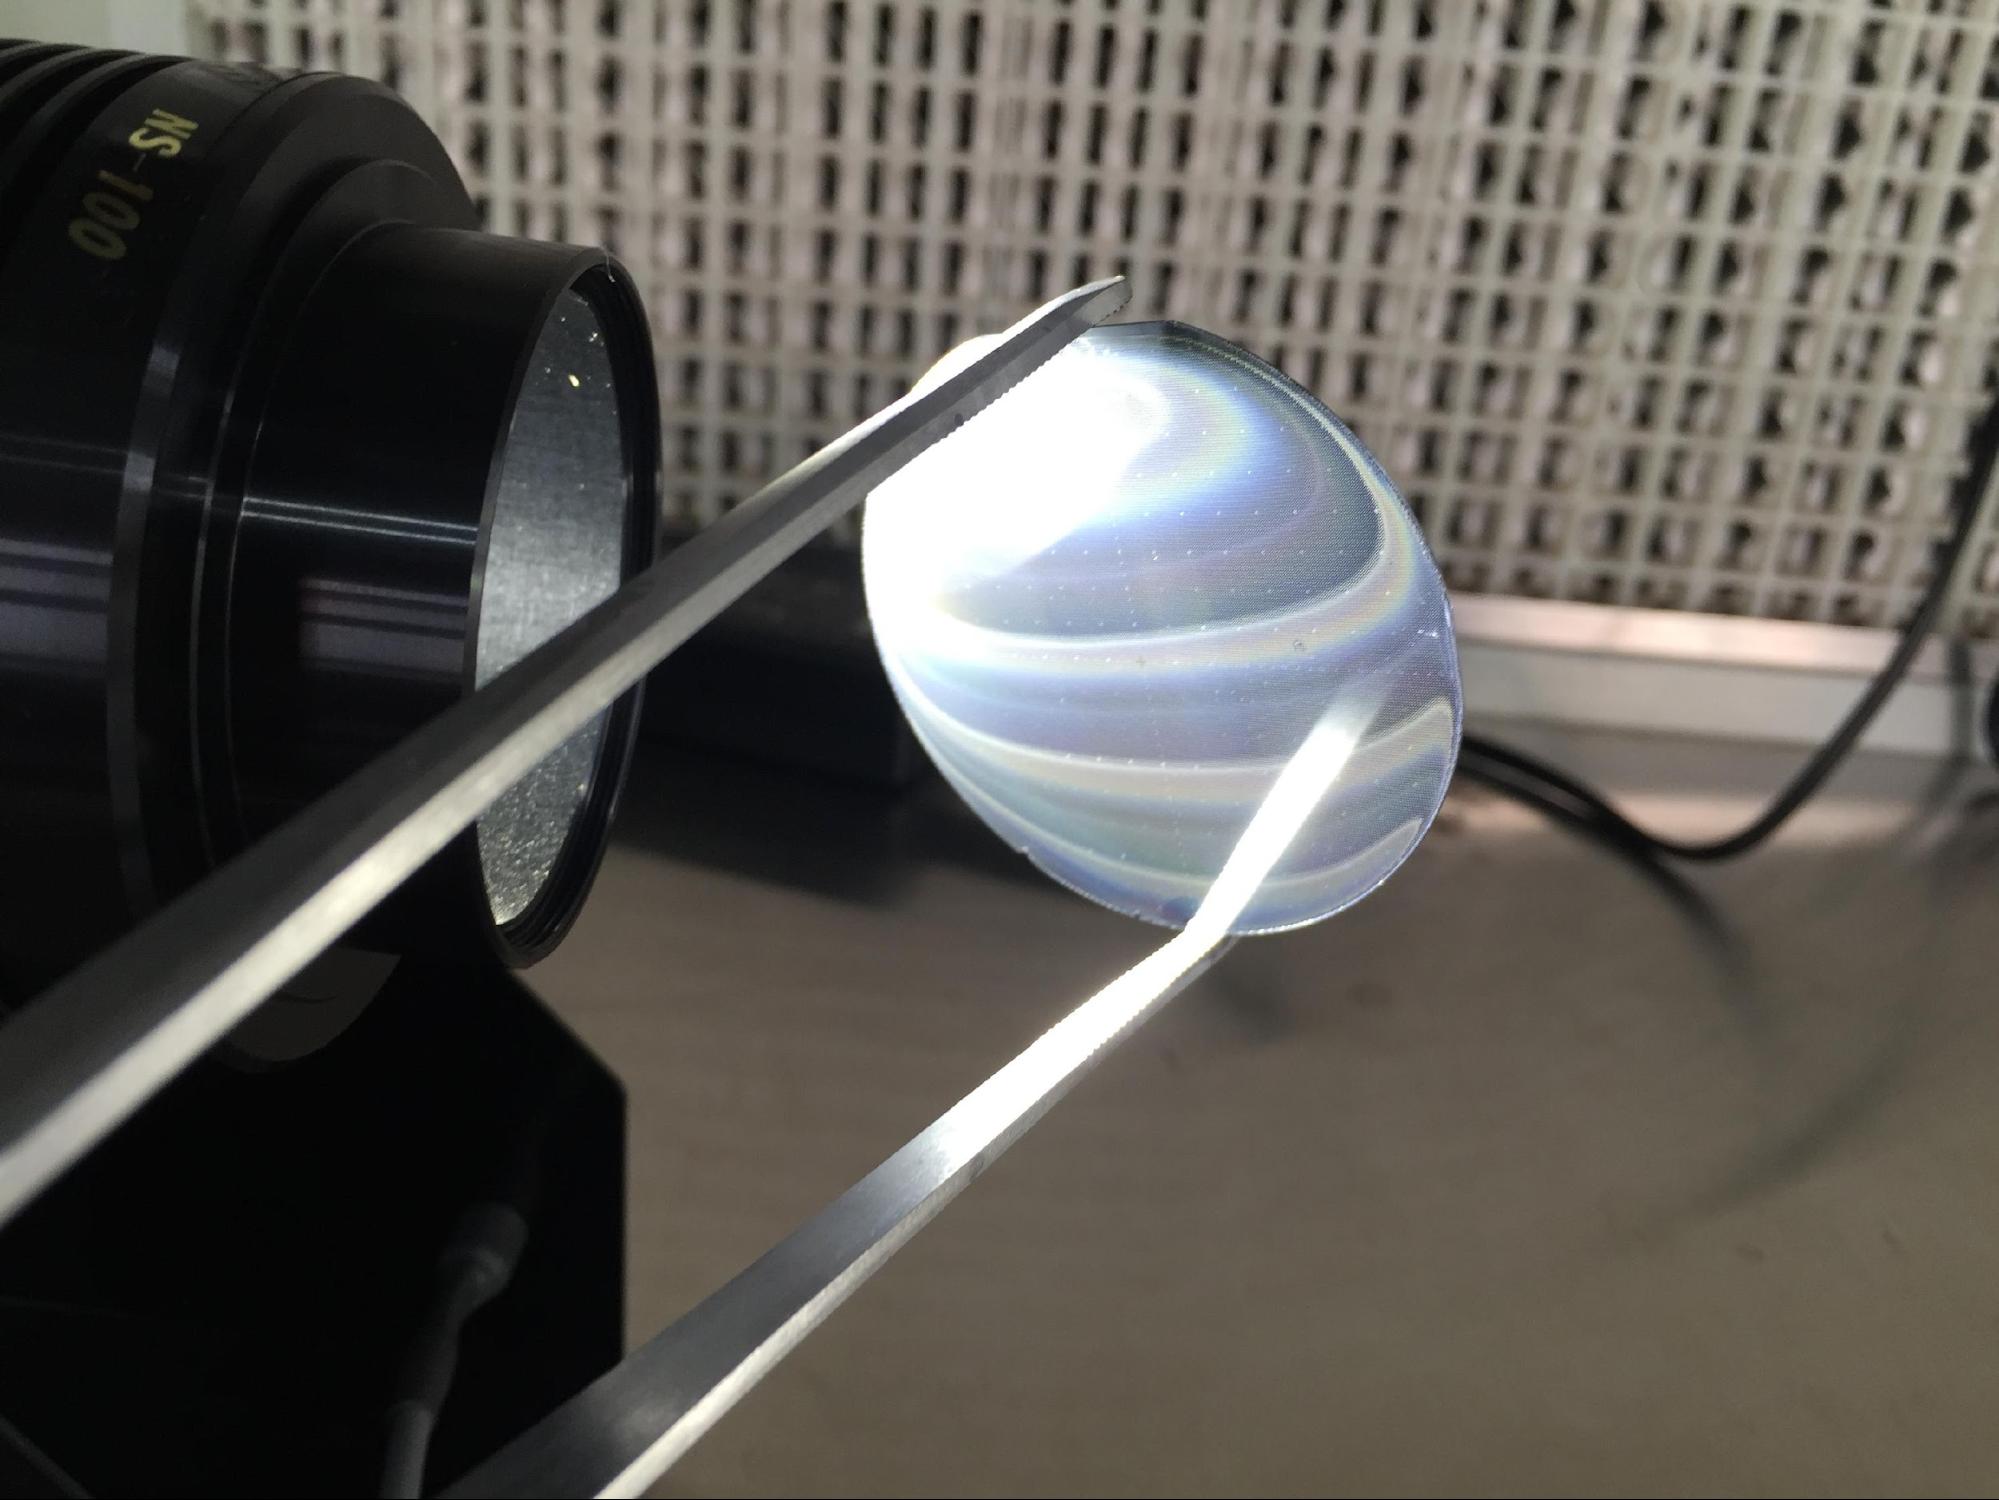
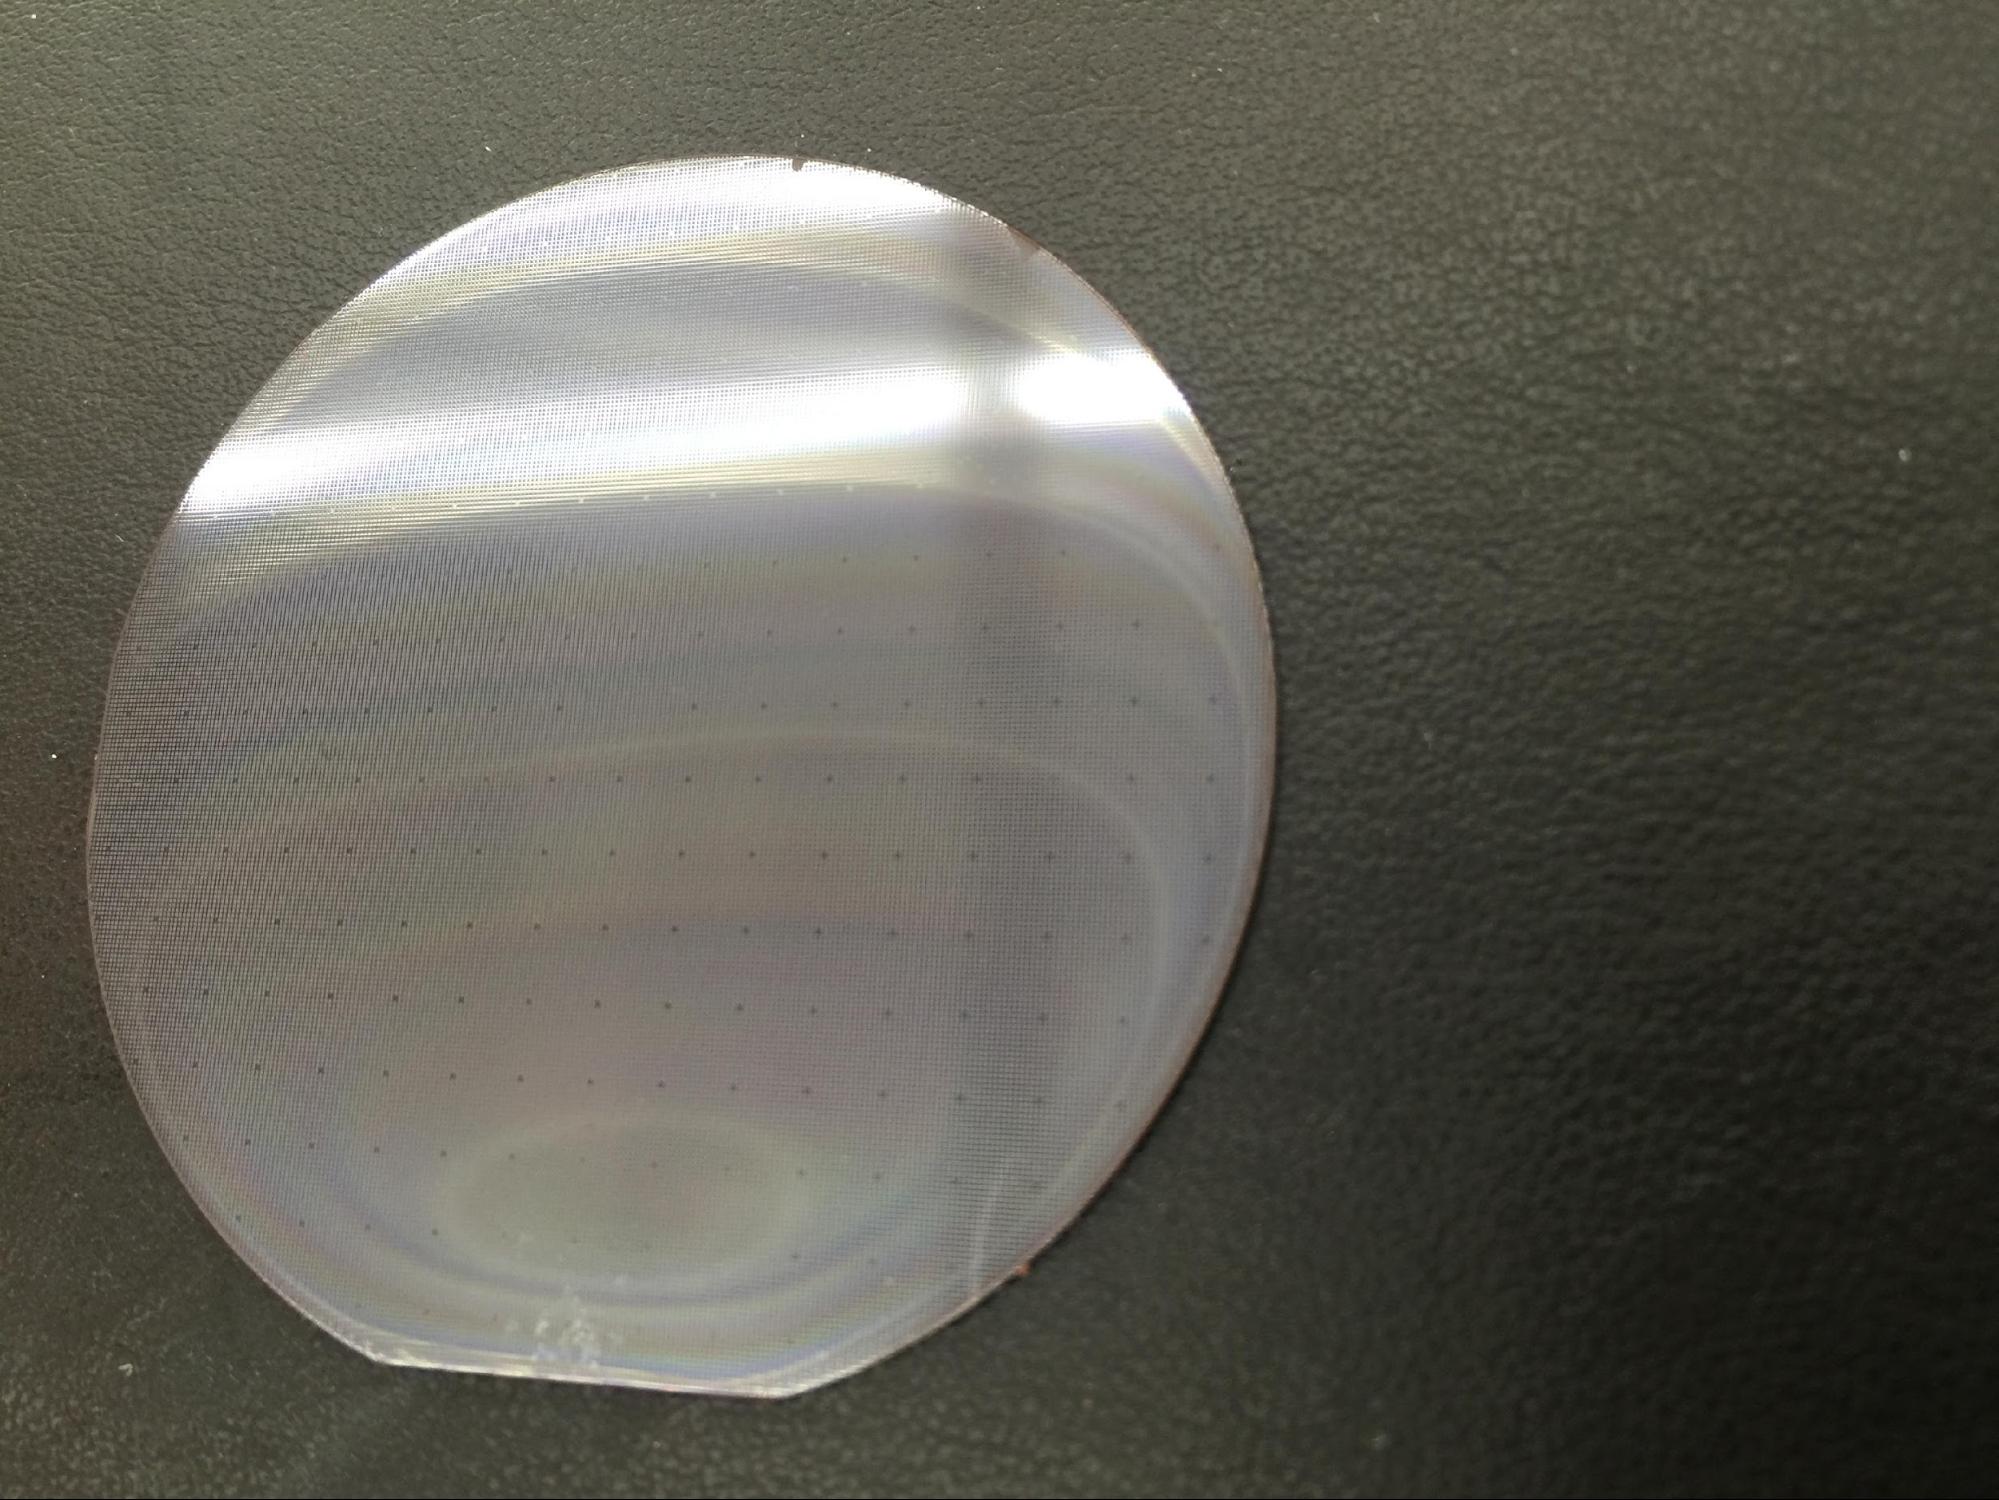
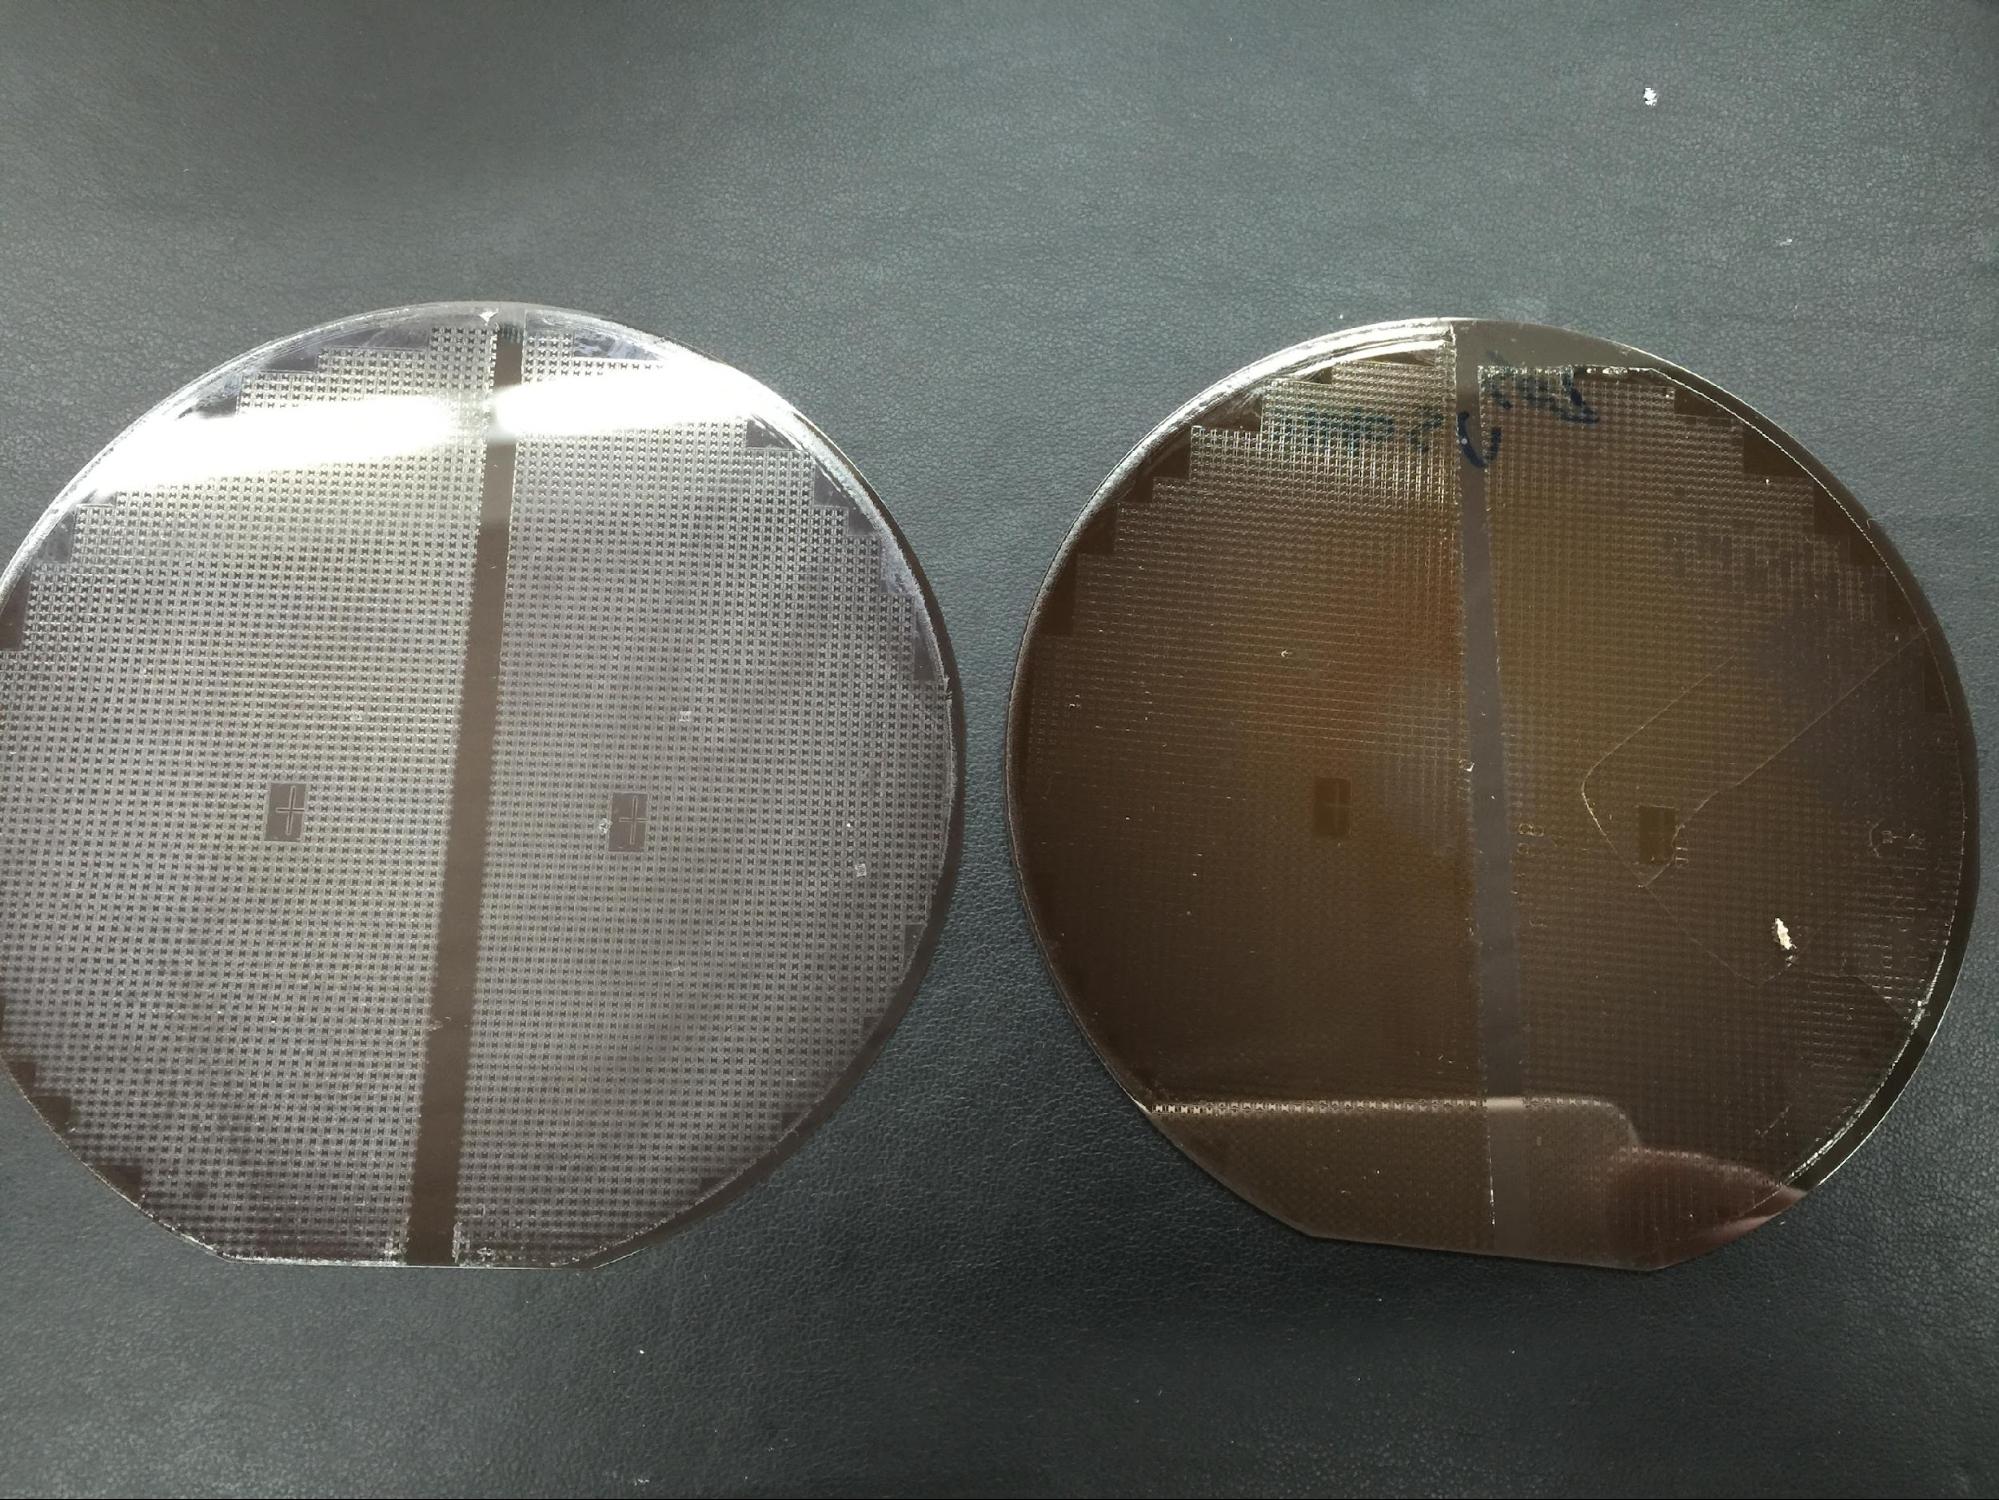
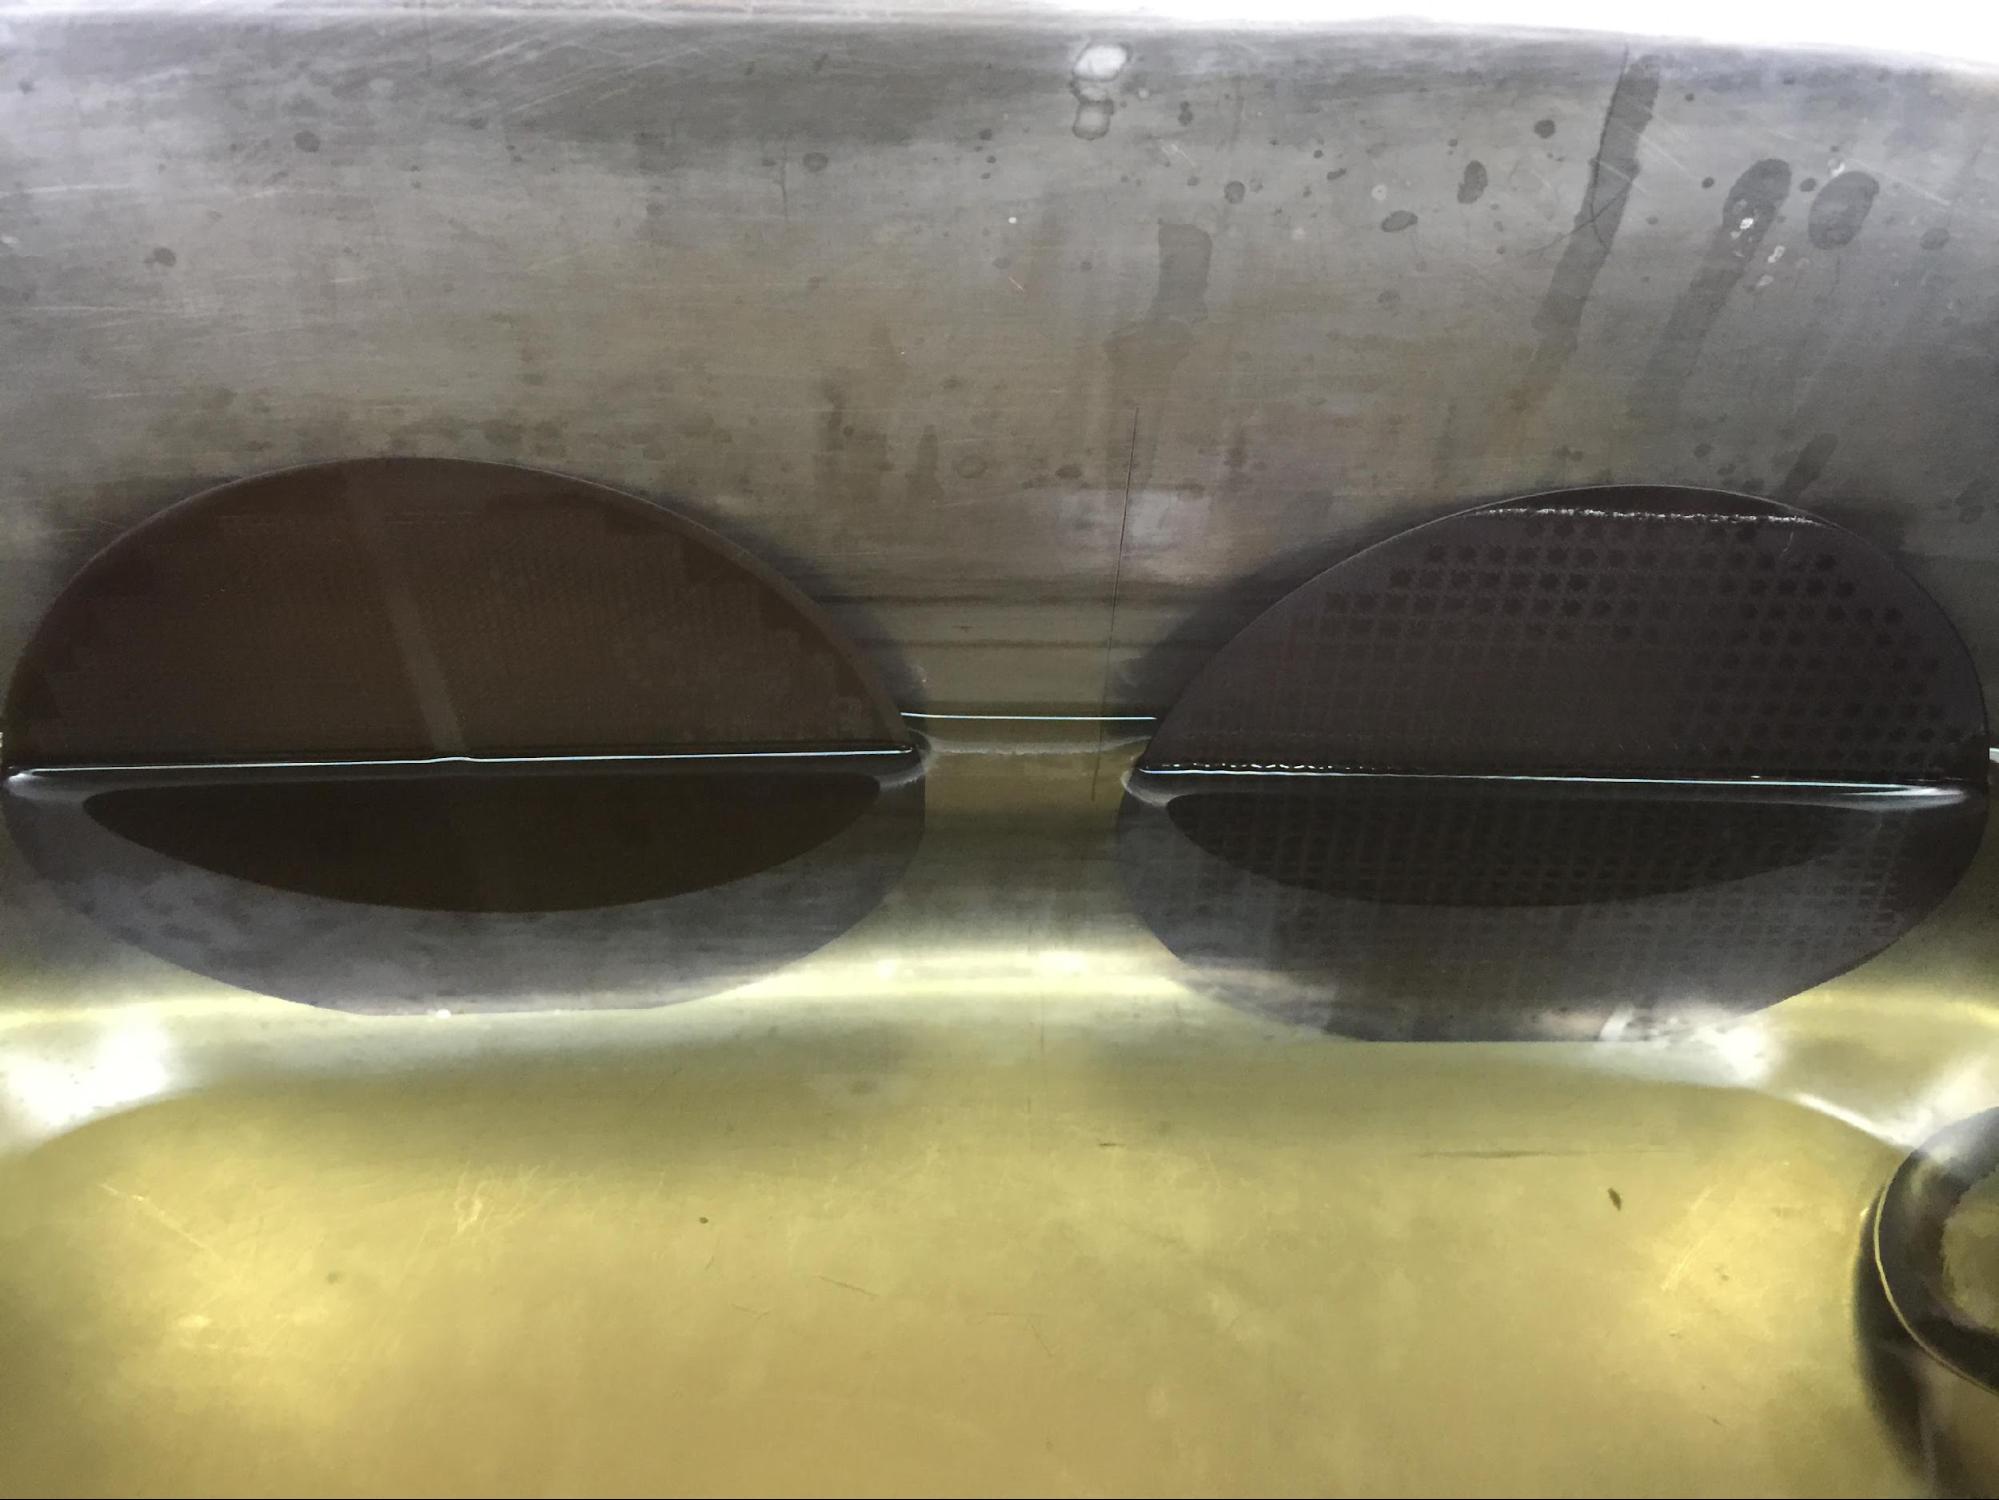
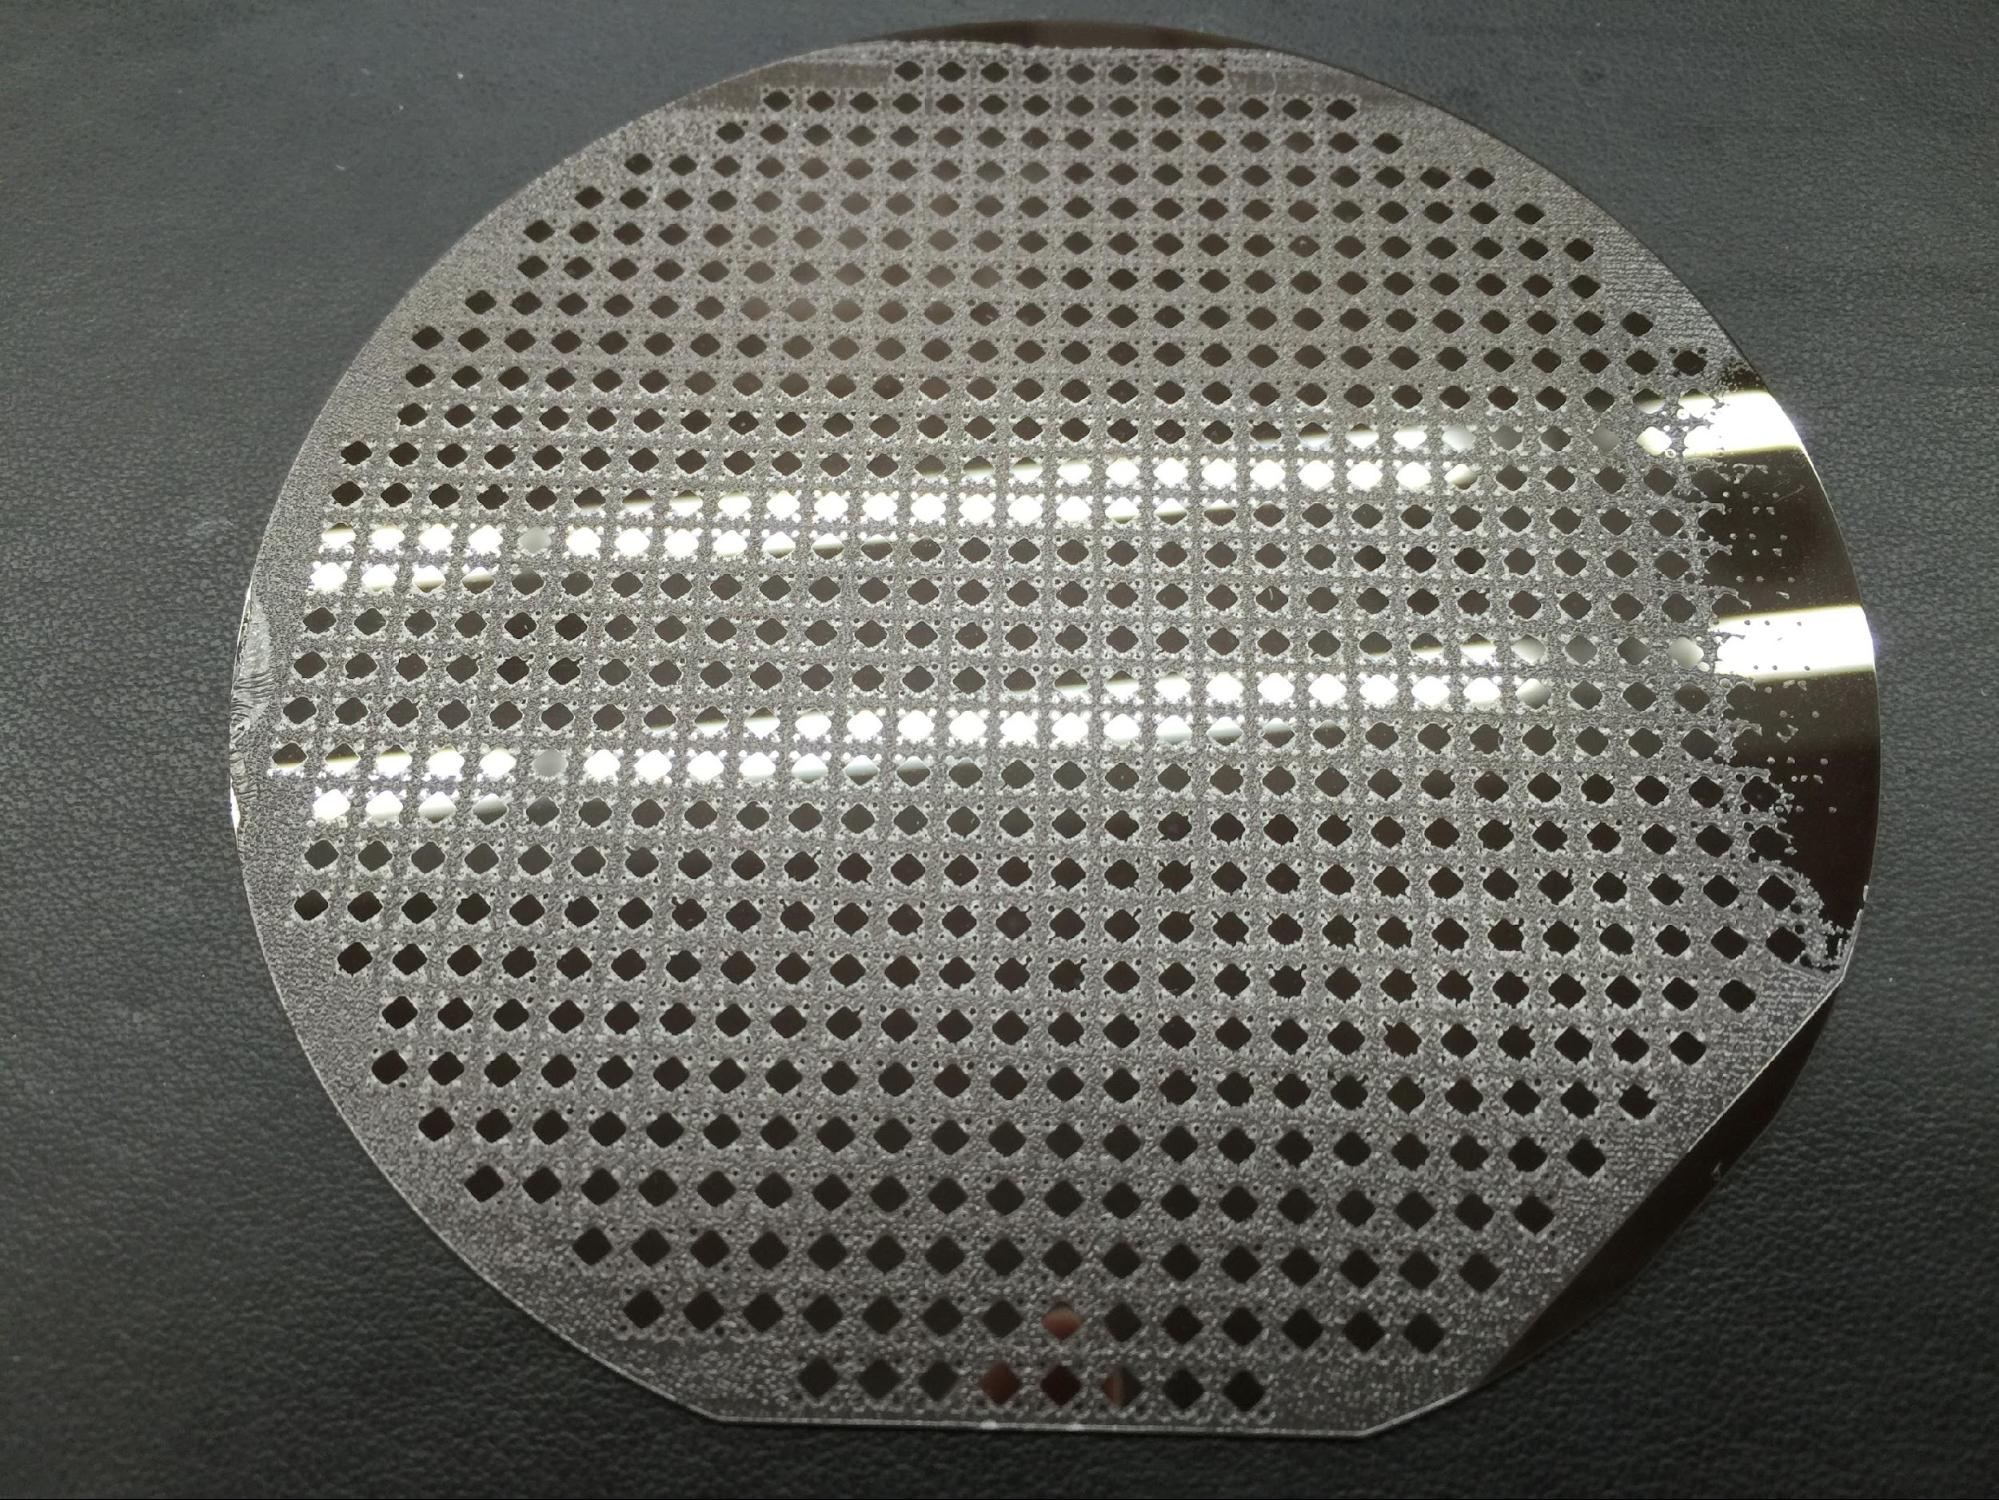
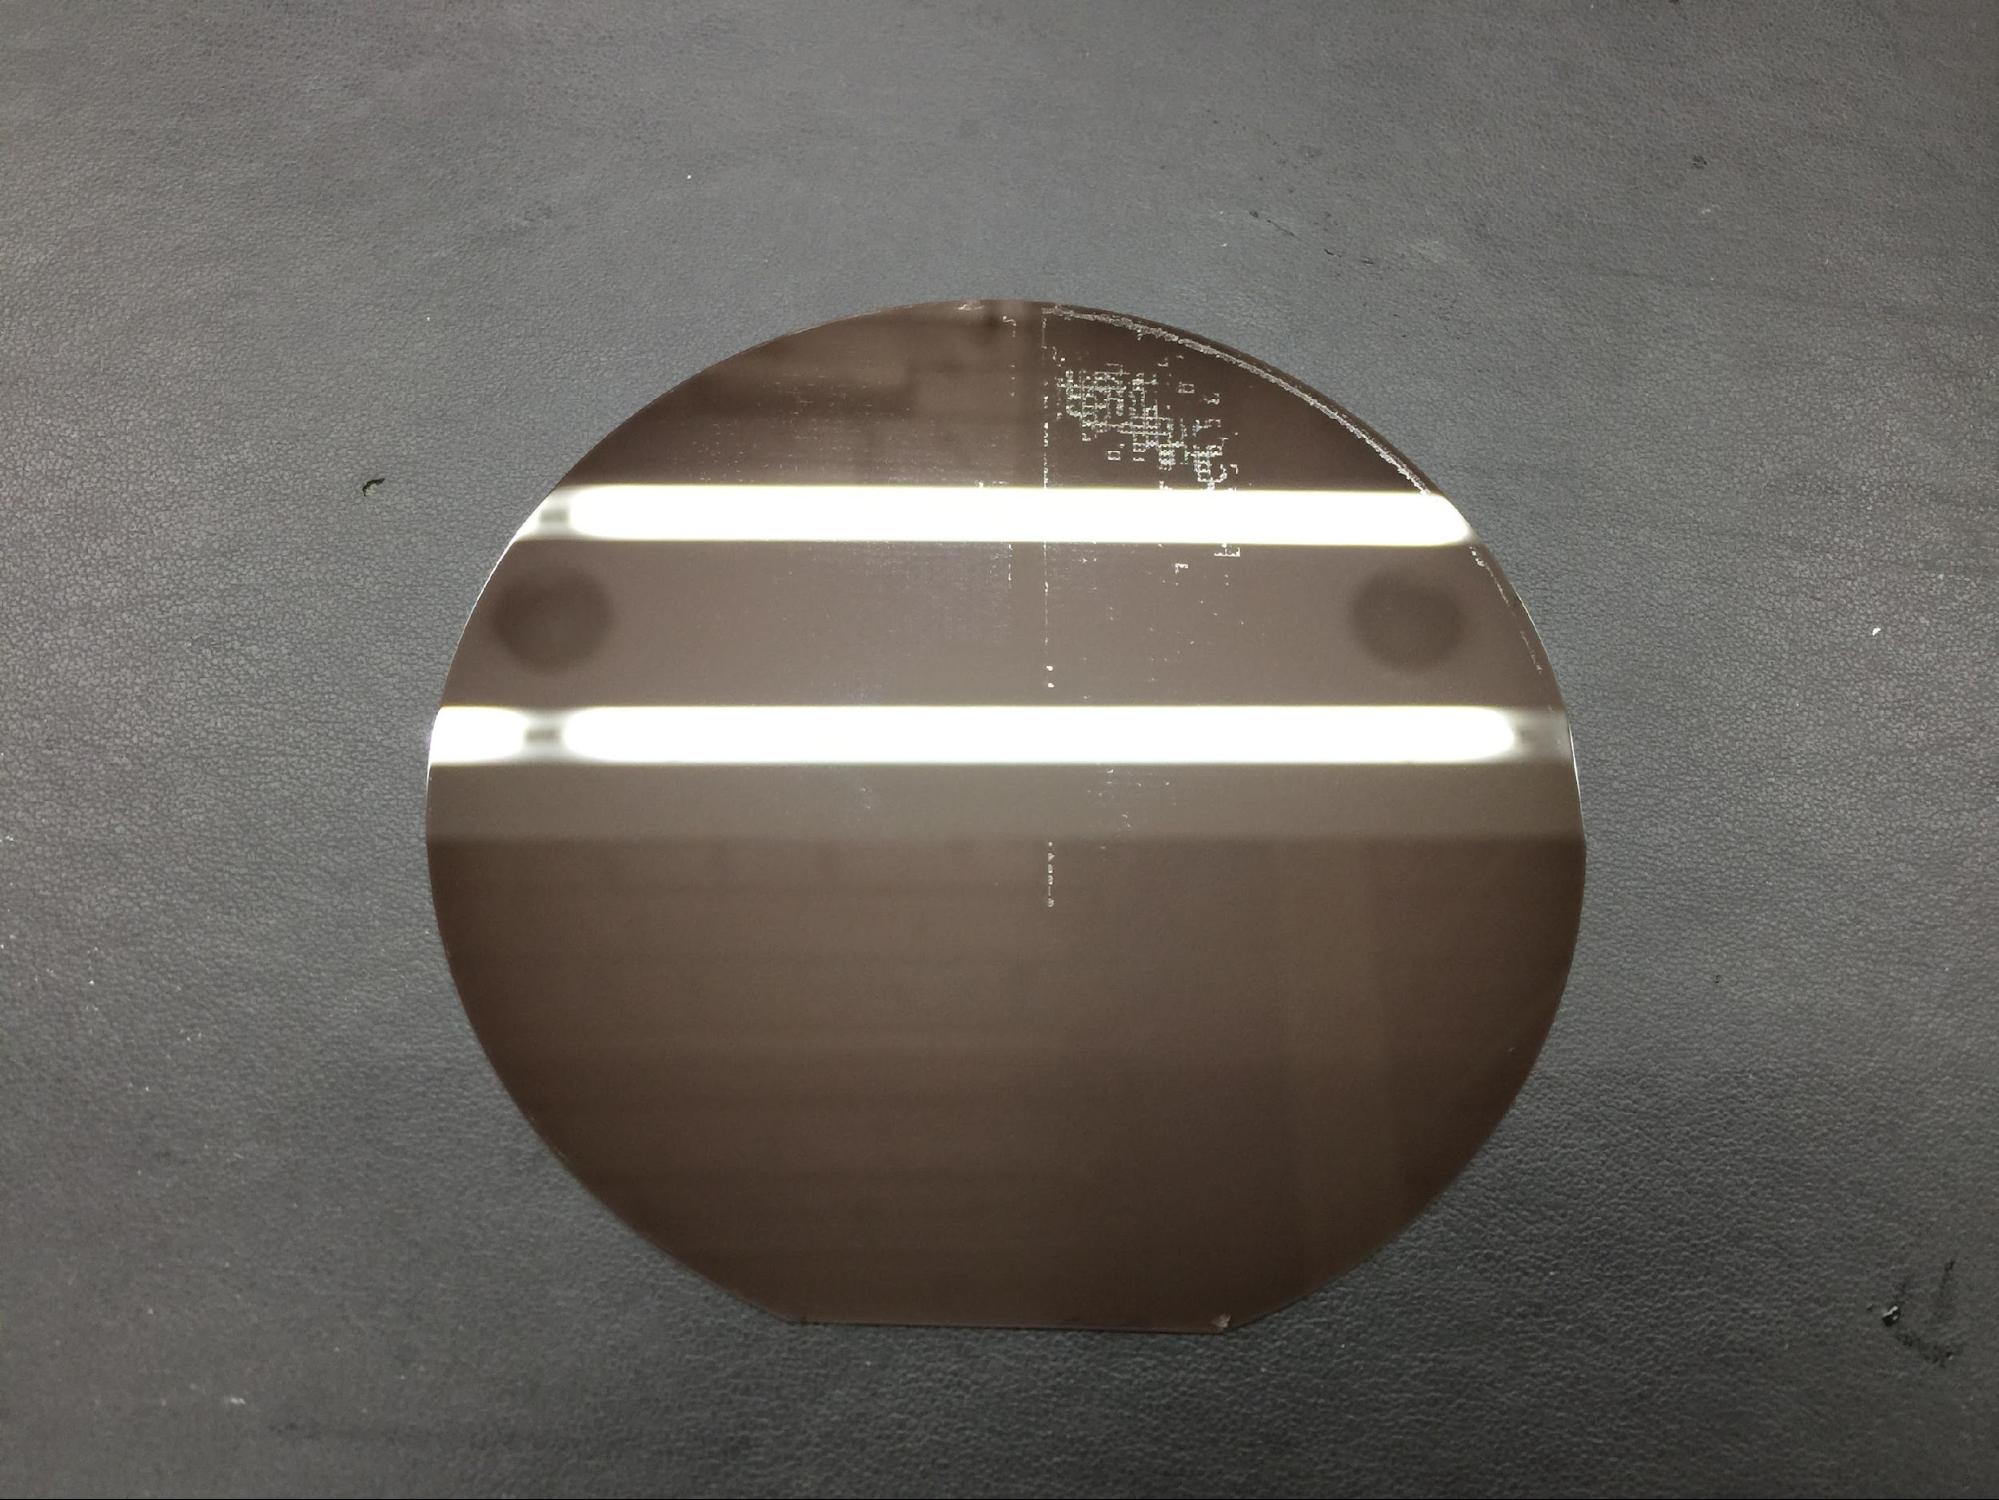
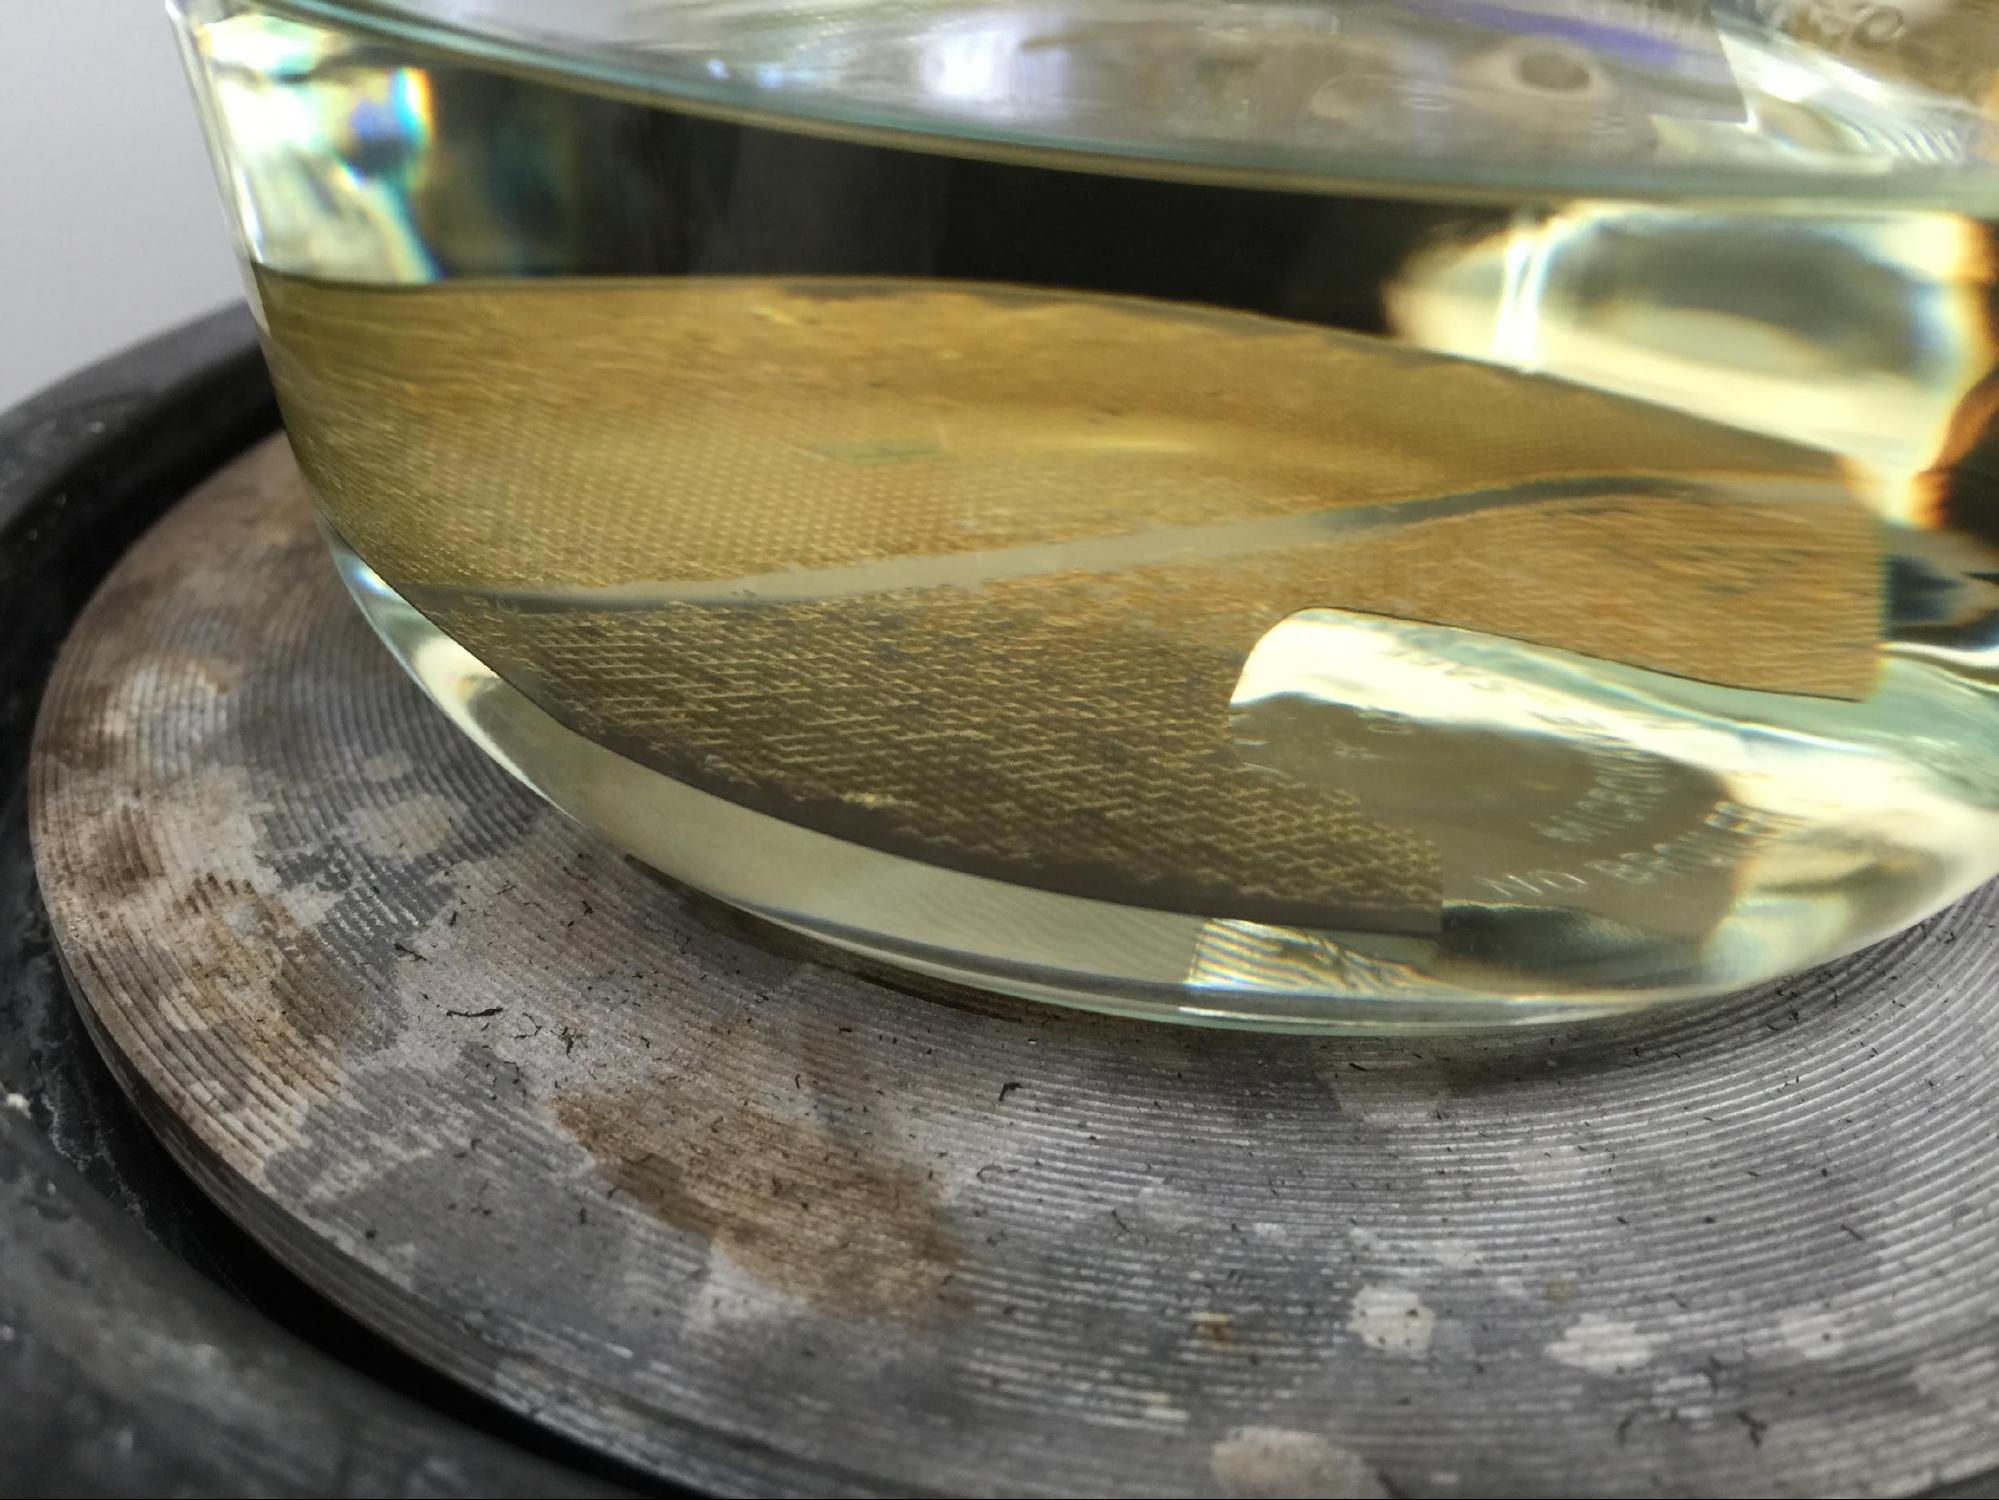
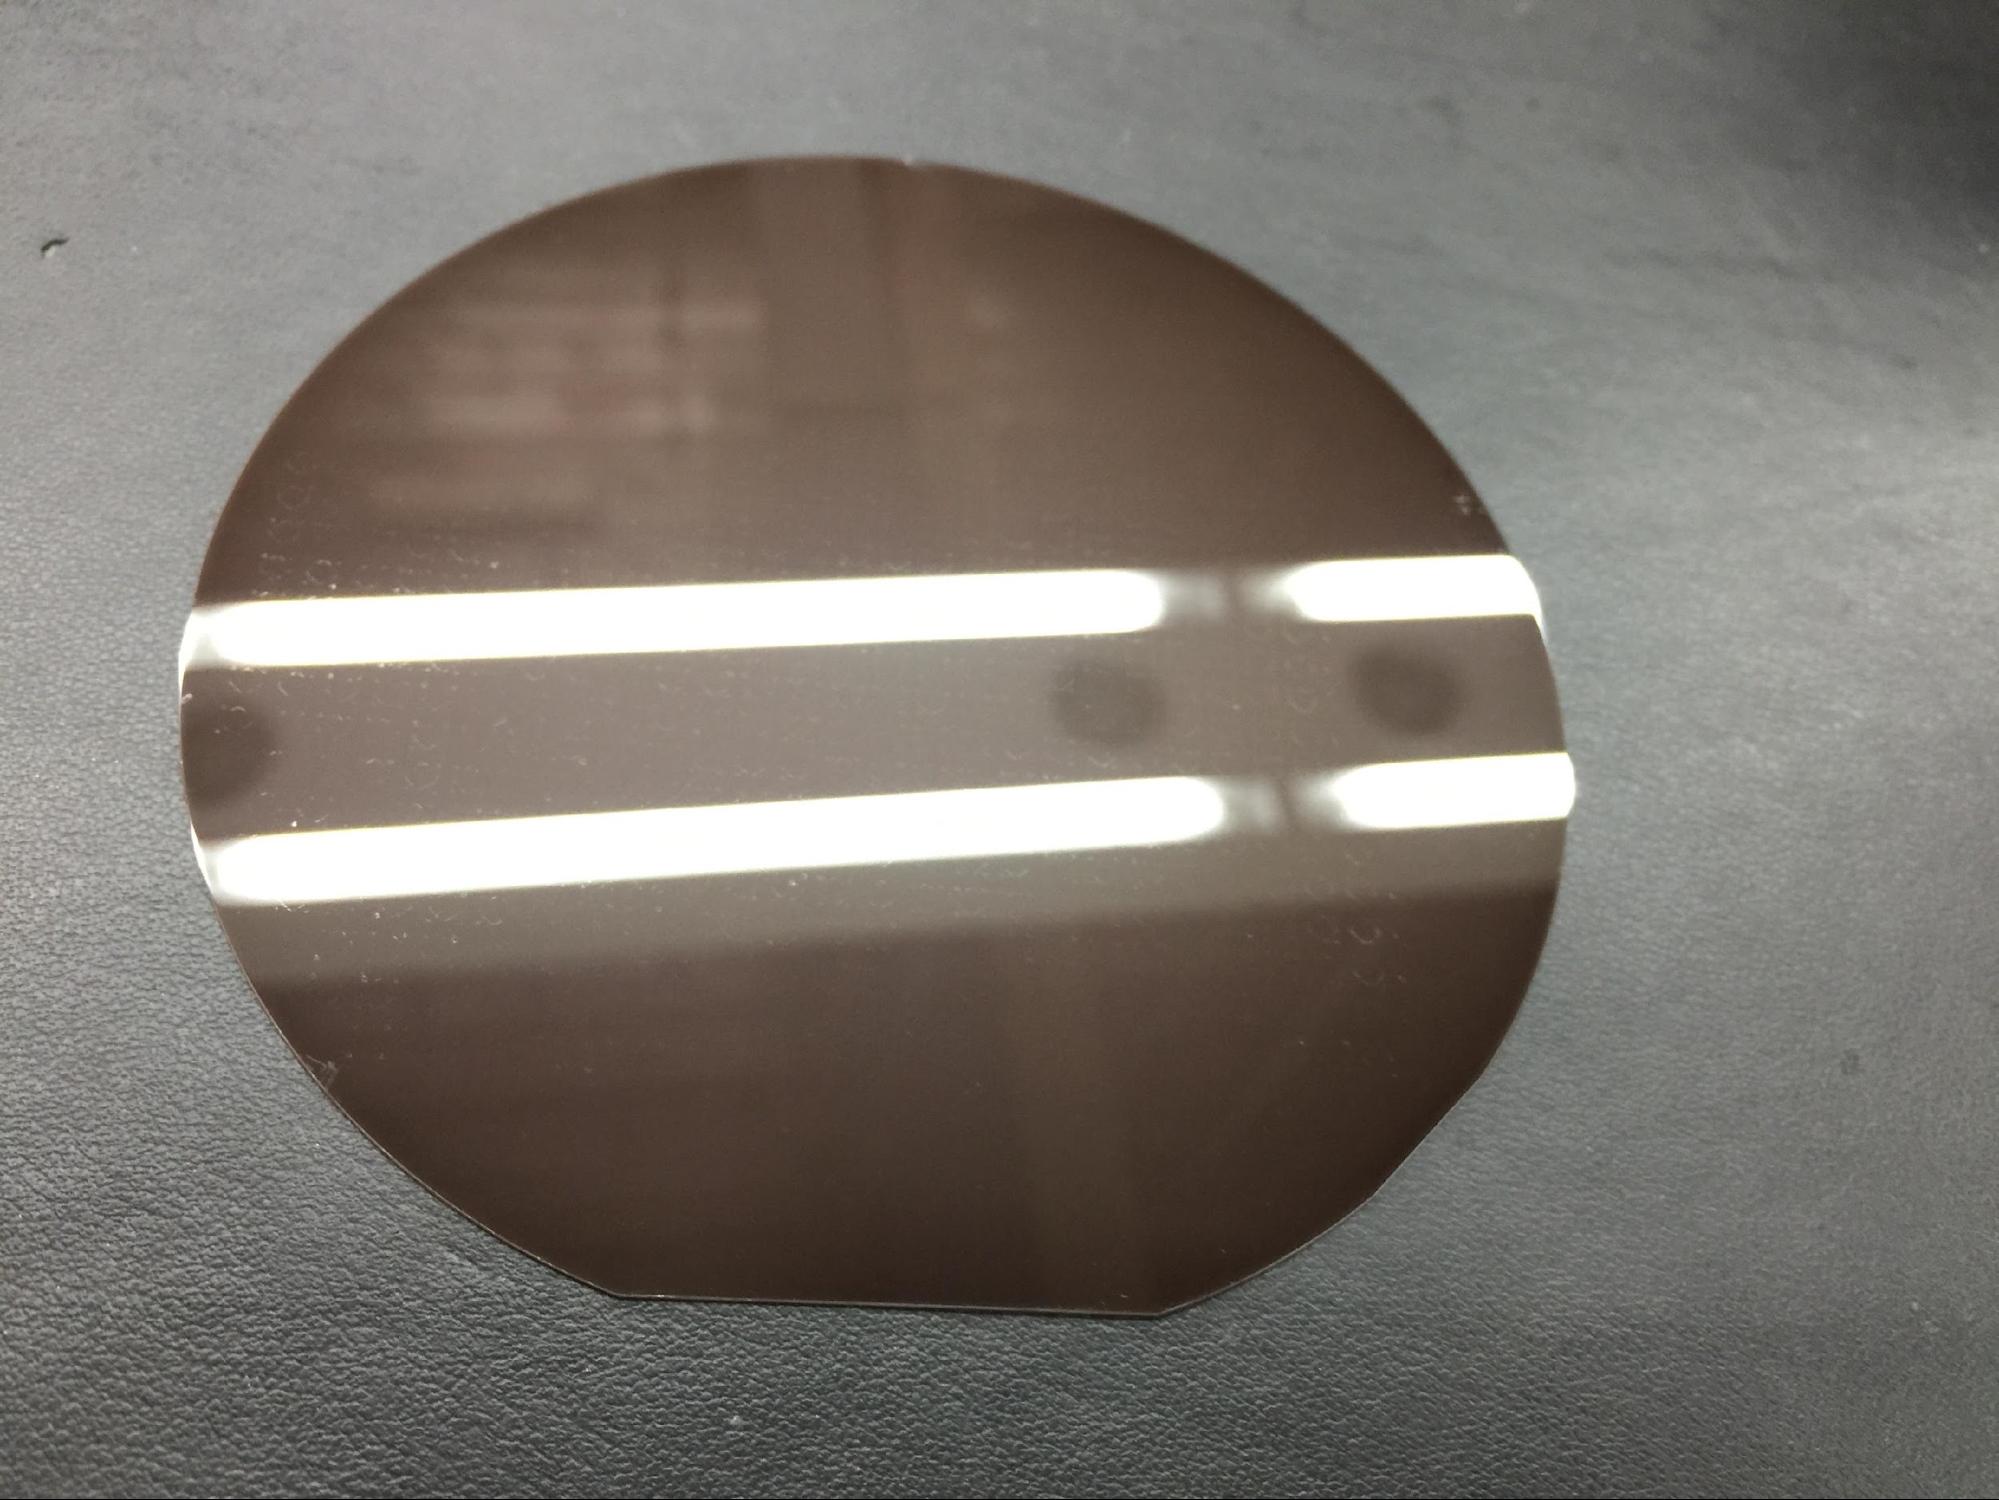
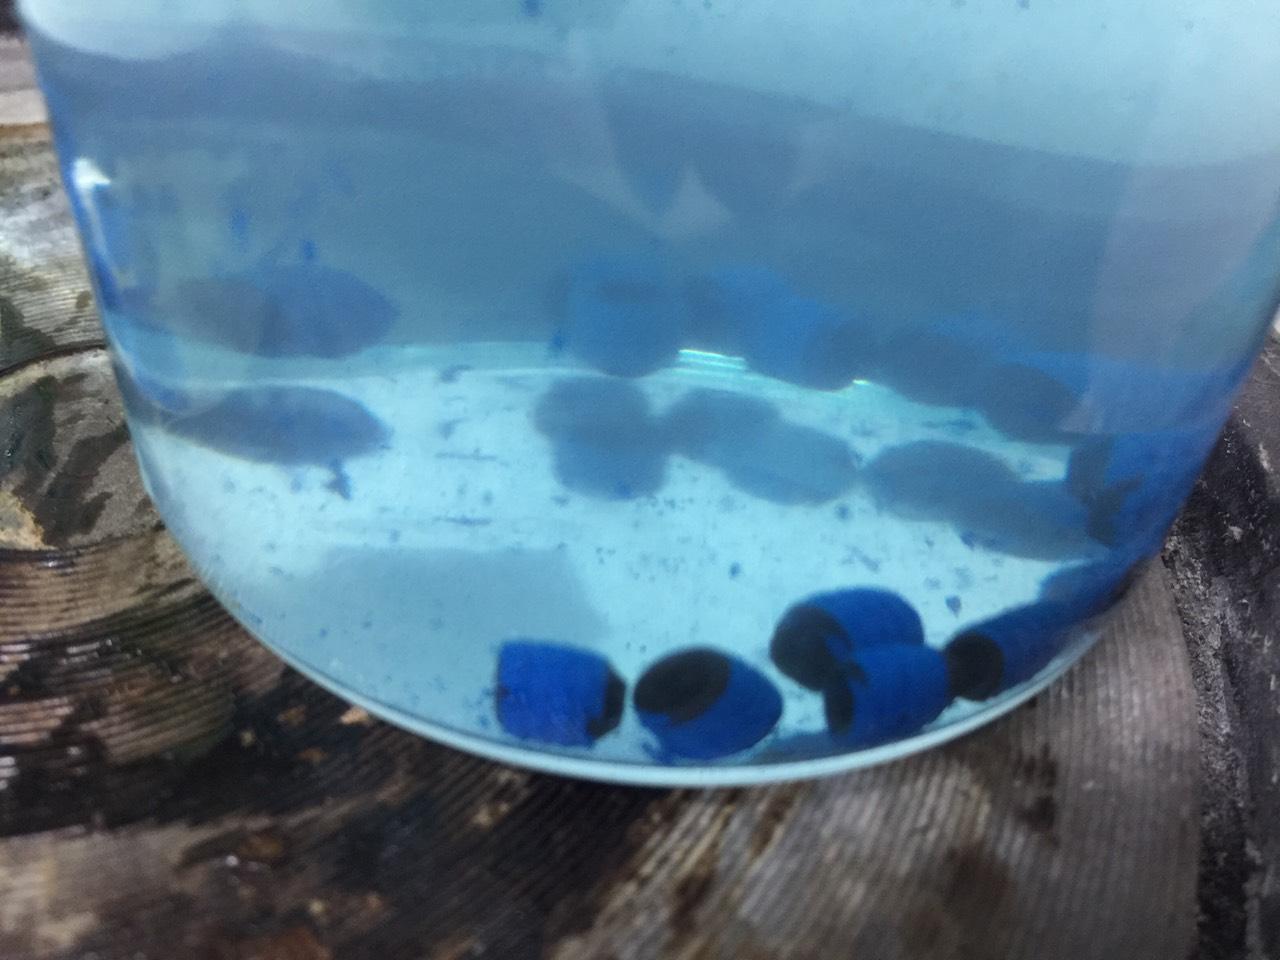
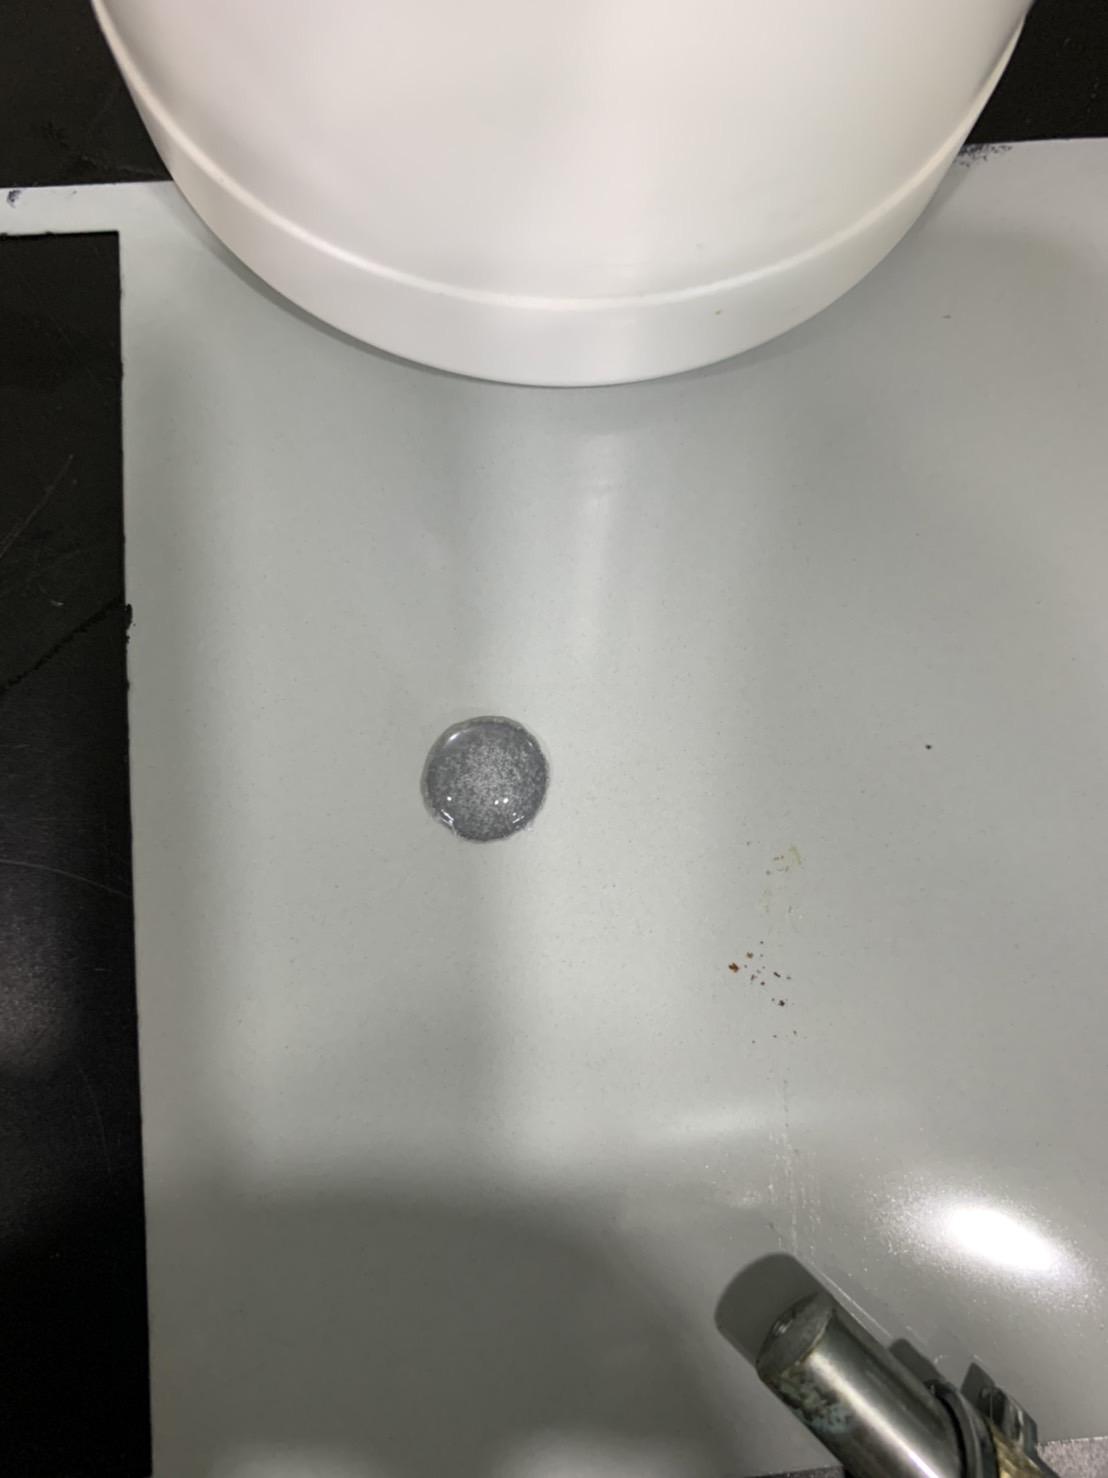
  4. Repeat the test. Use the hardening ink remover ACHM04-H1, dot on the white ink for 5 minutes (left in the picture below). After about 3 to 5 minutes, the white ink has changed color and dissolved (pictured below). After soaking in hardened ink remover ACHM04-H1 for 5 minutes, wipe it with tissue paper. It is found that the white electronic ink can be removed by gently wiping. (below right)

    07.jpg

    08.jpg

    09.jpg

  5. in conclusion.

    5.1 Hardened ink remover ACHM04-H1 can effectively remove the customer's electronic ink.
    5.2 Hardening ink remover ACHM04-H1, will not harm ITO and PET. The integrity of ITO can be preserved to the maximum extent without repeated wiping to remove the electronic ink.
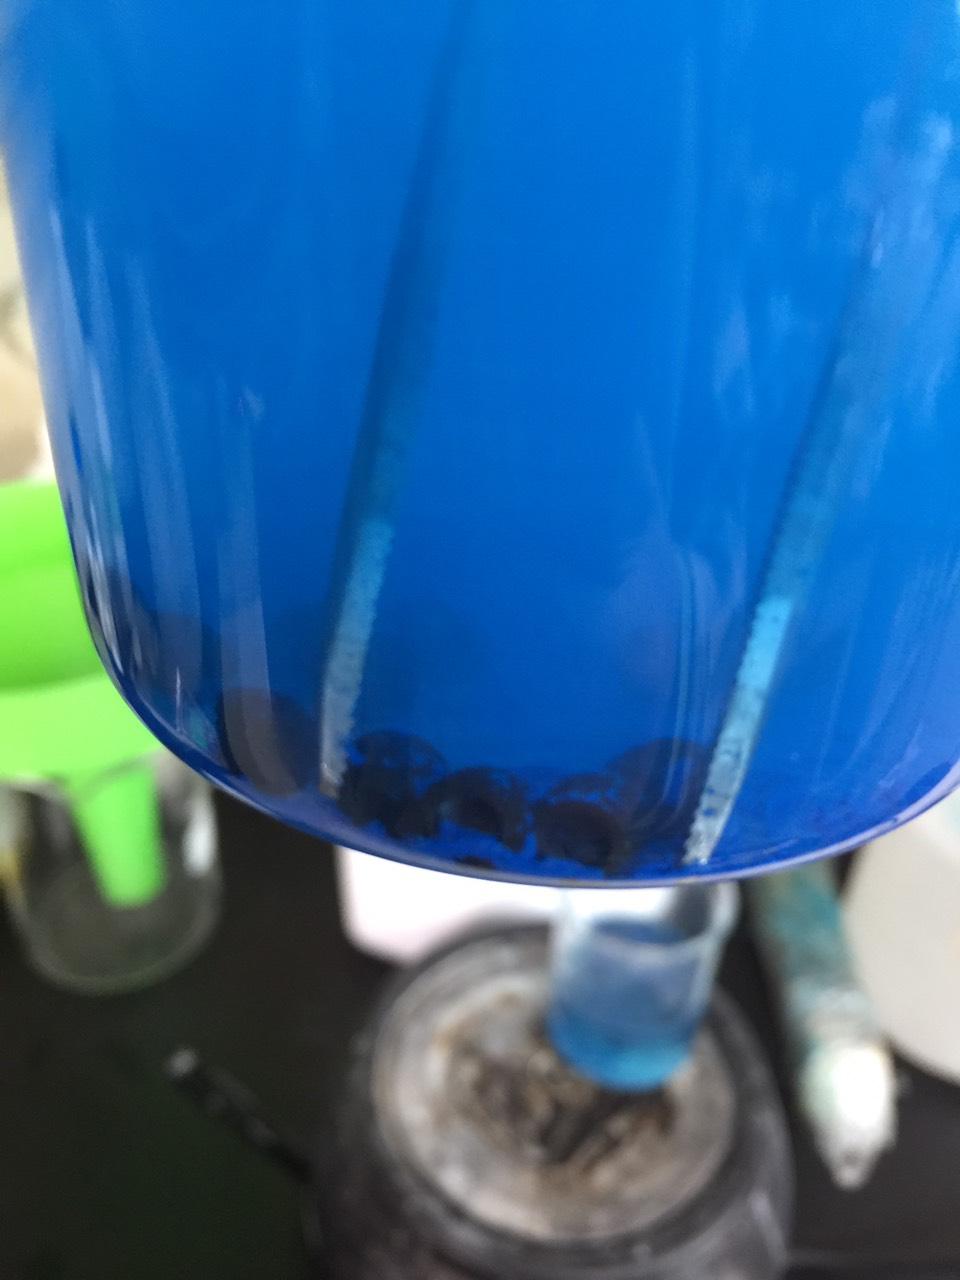
    5.3 Hardening ink remover ACHM04-H1, there is a gel formulation ACHM04-HG. However, after actual testing, the dissolving power of electronic ink in the gel formulation is much slower than that in the liquid formulation, and there is still no hair removal after soaking for 5 minutes. It is recommended to use IPA to remove the OCA glue on the surface first, and then treat the ink with gel formulation ACHM04-HG.


Hardened ink remover ACHM04-H1 applied to wafer SU8 photoresist removal test

  1. Wafer SU8 photoresist removed before:

    10.jpg

    11.jpg

    12.jpg

    Above: x50 times

    13.jpg

    14.jpg

    15.jpg

    Above: x800 times

  2. Heat the hardened ink remover ACHM04-H1 to 130°C, put it into the wafer and soak for 1 minute.
    It was found that the SU8 photoresist on the surface had begun to swell and peel off.

    16.jpg

    17.jpg

    18.jpg

  3. Rinse off with water. It was found that the SU8 photoresist on the surface had been removed. And the microstructure inside won't hurt either.

    19.jpg

    20.jpg

    Upper image: x50 times Lower image: x800 times

    21.jpg

    22.jpg

    23.jpg

    24.jpg

    25.jpg

    Above: x800 times

  4. However, there is still a small amount of SU8 residue, and it may be necessary to extend the soaking time or use ultrasonic vibration cleaning to help remove these small amount of residual glue and particles.

    26.jpg

    27.jpg

    28.jpg

    Above: x800 times

    29.jpg

    Above: x800 times


Hardening ink remover ACHM04-H1 applied to GaAs wafer (with plasma scorched AZ4620) photoresist stripping test

  1. There is plasma baked AZ4620 photoresist on the wafer. The purpose of this test is to remove the AZ4620 photoresist without damaging the AlGaAs on the wafer. The photo below is before Wafer photoresist stripping.

    30.jpg

    front

    31.jpg

    back

  2. Place the wafer in 40°C hardening ink remover ACHM04-H1, and soak for 5 minutes. It is found that the burnt AZ4620 photoresist above the wafer has mostly dissolved. There is only a small amount of photoresist left (at the red arrow), and it can also fall off after being disturbed and washed in the chemical.
    If it can be used with ultrasonic cleaning, I believe the cleaning effect will be better.

    32.jpg

    33.jpg

  3. Put the wafer in 40°C hardening ink remover ACHM04-H1, soak for 10 minutes, take it out and flush.

    34.jpg

  4. It was found that almost all of the photoresist had come off. And the wafer is not injured.

    35.jpg

  5. After removing the photoresist, some defects (red arrows) can be found under strong light.
    The comparison is the photo before cleaning, and it is found that the blemish already existed before cleaning. Judgment is not residual photoresist.

    36.jpg

    37.jpg

  6. conclusion and discussion:

    6.1 From the experimental results, the hardened ink remover ACHM04-H1 can effectively clean the AZ4620 photoresist that has been scorched by plasma.
    6.2 Since the stripped AZ4620 photoresist will be suspended in the chemical; therefore, when the wafer is taken out from the chemical, it will stick to the surface of the wafer, making it difficult to determine whether the photoresist has not been completely peeled off or the surface is left due to reverse contamination ? It is recommended that when cleaning, the agent should have 3 tanks. The main photoresist is completely peeled off in the first groove, and the remaining photoresist is cleaned in the second groove. The 3rd slot is used as Guarantee.
    6.3 It is possible to discuss with the equipment manufacturer about the combination of ultrasonic wave or pressurized agent, spray washing, and circulating filtration; will it increase the cleaning efficiency and cleanliness?


Hardened ink remover ACHM04-H1 applied to oscillator wafer SU8 and Epoxy photoresist stripping test

  1. Before the oscillator wafer SU8 photoresist is removed, the SU8 photoresist is pre-baked at 120°C for 12 minutes.

    38.jpg

    39.jpg

  2. Place the wafer on a heating plate at 170+-10°C and bake for 60 minutes. The color of SU8 becomes more transparent after curing. (below right)

    40.jpg

    41.jpg

  3. Heat the hardened ink remover ACHM04-A to 120°C, put it into the baked wafer, and soak it in the agent for 5 hours. Then rinse with clean water. It was found that the SU8 on the surface of the wafer showed no sign of peeling off or swelling and softening.

    42.jpg

    43.jpg

  4. Bake another piece of epoxy photoresist wafer at 170+-10℃ for 60 minutes. Put the baked wafer into 120°C hardening ink remover ACHM04-A and soak for 5 hours. Then rinse with clean water.

    44.jpg

  5. It was found that the epoxy photoresist on the surface of the wafer swelled slightly and turned white. But there is no sign of falling off at all. Confirm that the hardened ink remover ACHM04-A is not suitable for removing SU8 and epoxy photoresist that have been baked on the surface of the oscillator wafer.

    45.jpg

  6. Take another piece of SU8 photoresist wafer and bake it on a heating plate at 170+-10°C for 60 minutes. Put the baked wafer into 120°C hardening ink remover ACHM04-H2 and soak for 48 hours. Then rinse with clean water. Place a beaker filled with clean water on the glassware of heating and hardening ink remover ACHM04-H2, so that the chemical vapor of ACHM04-H2 can condense and drip back into the glassware, reducing the escape of the agent (refer to the right of the figure below).

    46.jpg

    47.jpg

    48.jpg

  7. It was found that the SU8 photoresist on the wafer swelled significantly after soaking at 120°C for 5 hours with the hardening ink remover ACHM04-H2. Lightly touch it with a PE plastic tube, and some SU8 resin graphics will fall off.

    49.jpg

    50.jpg

    51.jpg

  8. However, even after heating and soaking for 24 hours with the hardening ink remover ACHM04-H2, although more than 90% of the SU8 photoresist on the wafer has fallen off, there are still a small number of patterns that have not fallen off. After soaking at 120°C for 48 hours with the hardening ink remover ACHM04-H2, the SU8 photoresist on the surface has almost completely fallen off, but there are still dots remaining.

    52.jpg

    Heat and soak for 24 hours

    53.jpg

    Heat and soak for 48 hours

  9. Take another piece of SU8 photoresist wafer and soak it with hardening ink remover ACHM04-H1 at 120°C.

    54.jpg

    55.jpg

  10. It was found that the SU8 photoresist on the wafer swelled significantly after soaking at 120°C for 5 hours with the hardening ink remover ACHM04-H1. Touch lightly with a PE plastic tube, and almost all the SU8 resin graphics will fall off. Hardened ink remover ACHM04-H1 was found to be a better stripper for hardened SU8.

    56.jpg

    57.jpg

  11. Another piece of epoxy photoresist wafer was also heated and soaked at 120°C with the hardening ink remover ACHM04-H1, and it was found that after soaking for 2 hours, the epoxy photoresist had obviously fallen off.

    58.jpg

    59.jpg

    60.jpg

  12. Conclusion and suggested process:

    12.1 Hardened ink remover ACHM04-H1 is a better stripper for hardened SU8 and hardened EPOXY photoresist.
    12.2 The recommended manufacturing process is as follows:
    12.2.1. The first tank: pre-foaming tank. The stainless steel tank with constant temperature control is filled with the hardened ink remover ACHM04-H1 heated to 120°C, and the grid frame in which the wafer is placed is soaked for 24 hours. A cover and a condensation extraction device are attached above the tank. When the cover is opened, the air extraction device can extract steam to prevent personnel from inhaling medicament vapor.
    12.2.2. No. 2 tank: Spray tank. A closed stainless steel tank with high-pressure flushing and constant temperature control. The wafer taken out of the first tank is spray-washed with ACHM04-H1 heated to 120°C in this tank. A cover and a condensation extraction device are attached above the tank. The spray pump is made of stainless steel with a Teflon seal.
    12.2.3. The third tank: cleaning tank. A closed stainless steel tank with high-pressure flushing and constant temperature control. The wafer taken out of the second tank is sprayed with clean water and high-pressure in this tank. A cover and condensation and air extraction devices are attached above the tank. The spray pump is made of stainless steel with a Teflon seal.


Xiwei TM Hardening Ink Remover ACHM04-H1 Applied to Stripping Screws and Anti-dropping Test Report

  1. Workpiece description: The customer reported that the anti-falling glue on this type of screw cannot be stripped off with the existing agent ACHM04-E. Before the anti-falling glue is peeled off, it is attached to the external thread of the screw:

    61.jpg

  2. Peel tests were performed with different formulations. It was found that after using the hardened ink remover ACHM04-H1 and the dust cleaner PTC13, after heating to 80°C and soaking for 60 minutes, the blue anti-falling glue would swell and fall off in the form of soft and rotten flakes. Below left photo shows soak hardening ink remover ACHM04-H1. The picture on the right below is the soaking micro dust cleaner PTC13.

    62.jpg

    Hardened ink remover ACHM04-H1

    63.jpg

    Micro dust cleaner PTC13

    Rinse with clean water and find that the rotten blue glue on the surface can be easily washed off. But there is still a thicker blue glue residue in the thread recess.


  3. Use the hardened ink remover ACHM04-H1, and the dust cleaner PTC13, after heating to 80°C and soaking for 120 minutes.

    64.jpg

    Hardened ink remover ACHM04-H1

    65.jpg

    Micro dust cleaner PTC13

  4. Take it out and put it in the remaining mesh container. After washing with clean water, it was found that the screws treated with the two agents can clean the residual anti-falling glue.

    66.jpg

    67.jpg

  5. in conclusion.

    5.1 The hardened ink remover ACHM04-H1, and the dust cleaner PTC13 can remove the anti-falling glue on the screw of the customer.
    5.2 Micro dust cleaning agent PTC13 is alkaline. Not suitable for aluminum alloy or galvanized screws. For screws that are prone to rust, be careful to clean them after soaking PTC13, and add 5% water-based anti-rust agent RP01 to pure water during the last rinse to avoid rusting.
    5.3 Hardened ink remover ACHM04-H1 is neutral and suitable for screws of various materials. ACHM04-H1 is completely miscible with water, so it can be easily removed with clean water after use. However, it must be noted that ACHM04-H1 cannot be mixed with water during use, otherwise it will quickly fail. In addition, if you wash it with clean water after use, you still need to pay attention to rust prevention for screws that are prone to rust because they come into contact with water.
    5.4 Suggested procedure for mass removal of glue:
    5.4.1 Pre-soaking: Soak the screw in the pre-soaking tank containing ACHM04-H1 agent. (The drug is heated at 70~80°C and soaked for 2 hours. The drug is soaked at room temperature for 24 hours.)
    5.4.2 Chemical spraying: Put the pre-soaked screws into the spray tank containing ACHM04-H1 chemical and spray to remove them. (The purpose of this tank is to degumming, the chemical is heated at 70~80°C, and equipped with a high-pressure spraying device. The pre-soaked screws can be sprayed and degummed within 60 seconds. This tank can be connected to a filter to filter out the degumming to increase potion life)
    5.4.3 Cleaning guarantee: the third tank containing ACHM04-H1 agent, the purpose is Guarantee. Make sure that if the excessively high concentration of degumming remains on the screw after a large amount of cleaning and is brought into the third tank, it can be washed out in this tank. (This tank is also set to heat the medicine at 70~80°C, and is equipped with a high-pressure spray washing device for medicine.)
    5.4.4 Cleaning with clean water: Spray and clean the remaining chemicals on the screws with clean water 2 to 5 times. If the screw itself is very easy to rust, spray or dip in clean water for the last wash, and add 5% water-based anti-rust agent RP01 to the water to avoid rust.
    5.4.5 Drying: The screws washed with water are quickly dried by a centrifuge, which can reduce the drying time. This step can also be replaced by soaking in IPA.
    5.4.6 Drying: After the screws are dried by a centrifuge, they are dried in an oven. If the screw has been soaked in anti-rust agent RP01, it does not need to be dried.
    5.4.7 If PTC13 is used in the above steps 1.~6., it is also applicable. Only when heating PTC13, it is recommended to add 15% pure water in advance. And PTC13 is not suitable for pre-soaking at room temperature. Pre-soaking should be heated.


Xiwei TM Hardening Ink Remover ACHM04-H1 Applied to Stripping Screws and Anti-dropping Test Report

  1. Workpiece description: The customer reported that the anti-falling glue on this type of screw cannot be stripped off with the existing agent ACHM04-A.
    Before the anti-falling glue is peeled off, it is attached to the external thread of the screw:

    68.jpg

  2. Peel tests were performed with different formulations. It was found that after using the hardened ink remover ACHM04-H1 and the dust cleaner PTC13, after heating to 80°C and soaking for 60 minutes, the blue anti-falling glue would swell and fall off in the form of soft and rotten flakes. Below left photo shows soak hardening ink remover ACHM04-H1. The picture on the right below is the soaking micro dust cleaner PTC13.

    69.jpg

    Hardened ink remover ACHM04-H1

    70.jpg

    Micro dust cleaner PTC13

    Rinse with clean water and find that the rotten blue glue on the surface can be easily washed off. But there is still a thicker blue glue residue in the thread recess.


  3. Use the hardened ink remover ACHM04-H1, and the dust cleaner PTC13, after heating to 80°C and soaking for 120 minutes.

    71.jpg

    Hardened ink remover ACHM04-H1

    72.jpg

    Micro dust cleaner PTC13

  4. Take it out and put it in the remaining mesh container. After washing with clean water, it was found that the screws treated with the two agents can clean the residual anti-falling glue.

    73.jpg

    74.jpg

  5. in conclusion.

    5.1 The hardened ink remover ACHM04-H1, and the dust cleaner PTC13 can remove the anti-falling glue on the screw of the customer.
    5.2 Micro dust cleaning agent PTC13 is alkaline. Not suitable for aluminum alloy or galvanized screws. For screws that are prone to rust, be careful to clean them after soaking PTC13, and add 5% water-based anti-rust agent RP01 to pure water during the last rinse to avoid rusting.
    5.3 Hardened ink remover ACHM04-H1 is neutral and suitable for screws of various materials. ACHM04-H1 is completely miscible with water, so it can be easily removed with clean water after use. However, it must be noted that ACHM04-H1 cannot be mixed with water during use, otherwise it will quickly fail. In addition, if you wash it with clean water after use, you still need to pay attention to rust prevention for screws that are prone to rust because they come into contact with water.
    5.4 Suggested procedure for mass removal of glue:
    5.4.1 Pre-soaking: Soak the screw in the pre-soaking tank containing ACHM04-H1 agent. (The drug is heated at 70~80°C and soaked for 2 hours. The drug is soaked at room temperature for 24 hours.)
    5.4.2 Chemical spraying: Put the pre-soaked screws into the spray tank containing ACHM04-H1 chemical and spray to remove them. (The purpose of this tank is to degumming, the chemical is heated at 70~80°C, and equipped with a high-pressure spraying device. The pre-soaked screws can be sprayed and degummed within 60 seconds. This tank can be connected to a filter to filter out the degumming to increase potion life)
    5.4.3 Cleaning guarantee: the third tank containing ACHM04-H1 agent, the purpose is Guarantee. Make sure that if the excessively high concentration of degumming remains on the screw after a large amount of cleaning and is brought into the third tank, it can be washed out in this tank. (This tank is also set to heat the medicine at 70~80°C, and is equipped with a high-pressure spray washing device for medicine.)
    5.4.4 Cleaning with clean water: Spray and clean the remaining chemicals on the screws with clean water 2 to 5 times. If the screw itself is very easy to rust, spray or dip in clean water for the last wash, and add 5% water-based anti-rust agent RP01 to the water to avoid rust.
    5.4.5 Drying: The screws washed with water are quickly dried by a centrifuge, which can reduce the drying time. This step can also be replaced by soaking in IPA.
    5.4.6 Drying: After the screws are dried by a centrifuge, they are dried in an oven. If the screw has been soaked in anti-rust agent RP01, it does not need to be dried.
    5.4.7 If PTC13 is used in the above steps 1.~6., it is also applicable. Only when heating PTC13, it is recommended to add 15% pure water in advance. And PTC13 is not suitable for pre-soaking at room temperature. Pre-soaking should be heated.


Xiwei TM Hardening Ink Remover ACHM04-H1 Applied to Optical Fiber Probe (SUS630) to Strip Epoxy Resin Hardening Ink (EPOXY) Test Report

  1. Workpiece description: A circle of red epoxy resin hardening ink is coated on the top of the fiber optic probe of stainless steel 630. The purpose of this test is to strip the red epoxy hardened ink, but not to damage the stainless steel 630 fiber optic probe.
    Before ink stripping, the red epoxy hardened ink sits on the concave ring of the fiber optic probe:

    75.jpg

    76.jpg

  2. Peel tests were performed with different formulations. It was found that after using the hardening ink remover ACHM04-A, after heating to 90°C and soaking for 20 minutes, the red epoxy resin hardening ink would flake off. It should be that the red epoxy resin hardening ink has rotted away.

    77.jpg

    Rinse with water and find that it washes off easily. But under the microscope, because the red epoxy hardening ink has rotted, it cannot be completely peeled off, and some small fragments are left on the concave ring of the fiber optic probe.

    78.jpg

    79.jpg

    80.jpg

  3. Change to hardening ink remover ACHM04-H1 for cleaning, ACHM04-H1 will not break the red epoxy resin hardening ink, only let it swell and fall off. After heating to 90°C and soaking for 20 minutes, it was found that the red epoxy resin hardening ink had changed color and swelled.

    81.jpg

    82.jpg

  4. Take it out, and gently clamp it with tweezers, that is, the whole ring will peel off.

    83.jpg

  5. After rinsing with clean water, observe under a microscope. The red epoxy hardened ink was found to peel off cleanly all around without residue.

    84.jpg

    85.jpg

  6. In conclusion, the hardening ink remover ACHM04-H1 will not break the red epoxy resin hardening ink, but only make it swell and fall off, so it should be a better agent for this case.

Products