1. Reagents
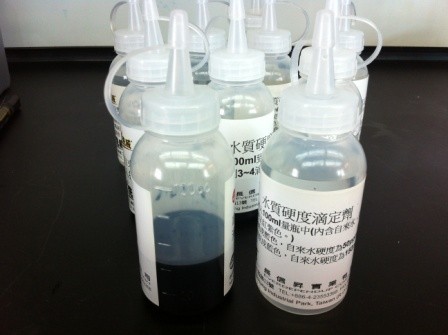
Water Hardness Indicator: Dark blue liquid.
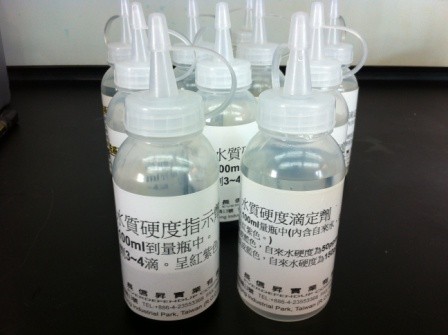
Water Hardness Titrant: Transparent and clear liquid.
2. Directions for Use
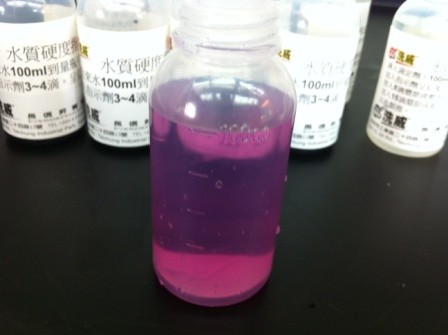
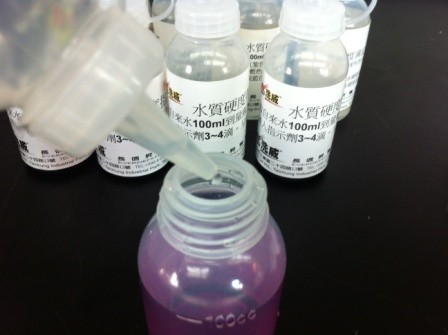
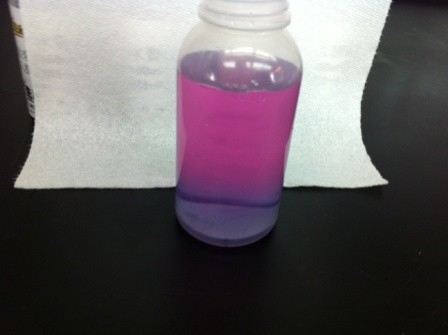
2.1 Fill a clean bottle with 100ml tap water to the 100ml graduation line. Add 1 to 2 drops of the Water Hardness Indicator. If the water contains hardness such as calcium and magnesium ions, the sample will turn reddish-purple (see left image in the group below). (If the water hardness is below 30ppm, you may add 3 to 4 drops as needed to enhance the color effect.)
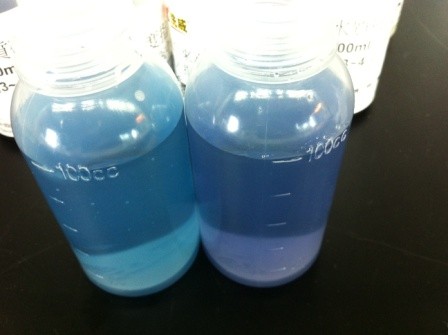
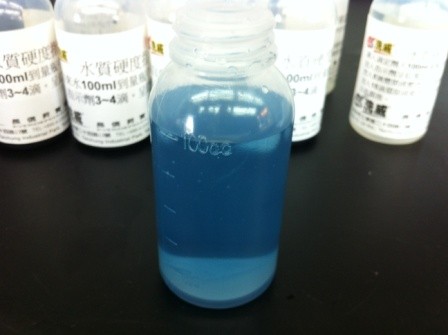
If the water contains no hardness (e.g., RO water or soft water with hardness < 10ppm), the sample will turn blue (see right image in the group below).
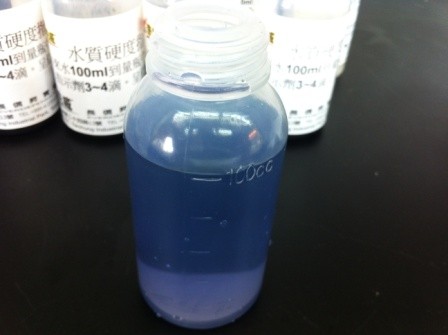
2.2 Hold the Water Hardness Titrant at a 45-degree angle and slowly add it drop by drop to the reddish-purple sample from step 2.1. Count the number of drops added. When the bottom of the sample slightly changes color toward light blue, you are approaching the titration endpoint. At this point, pause titration and shake the sample until it returns to reddish-purple. Then, add 1 drop at a time and stop to shake the sample. Continue until the sample turns bluish-purple after shaking and no longer changes color; this is the titration endpoint.
Count the total drops added: if 5 drops are added, the water hardness is 50ppm; if 10 drops are added, the water hardness is 100ppm, and so forth.
3. Treatment for High-Hardness Water
If water hardness is higher than 300ppm, titration may require more than 30 drops. It is recommended to dilute the water sample with distilled water.
Example: Add the water sample to the 40ml graduation line and fill the rest with distilled water to the 100ml line. If 12 drops are added to reach the bluish-purple endpoint, the calculation is: 12 * 100 / 40 * 10ppm = 300ppm.
4. Treatment for Low-Hardness Water
If water hardness is lower than 30ppm, only 3 drops may reach the bluish-purple endpoint. It is recommended to take a 1000ml water sample and boil it down to 100ml (concentration). Calculation: Number of drops * 1/10 * 10ppm.
5. Application
In addition to testing water hardness, this test kit can also be used to measure the hard water resistance of detergents.
Method:
1. Measure the water hardness (refer to steps 2.1 and 2.2).
2. Replace the Water Hardness Titrant with the detergent to be tested. First, neutralize the detergent with hydrochloric acid (HCl) to a pH of approximately 10–11, then add the detergent drop by drop to the water sample. If the original detergent was 100g and 30g of HCl was added, the calculation must be multiplied by (100+30)/100 to determine the hard water resistance.
3. Calculation: For example, if it originally took 25 drops of the standard Titrant to change color, but only 20 drops of the detergent to be tested, the hard water resistance is:
25 / 20 * 100% = 125% (further multiplied by (Detergent + HCl) / Detergent).
Conversely, if it takes 75 drops of the detergent, the resistance is:
25 / 75 * 100% = 33.3% (further multiplied by (Detergent + HCl) / Detergent).
6. Special Notes
6.1 Although the water sample may have hardness, the indicator will not show color if it contains only Calcium ions without Magnesium ions.
6.2 This indicator can be used to detect the hardness of soft water treated by ion exchange resins. If the soft water is treated well and contains no Calcium or Magnesium ions, the indicator will not show color, even if the conductivity is high (due to Sodium Chloride).
6.3 The titration endpoint for water hardness is bluish-purple (see right image below), which is slightly different from the blue color of water containing no hardness (see left image below). When performing titration, it is not necessary to wait for a pure blue color; reaching a color close to the bluish-purple endpoint is sufficient.